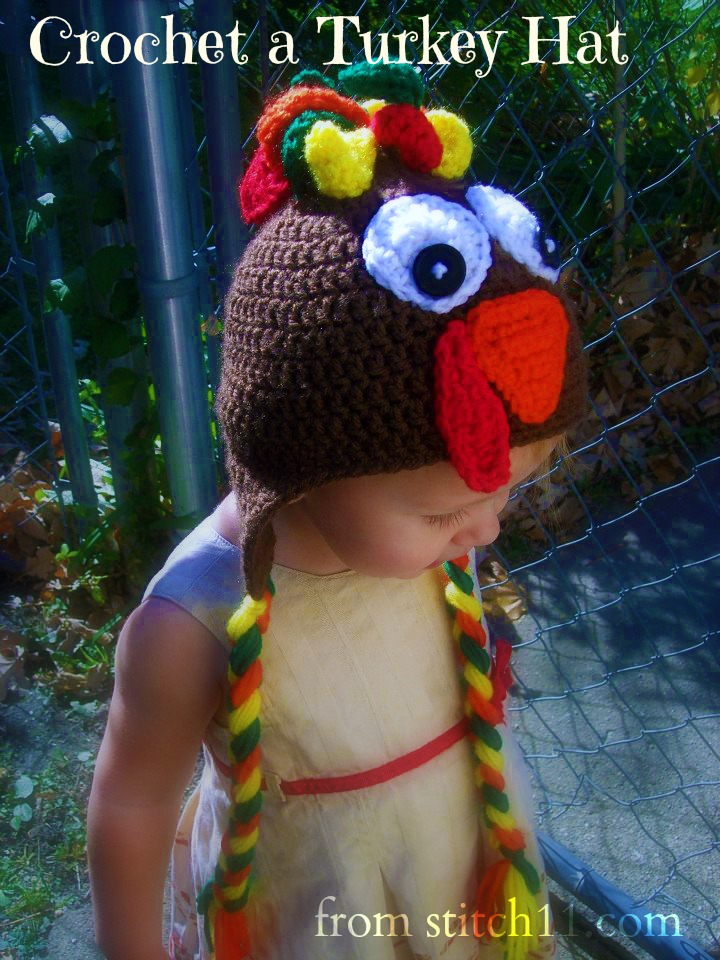
Gobble Gobble!! A free crochet pattern for a toddler turkey hat can put a smile on any ones face! I thought about how I would put this hat together for weeks and I am so pleased with how it turned out. I was thinking about making turkey legs with feet instead of the braids… but if you haven't noticed, I really like the braids. Haha! I hope you love this yarntastic pattern as much as I do!
Supplies:
5mm hook
Yarn Needle
2 buttons
Worsted weight/4 ply Red Heart/ I Love this Yarn (I used brown, red, green, orange, yellow and white)
Abbreviations
CH – Chain
SC – Single Crochet
HDC – Half Double Crochet
DC – Double Crochet
CH 3 does not count as a double crochet
Get Started!
Starting with brown yarn
(CH 3 does not count as DC)
Round 1: Magic Ring, CH 3, DC 10, pull ring tight, join to top CH of CH 3 (10 DC)
Round 2: Ch 3, 2 DC each DC around. Join to top CH of CH 3. (20 DC)
Round 3: Ch 3. *2 DC in next DC, DC in next DC, repeat from * around. Join to top CH of CH 3. (30 DC)
Round 4: Ch 3. *2 DC in next DC, DC in next 2 DC, repeat from * around. Join to top CH of CH 3. (40 DC)
Round 5: Ch 3. *2 DC in next DC, DC in next 3 DC, repeat from * around. Join to the top of CH 3. (50 DC)
Round 6: Ch 3. DC around. Join to the top of CH 3.(50 DC)
Round 7: Ch 3. *2 DC in next DC, DC in next 4 DC, repeat from * around. Join to the top of CH 3. (60 DC)
Round 8-13: Ch 3, DC in each DC around. Join to the top of CH 3. (60 DC)
Do not finish off.
First Earflap
Row 1: SC in next 15 stitches
Row2: Turn, SC in next 14 stitches
Row 3: Turn, SC in next 13 stitches
Row 4: Turn, SC in next 12 stitches
Row 5: Turn, SC in next 10 stitches
Row 6: Turn, SC in next 9 stitches
Row 7: Turn, SC in next 8 stitches
Row 8: Turn, SC in next 7 stitches
Row 9: Turn, SC in next 6 stitches
Row 10: Turn, SC in next 5 stitches
Row 11: Turn, SC in next 4 stitches
Row 12: Turn, SC in next 3 stitches
Finish off
Attach yarn (counting from the seam of the hat, to the right) into
the 25th stitch.
Second Earflap
Row 1: SC in next 15 stitches
Row2: Turn, SC in next 14 stitches
Row 3: Turn, SC in next 13 stitches
Row 4: Turn, SC in next 12 stitches
Row 5: Turn, SC in next 10 stitches
Row 6: Turn, SC in next 9 stitches
Row 7: Turn, SC in next 8 stitches
Row 8: Turn, SC in next 7 stitches
Row 9: Turn, SC in next 6 stitches
Row 10: Turn, SC in next 5 stitches
Row 11: Turn, SC in next 4 stitches
Row 12: Turn, SC in next 3 stitches
SC around the edge of the hat. Finish off
Beak
Row 1: CH 8, SC into 2nd CH from hook. SC into next 6 stitches.
Row 2: Turn, SC into next 6 stitches
Row 3: Turn, SC into next 5 stitches
Row 4: Turn, SC in next 4 stitches
Row 5: Turn, SC in next 3 stitches
Row 6: Turn, SC in next 2 stitches
Row 7: Turn, SC in next 1 stitches
CH 1, SC around the outside edge, Join to CH 1.
Feather/Leafs/Hair
Leaving a long tail, CH 11, SC into 2nd CH from hook. SC into next CH , HDC into next 2 chains, DC into next 3 chains, HDC into next 2 chains, SC into last CH, CH 2, SC into same stitch, (now work back down the opposite side of the CH while weaving in your tail. So both tails will be on the same end of the feather) HDC into next 2 CH, DC into next 3 chains, HDC into next 2 chains, SC into last two chains, join to first SC. You should have two tails now at the bottom of the feather.
Repeat to make 12 feathers of assorted colors
Wattle
CH 12, SC into second CH from hook. SC into next 2 CH. HDC into next CH, DC into next 2 chains, HDC into next CH, SC into next 3 chains, 3 HDC into last CH, (turn going down the other side of chain) HDC into next CH, DC into next 3 chains, HDC into next CH, SC into next two chains, Slip stitch into next 3 stitches, join into first SC.
Eyes
Magic Circle, CH 3, DC 9 times into magic circle. Join to top of CH 3. CH 2, HDC into same stitch, 2 HDC into each stitch around. Join to top of CH 2.
Finish off and repeat for other eye
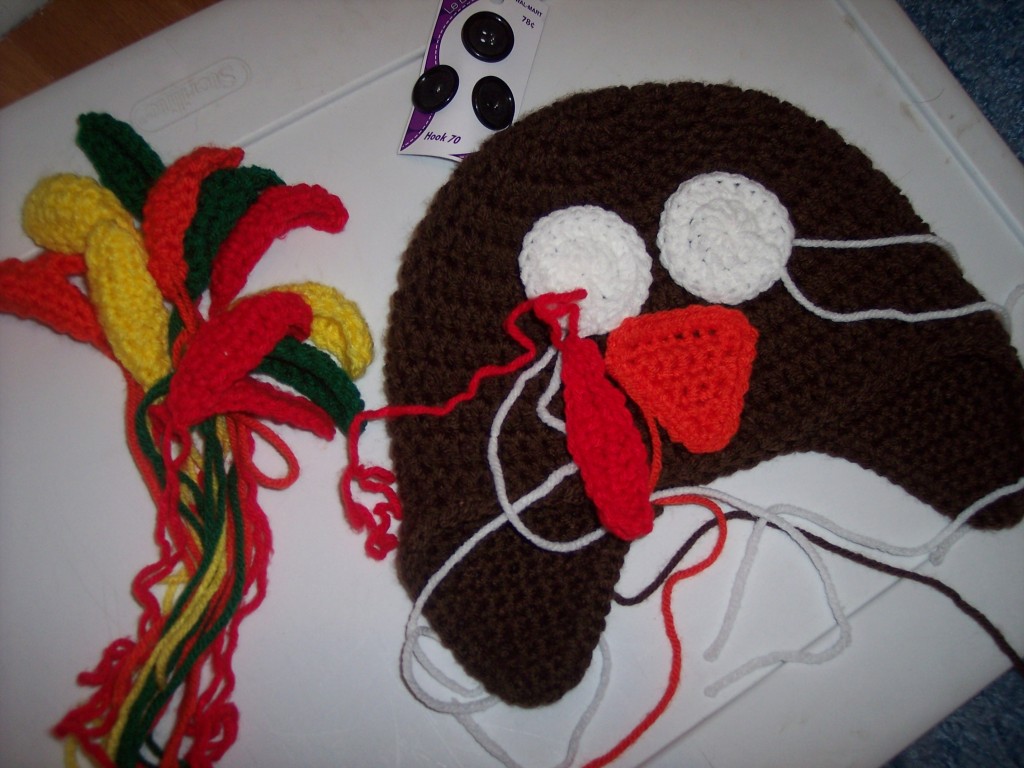
This is what your work space should look like right now.
Do not panic… like I did. BAHAHA it doesn't take very long to get it together as it would look.
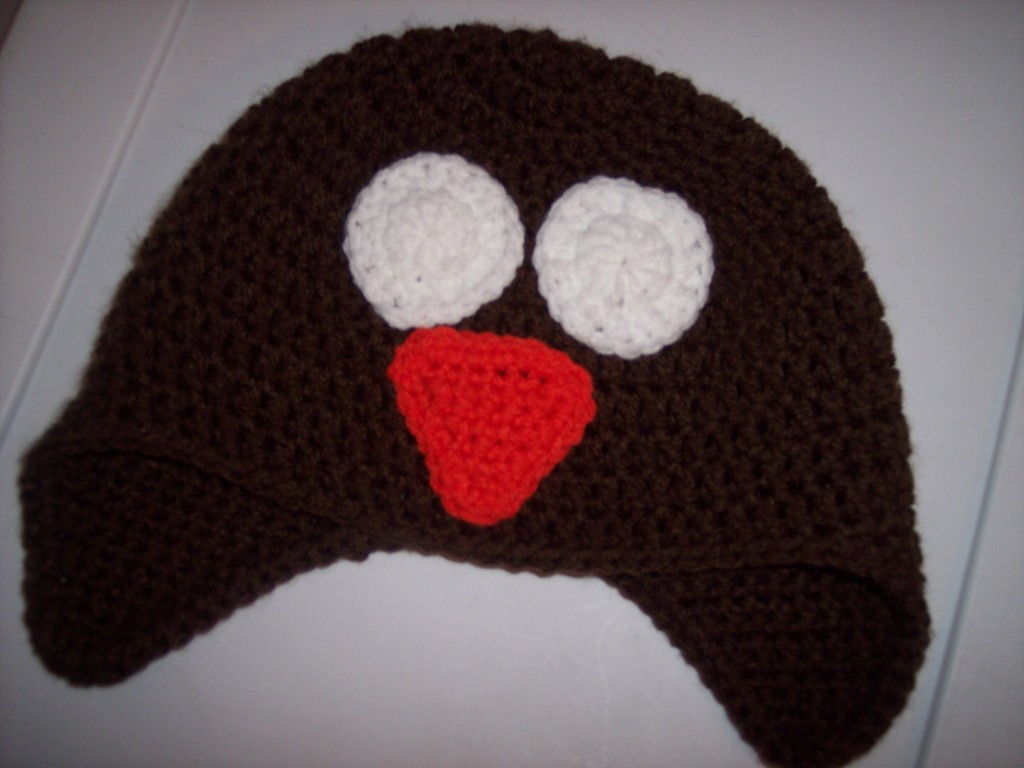
First, attach the eyes and the beak with your yarn needle.
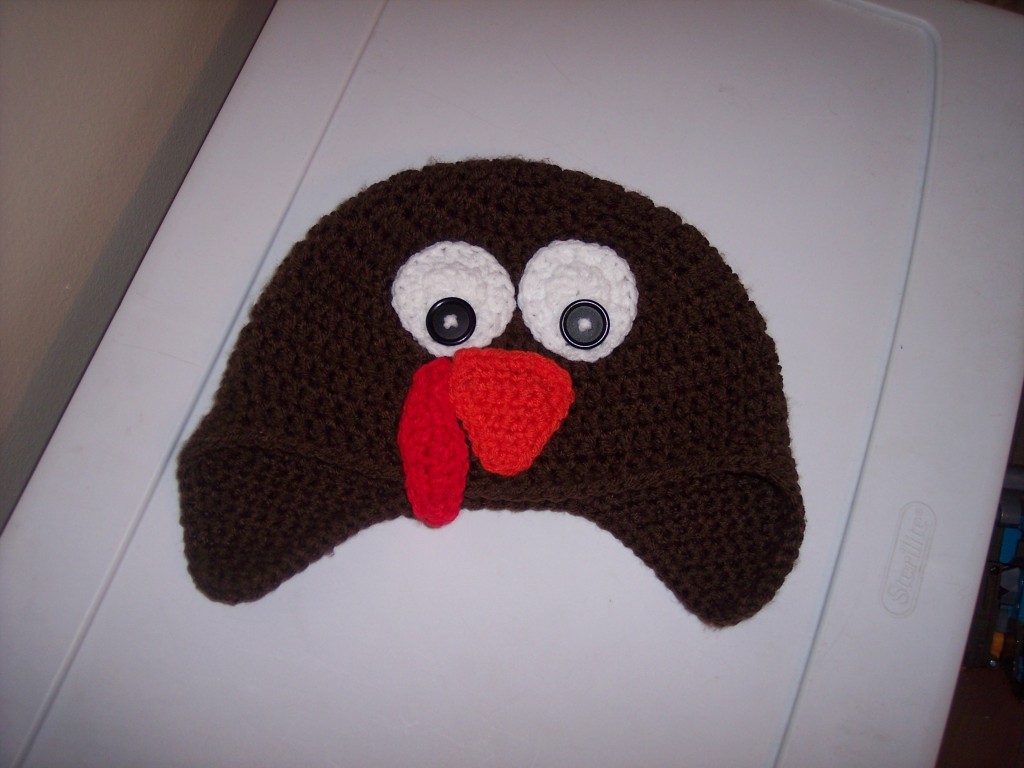
Next, add the wattle and the buttons!
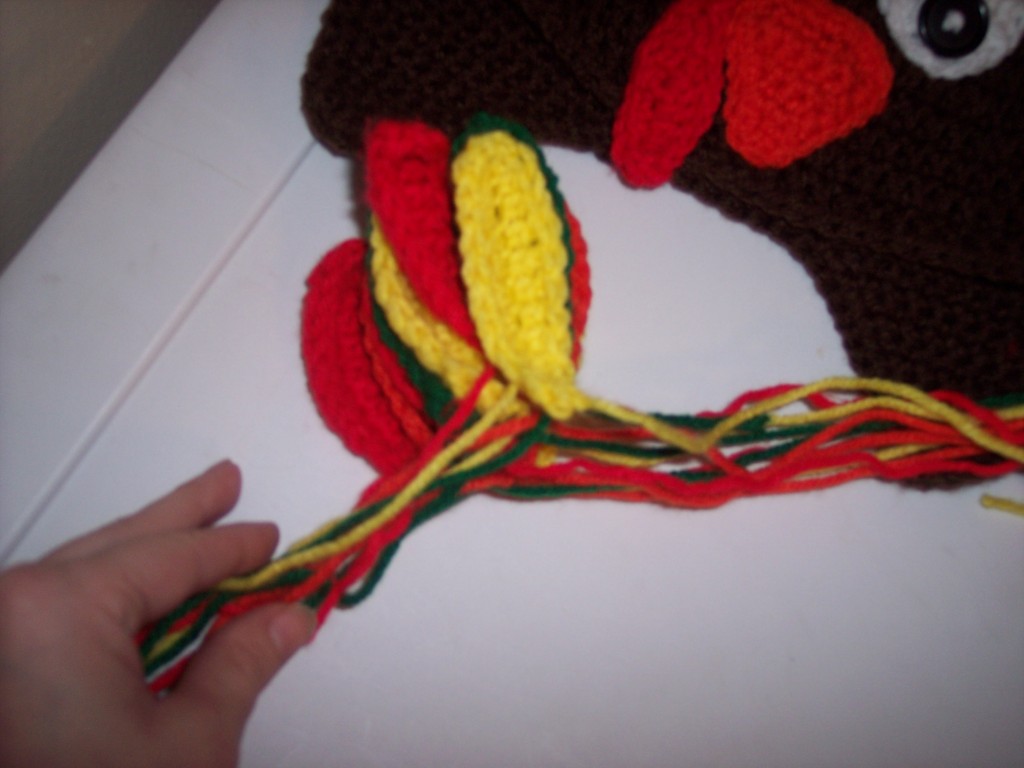
Remember how I had you make your tails with the feathers? Stack each feather and make one tail of the feathers
grouped to the left, and the other tail of each feather grouped to the right.
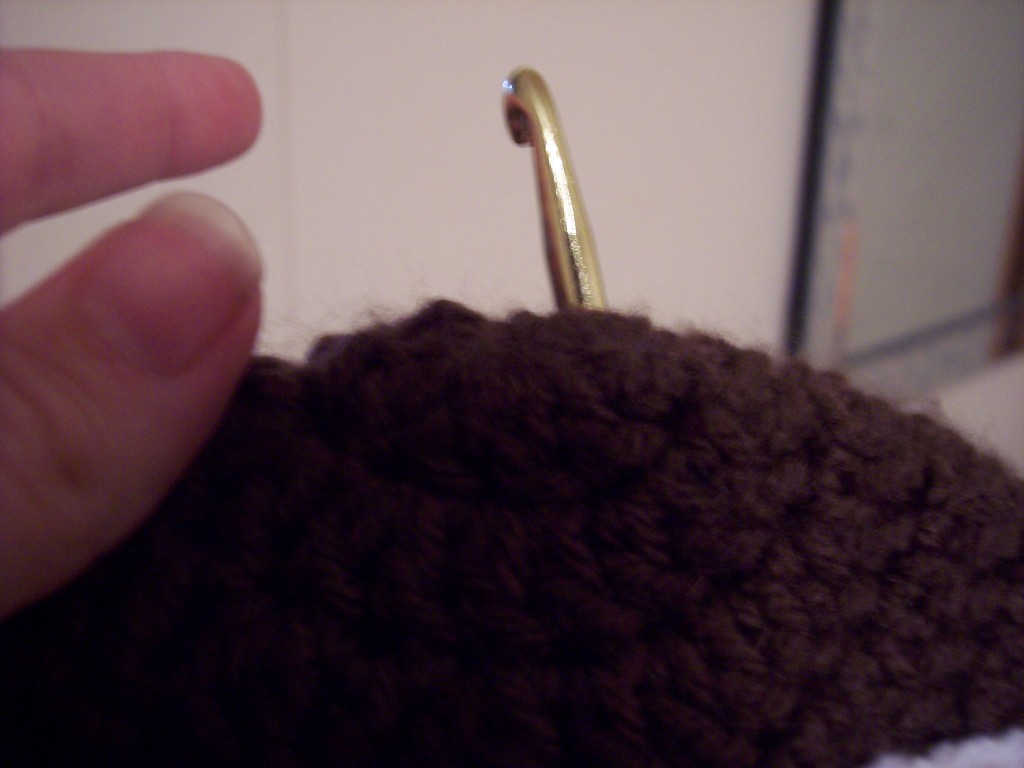
Now you will be pulling the right half of the tails through the the top of the hat, just right of the magic circle.
Then you will pull the other half of the tails through the left side.
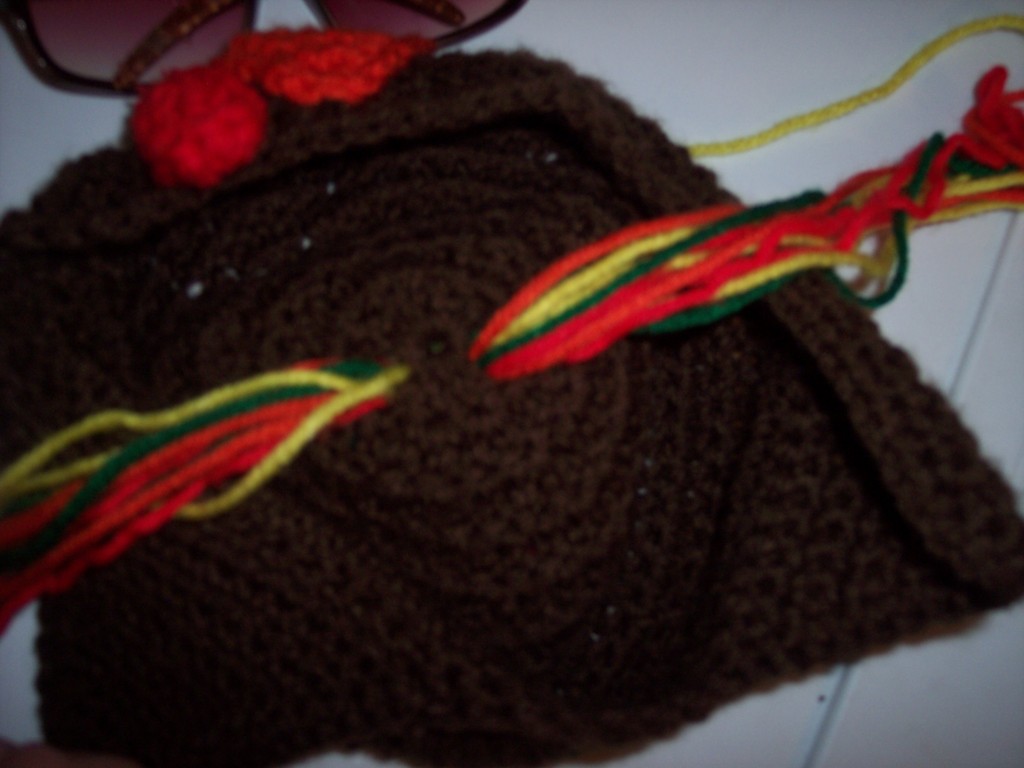
This is what it should look like now. Next, I just tied them together into a knot, and cut the ends.
Be sure to have the strings pulled completely through before tying.
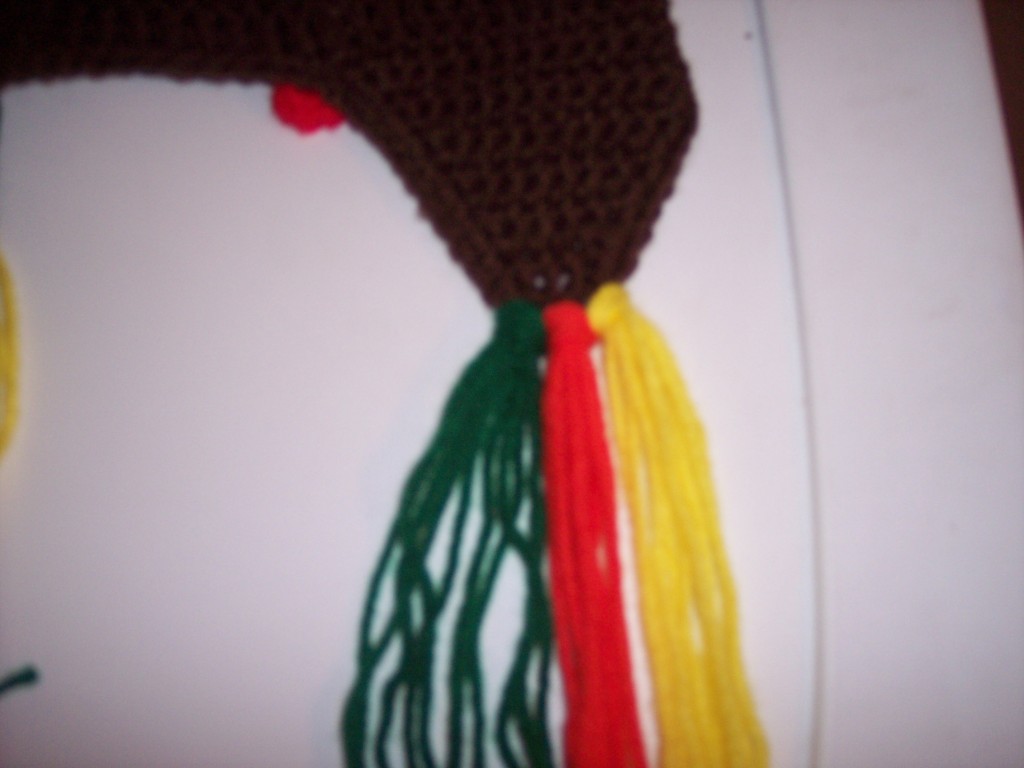
For the braids, I attached 5 strands of each color into the 3 last SC at the end of the earflaps.
Folded stands make 10 strands of each color. Braid! Repeat for other earflap.
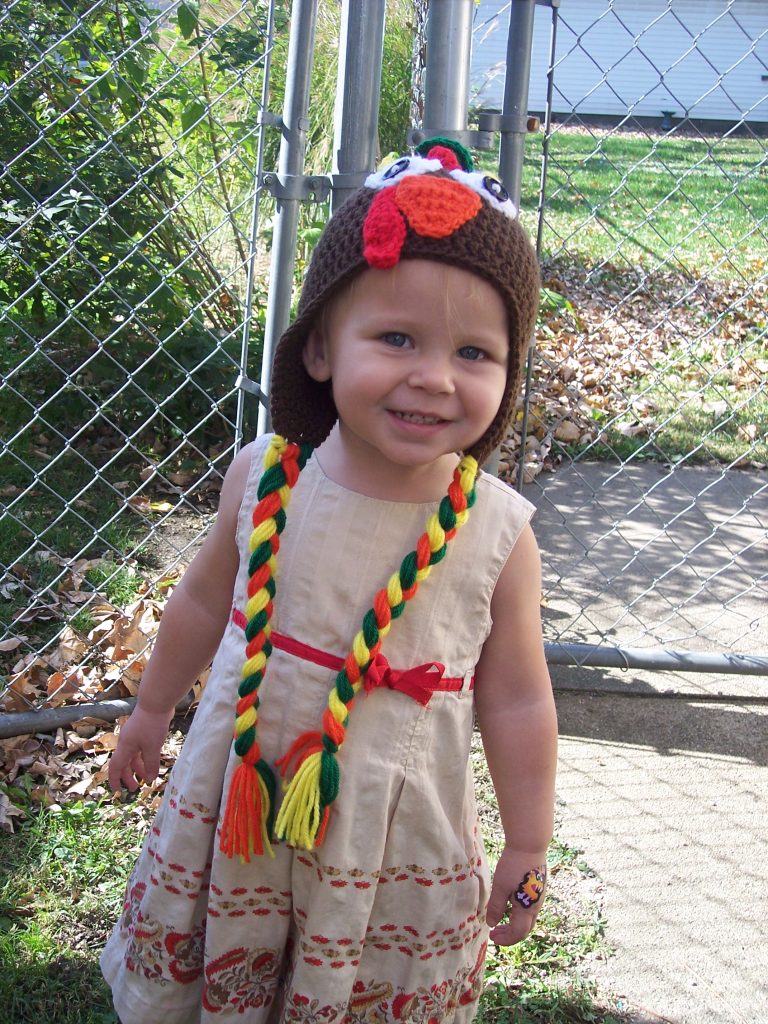
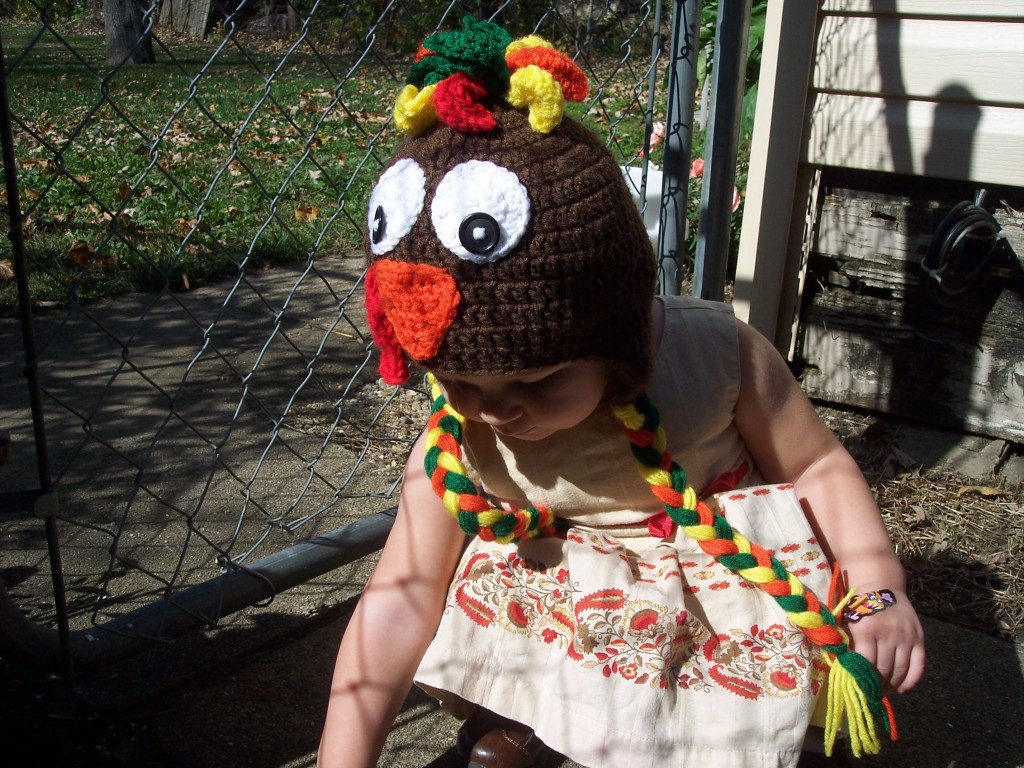


OH MY GOSH!!! I am working on a modified pattern of your sock monkey hat for toddlers to make a turkey hat as I type this when I decided to browse your blog… I’M GLAD I DID! Shifting gears to this one!
Bahahah! That’s so funny!! I would really love to see the hat when you are finished!
Oh Corina, what a great pattern… I finished it up super quickly (I did omit the braids though, but added a cute contrasting SC around the hat to compensate – it’s for a boy). I will share the photos I took of it today on your FB fan page wall! Have also gotten people telling me to make it for Etsy, haha. I’m not so sure about that one, I’m totally just an yarn enthusiast.
I totally know what you mean about being an “yarn enthusiast” I will go check out FB now 😀
Hi,
I was so excited to find your your blog and all the free stuff you share. I made this turkey cap for my daughters photography business in newborn size. For anyone who needs to make it fit a newborn(because 0/3 months is too big) here is the changes I made. I used a 4mm size crochet hook, same size yarn, same number of stitches but kept my tension a tad tighter than normal. The ear flaps I drop number of stitches to 10 and the braids to 3(6 when doubled) lengths of yarn. The baby was 8 lbs(which is large for a newborn)and fit like a glove.
Thank you again for all these wonderful patterns. I plan to make several for my Grandkids for Christmas and I’ll be back with comments.
Ruthanne Eldridge
Couture Parfait
see the photo on http://www.facebook.com/coutureparfait
how would you adapt this for an adult?I think some of my residents would love to wear one in our Thanksgiving Parade at our facility.
You can really make your favorite earflap hat in any size for this 🙂
What size does this make? It is adorable. A professional pattern. Thank you so much for sharing it for free. God bless you.
It is toddler size. It should fit the average 1-3 year old. You can use any hat pattern though to make a different size and then use the rest of this pattern to pull of the turkey 🙂