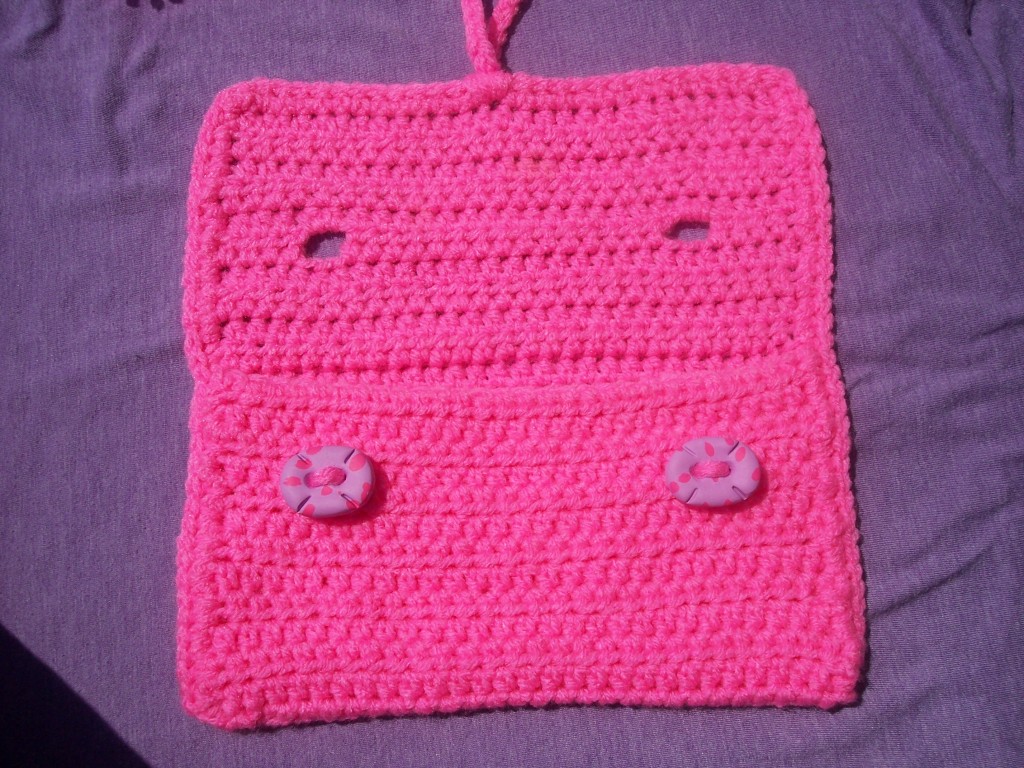
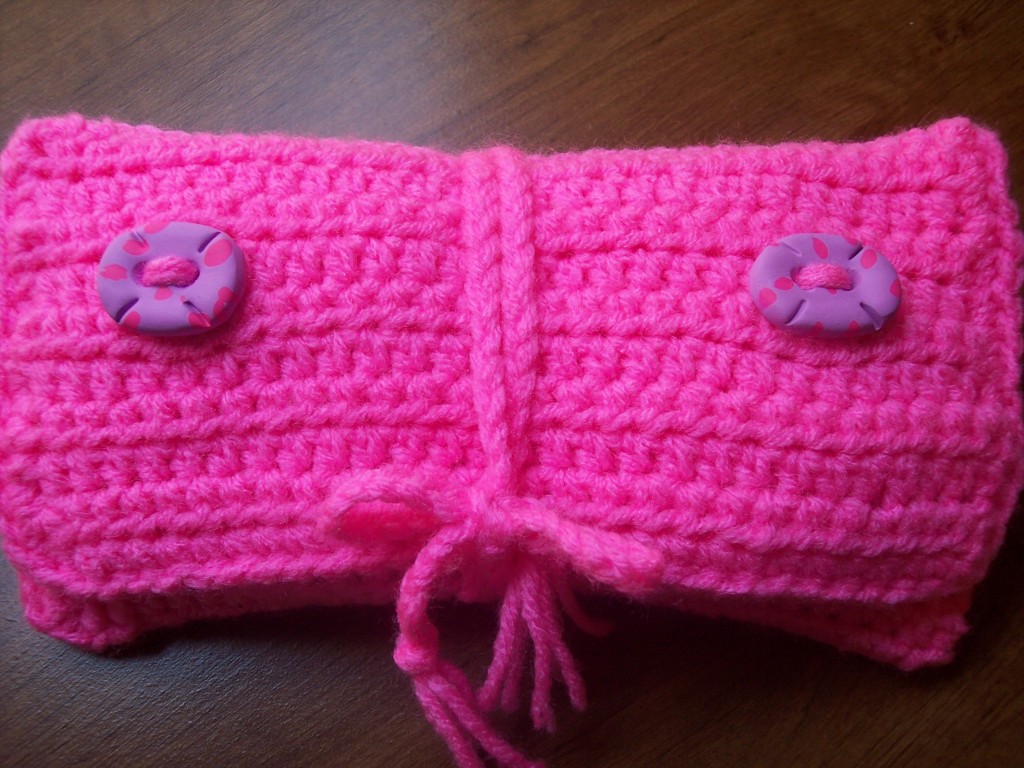
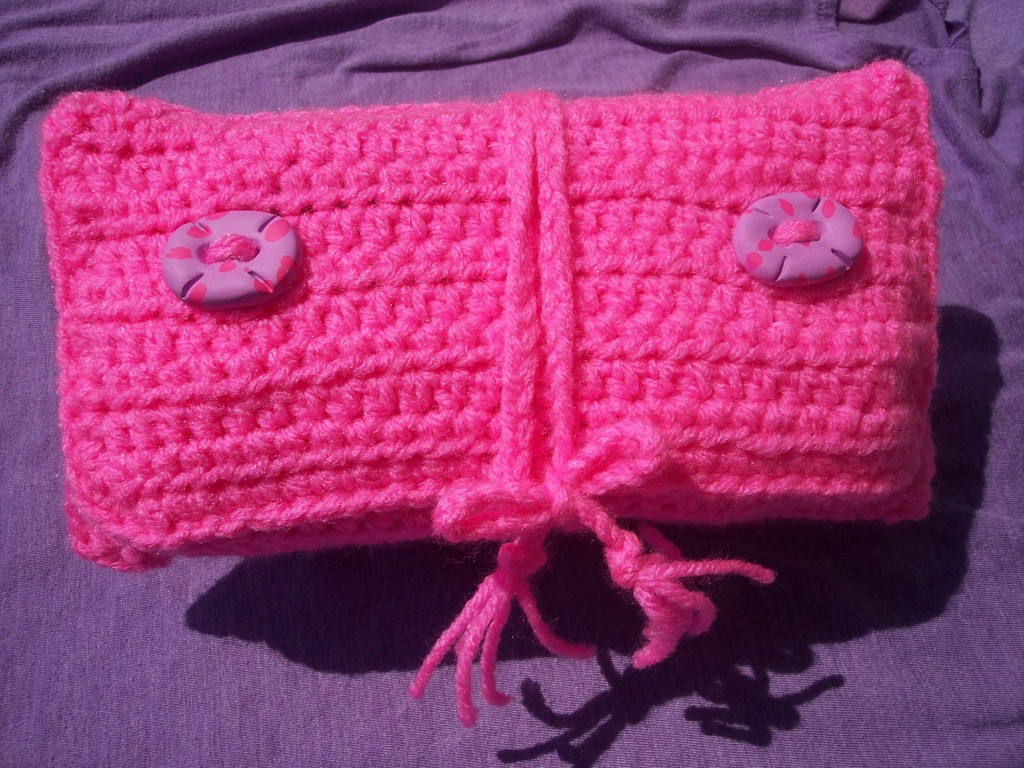
I was long over due for a new ~on the go~ make up bag. When designing this free pattern, I wanted to create something secure. I wanted to be able to throw my makeup bag into the back seat of the car without fearing my makeup would fly out all directions. With success, this bag is so strong, and secure. Its the perfect size for all your makeup tools for ladies on the go. I put all the items I use daily in it and I still had plenty room to spare.
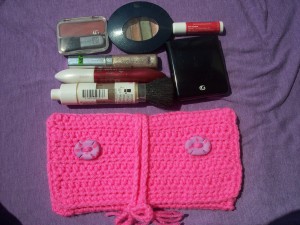
Supplies:
F/5 mm hook
Worsted weight/4 ply, I used Red Heart Super Saver
Abbreviations:
CH – Chain
SC – Single Crochet
HDC – Half Double Crochet
Get Started
CH 30
Row 1: HDC in 3rd CH from hook, HDC across, Turn
Row 2-13: CH 2,HDC across, Turn
Row 14: ~In this round only, Crochet in back loop~ CH 2 HDC in 3rd CH from hook, HDC across, Turn
Row 15-25: CH 2 ,HDC across, Turn
Row 26: ~In this round only, Crochet in back loop~ CH 2 HDC in 3rd CH from hook, HDC across, Turn
Row 27-29: CH 2,HDC across, Turn
Row 30: CH 2,HDC in next 4 stitches, CH 2, skip 2 stitches, HDC in next 15 stitches, CH 2, Skip 2, HDC in last 5 stitches.
Row 31: CH 2,HDC in next 4 HDC, 2 HDC in CH 2 space, HDC in next 15 HDC, 2 HDC in CH 2 space, HDC in last 5 HDC, Turn
Row 32-35 CH 2, HDC across,Turn.
Finish off
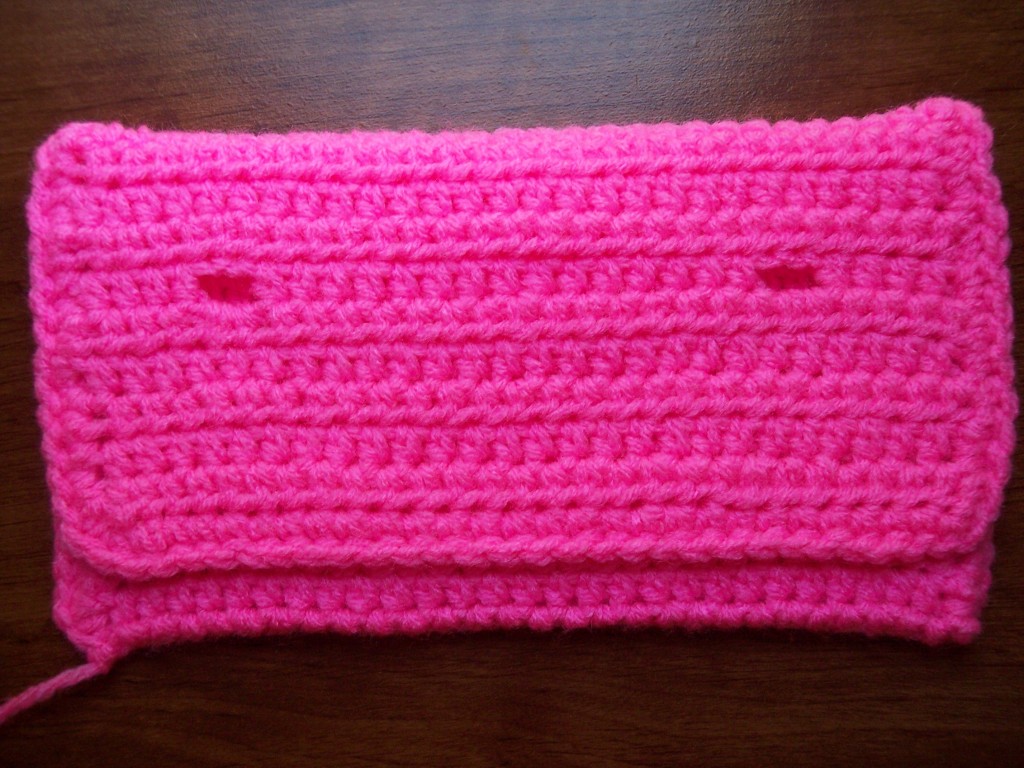
Edges and Trim
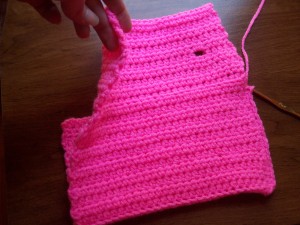
Fold bag so that the two rows (14 and 26 that left the front loops) are leaving the front loops on the outside of the bag. Attach yarn on the bottom right corner of the back of the bag.
SC around the edge and trim of the bag (besides the front top of the pocket, its finished as is)
once you get to the bottom left corner of the back of the back, turn and slip stitch back around.
Finish off.
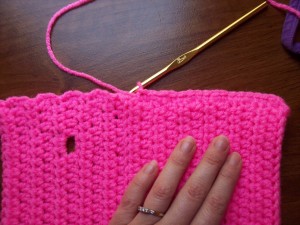
Braids
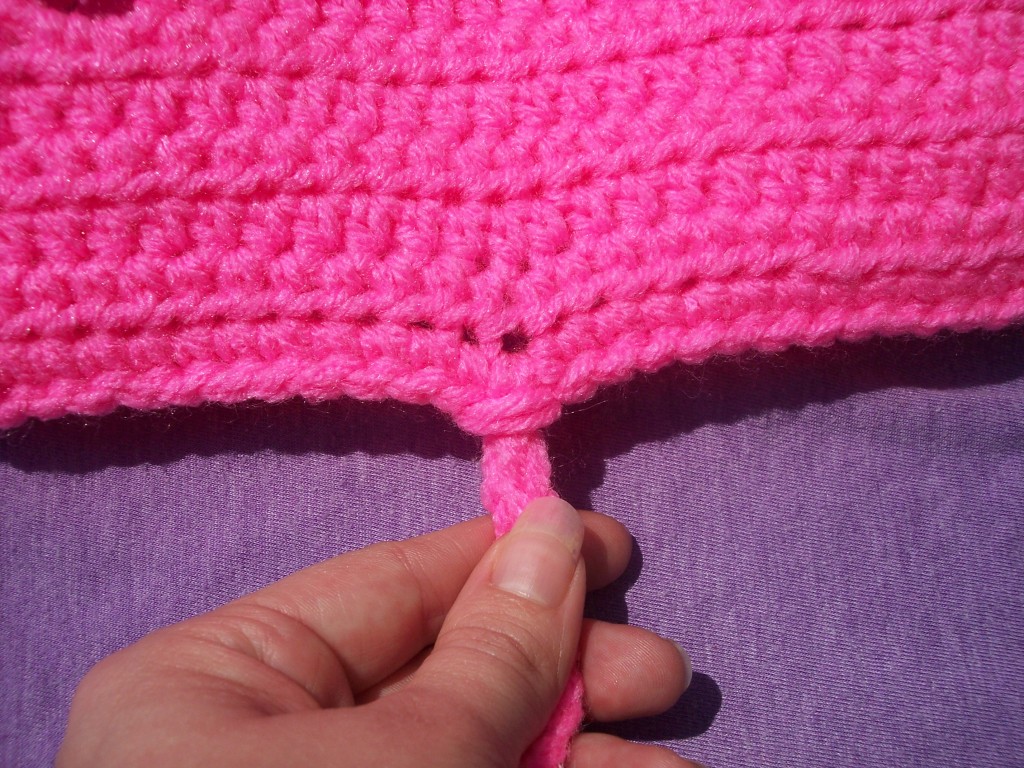
Cut 6 4 1/2 foot strands of yarn. Fold yarn in half (creating 12 strands)
Insert hook into the 15th stitch of your last row (row 35)
Hook the folded yarn over hook and pull through creating a loop.
Pull the yarn ends through loop
Make two braids (6 strands in each braid)
Buttons
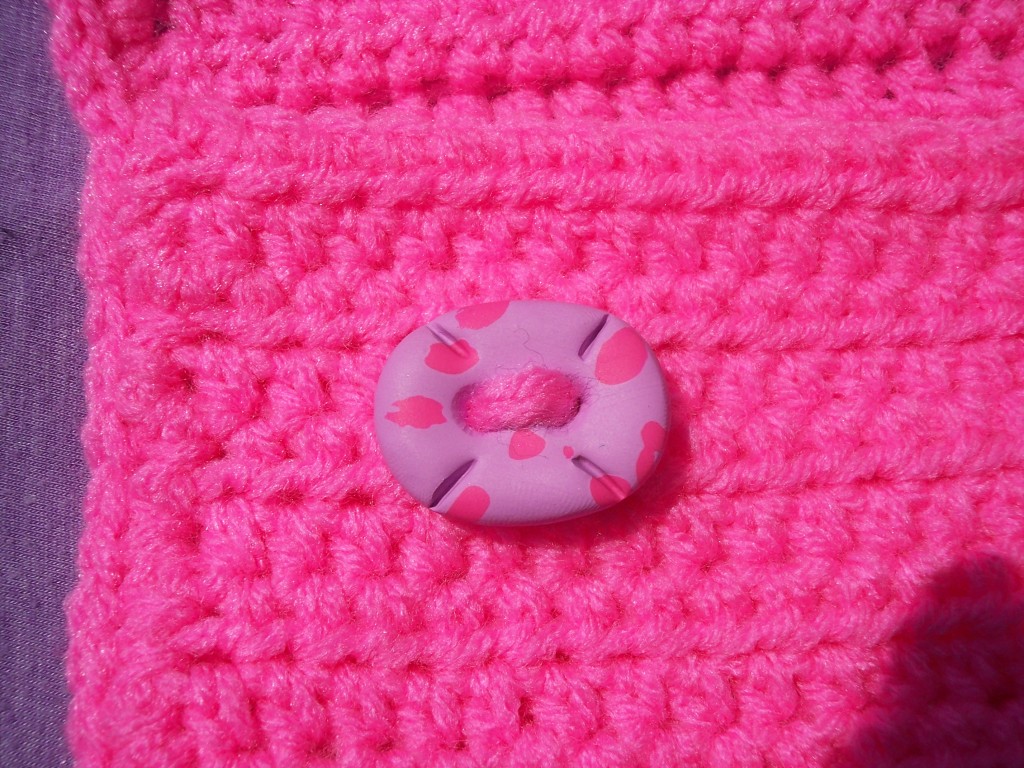
Add buttons to the 5th stitch from both sides between rows 4 and 5.
I made my buttons with oven bake clay. But you can easy use buttons from old clothes or from the store.


I love your buttons!
Thank you Misty!
Thanks Corina… I loved your pattern.. Made one for myself, though it’s smaller than that in the pattern.