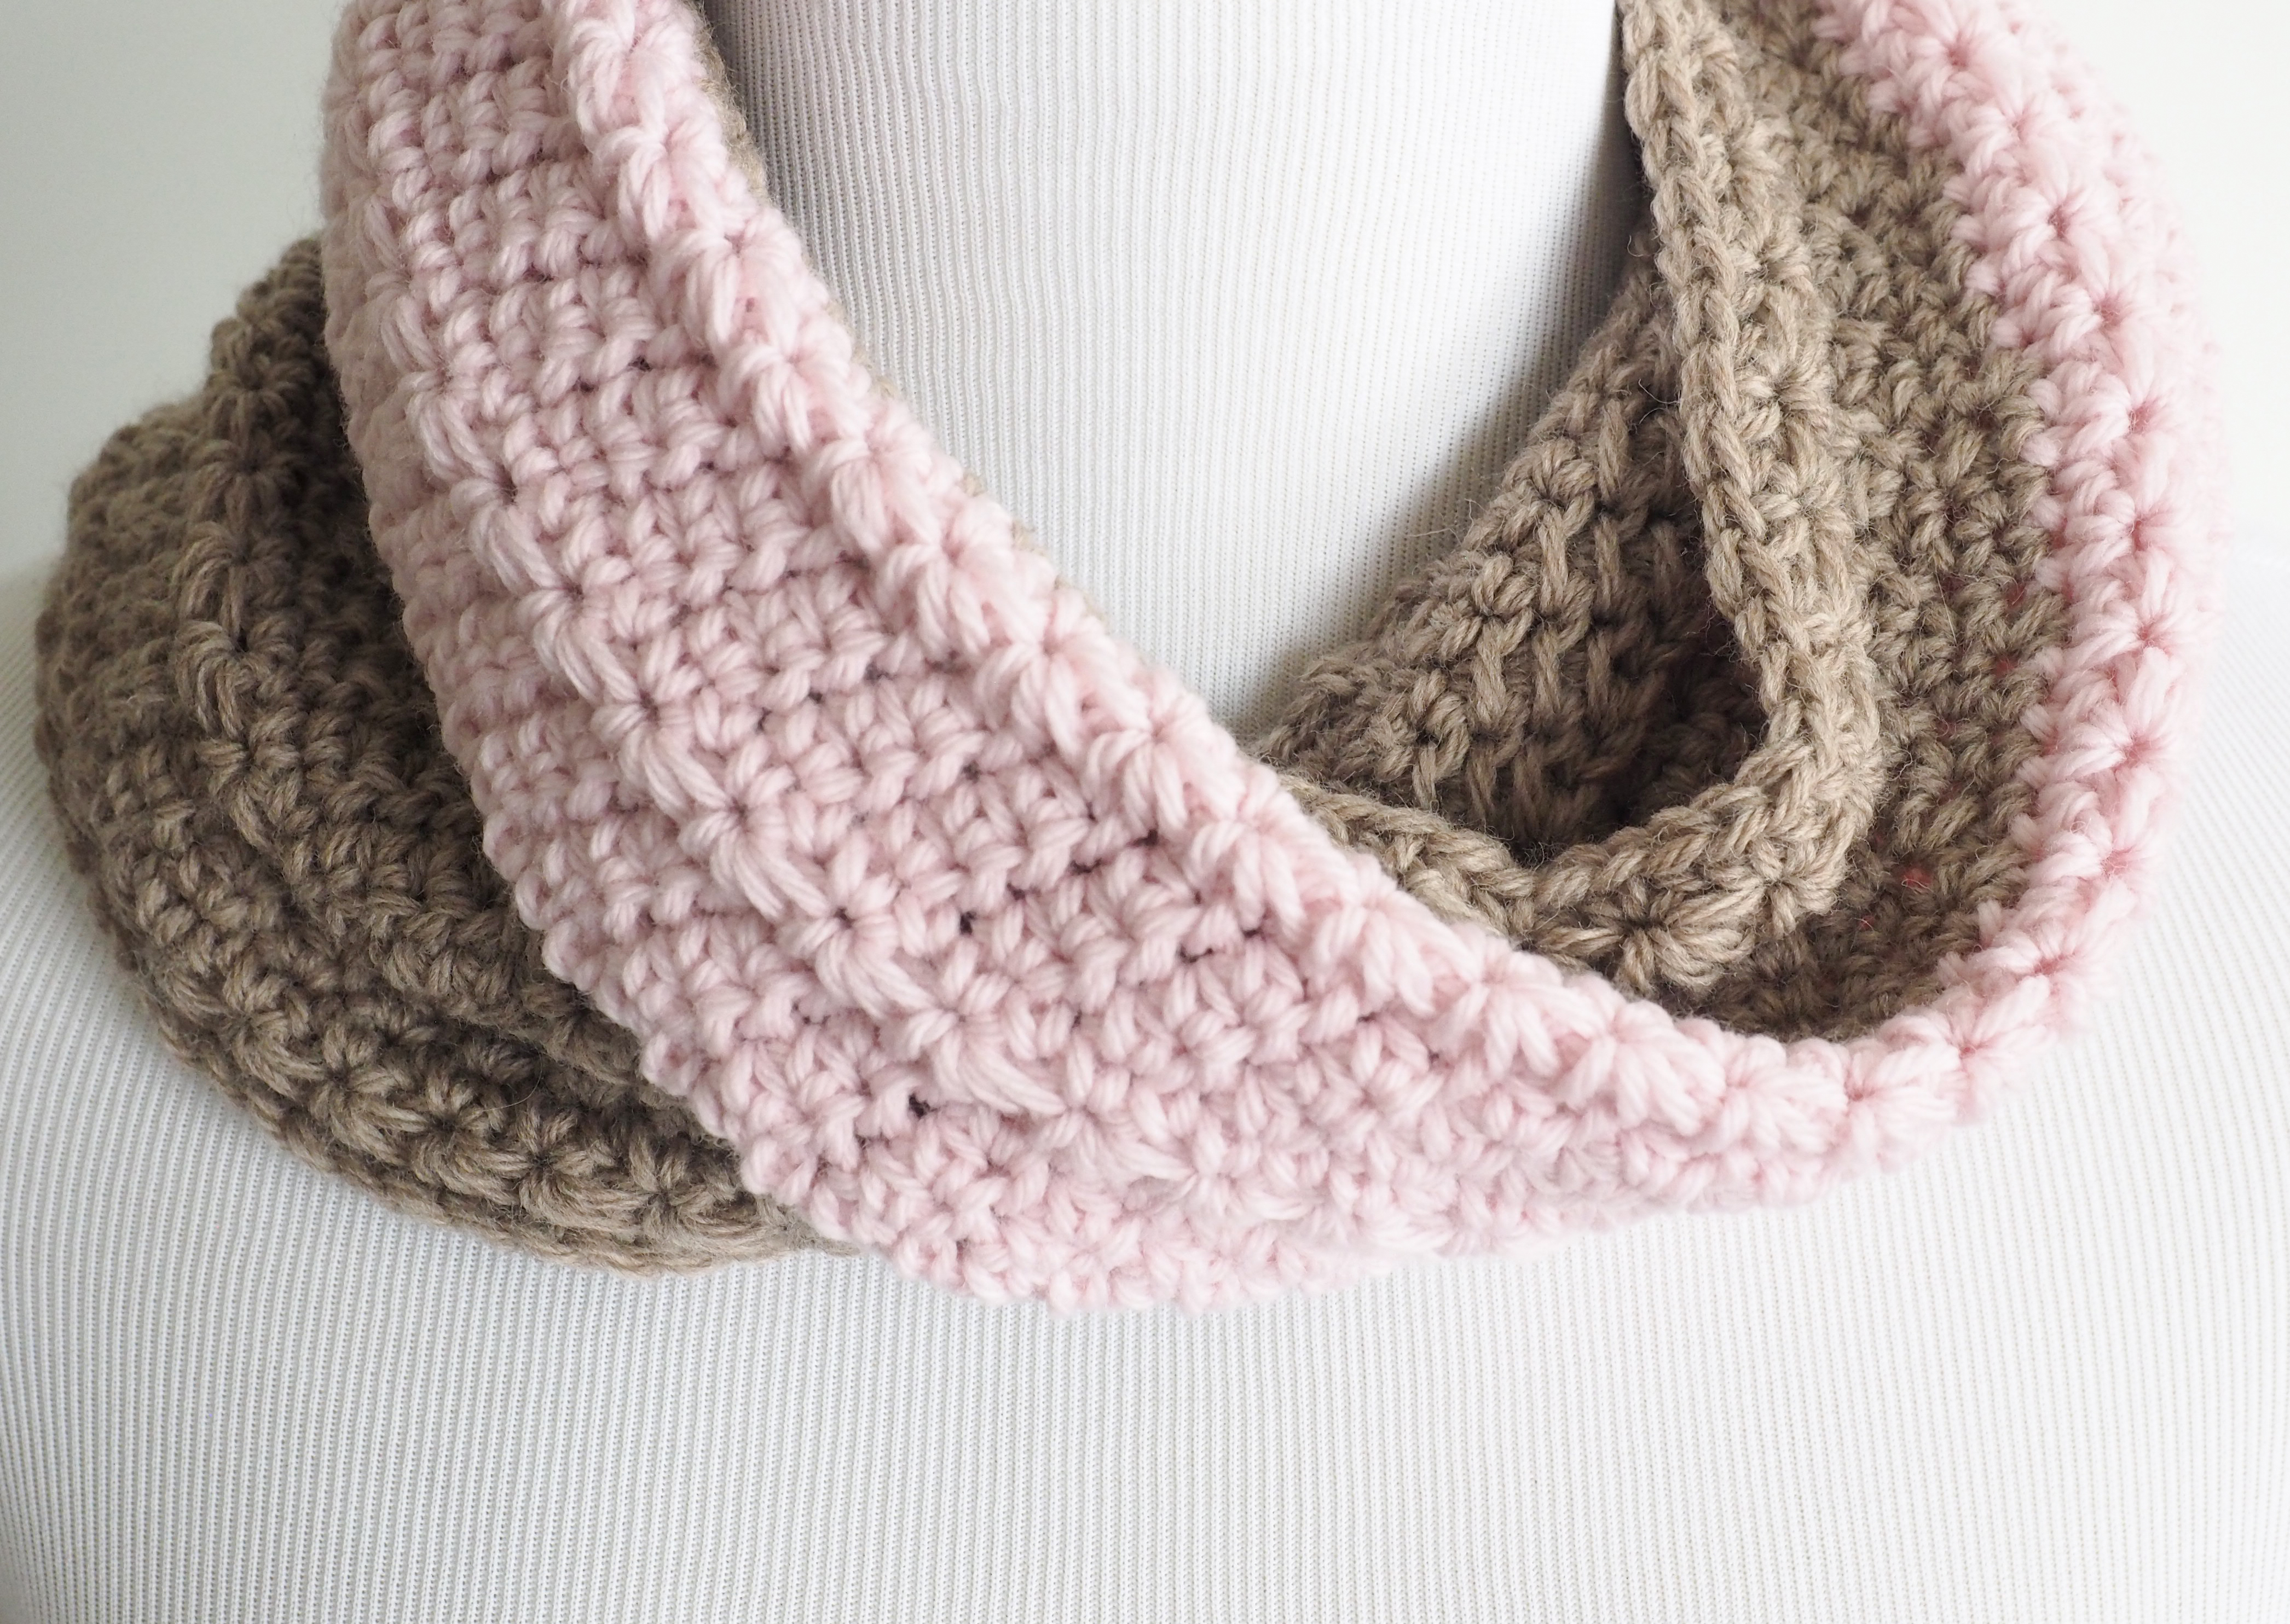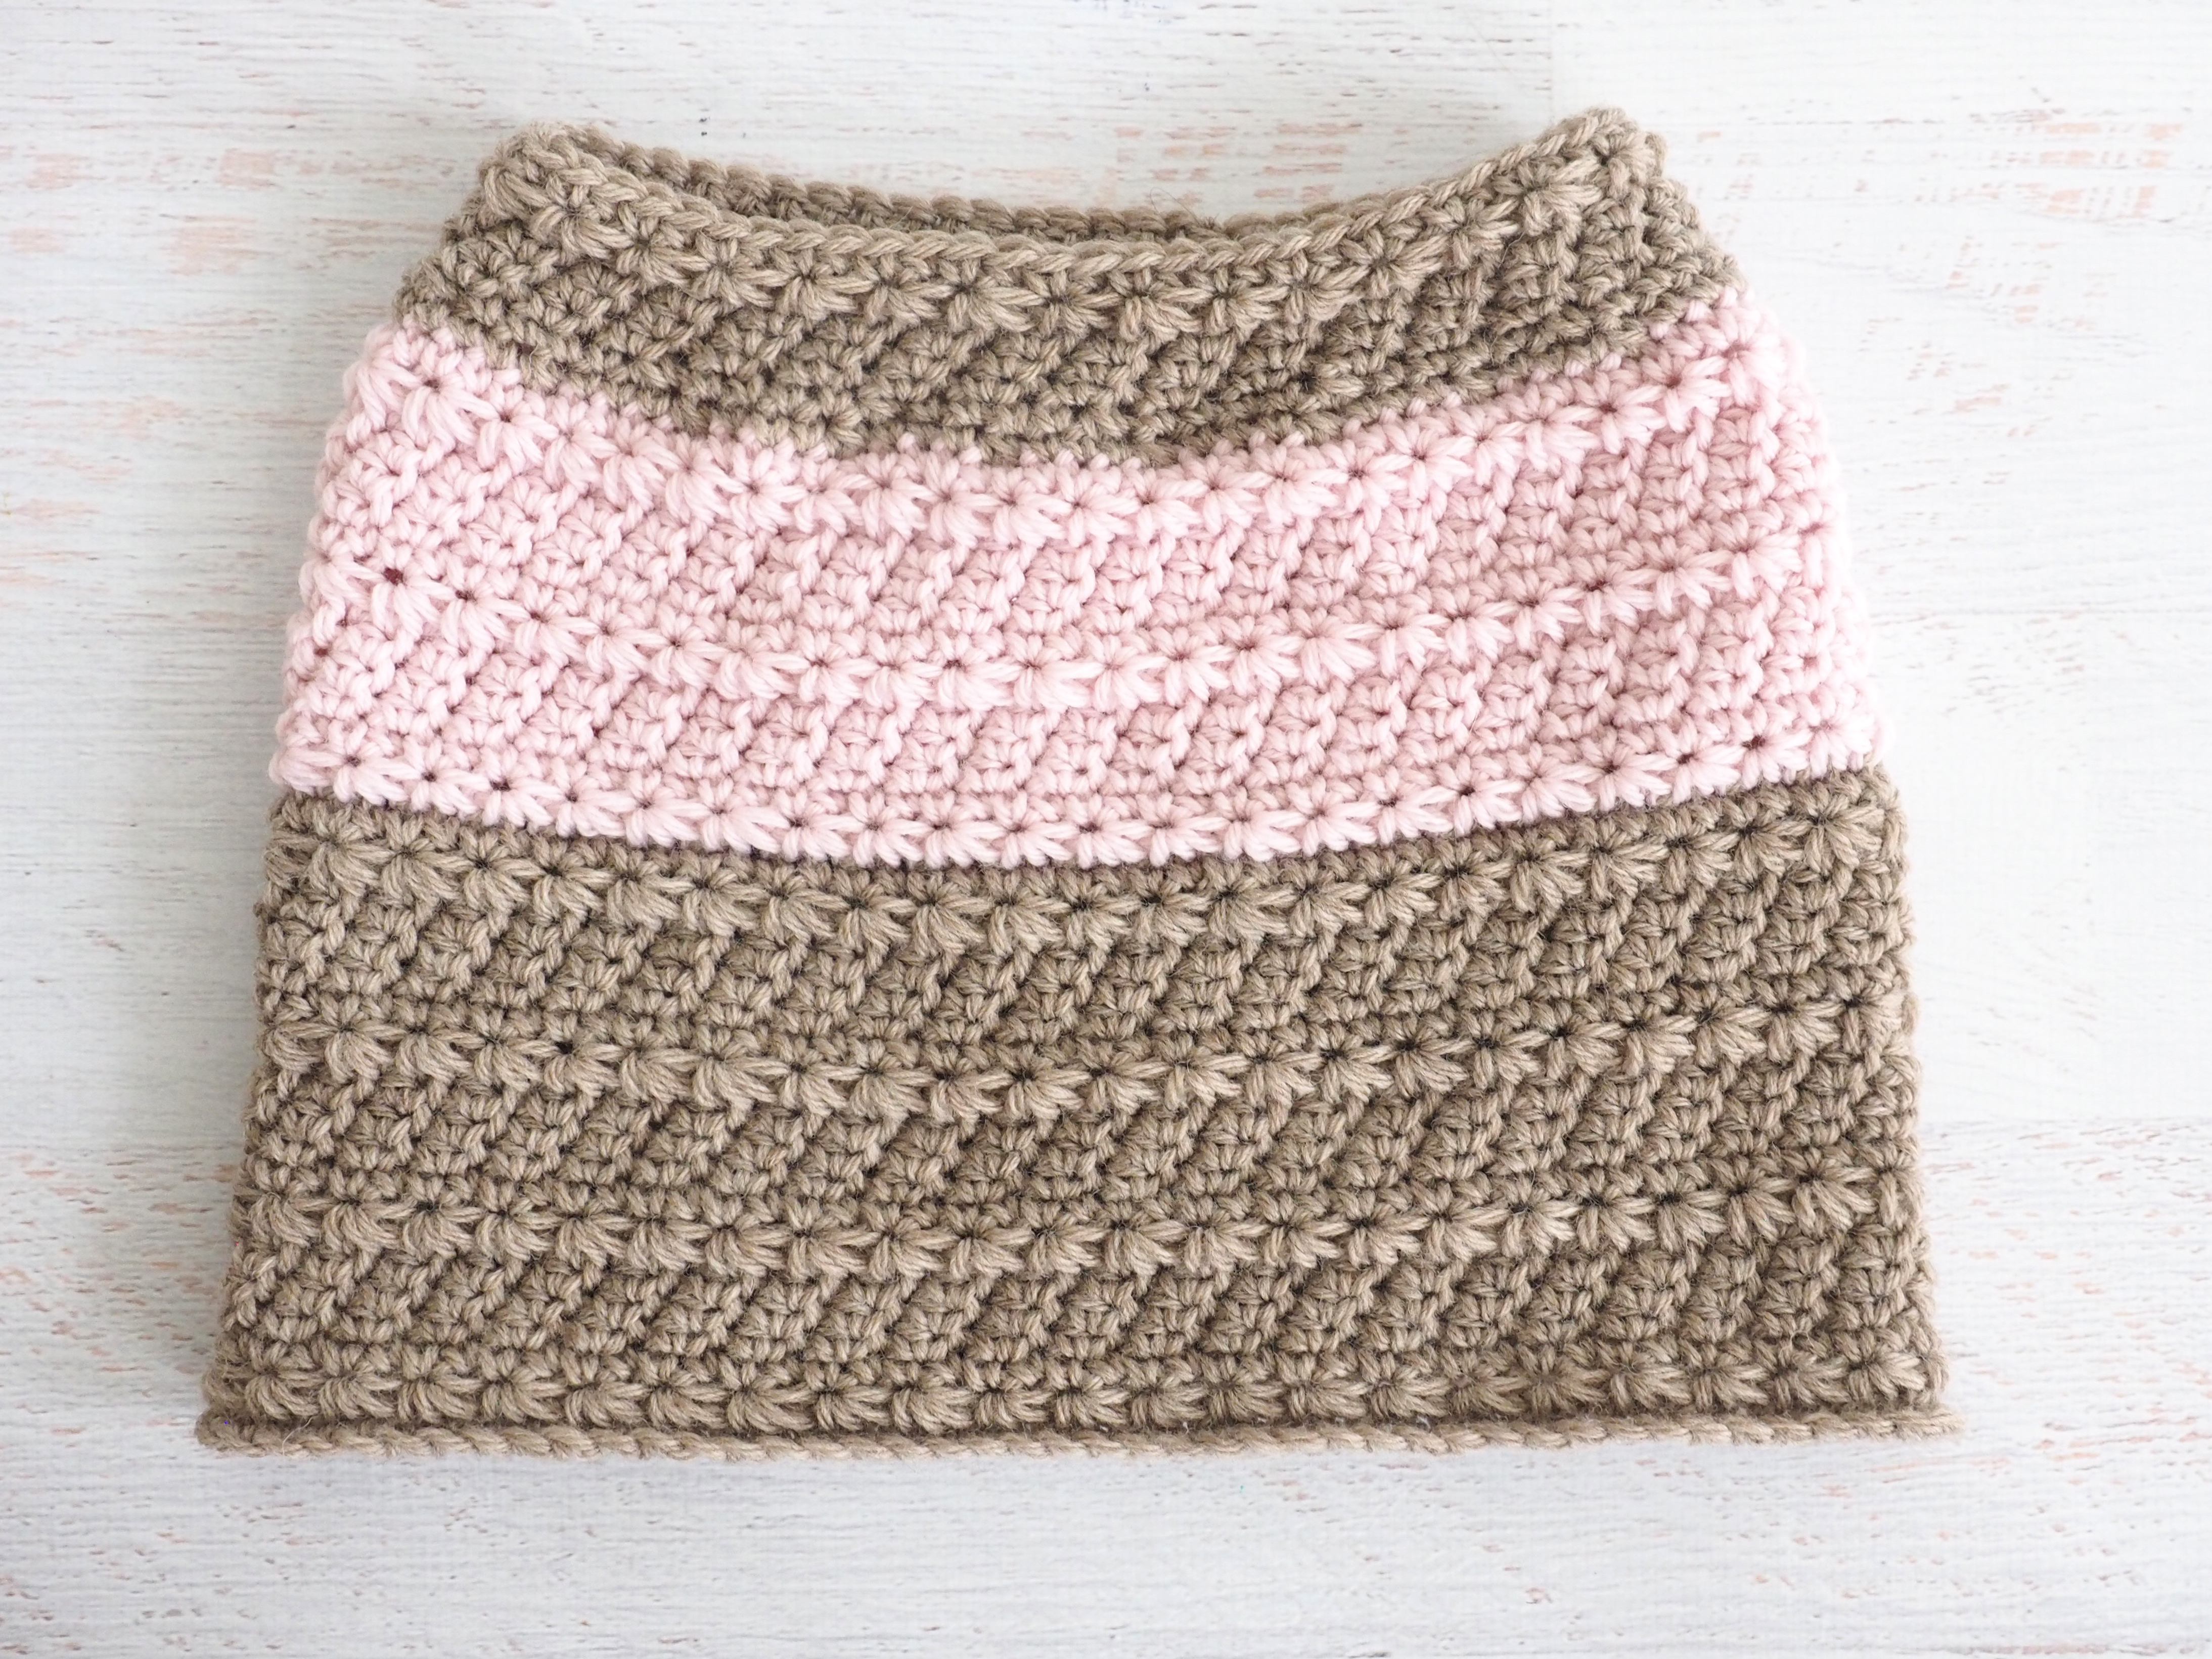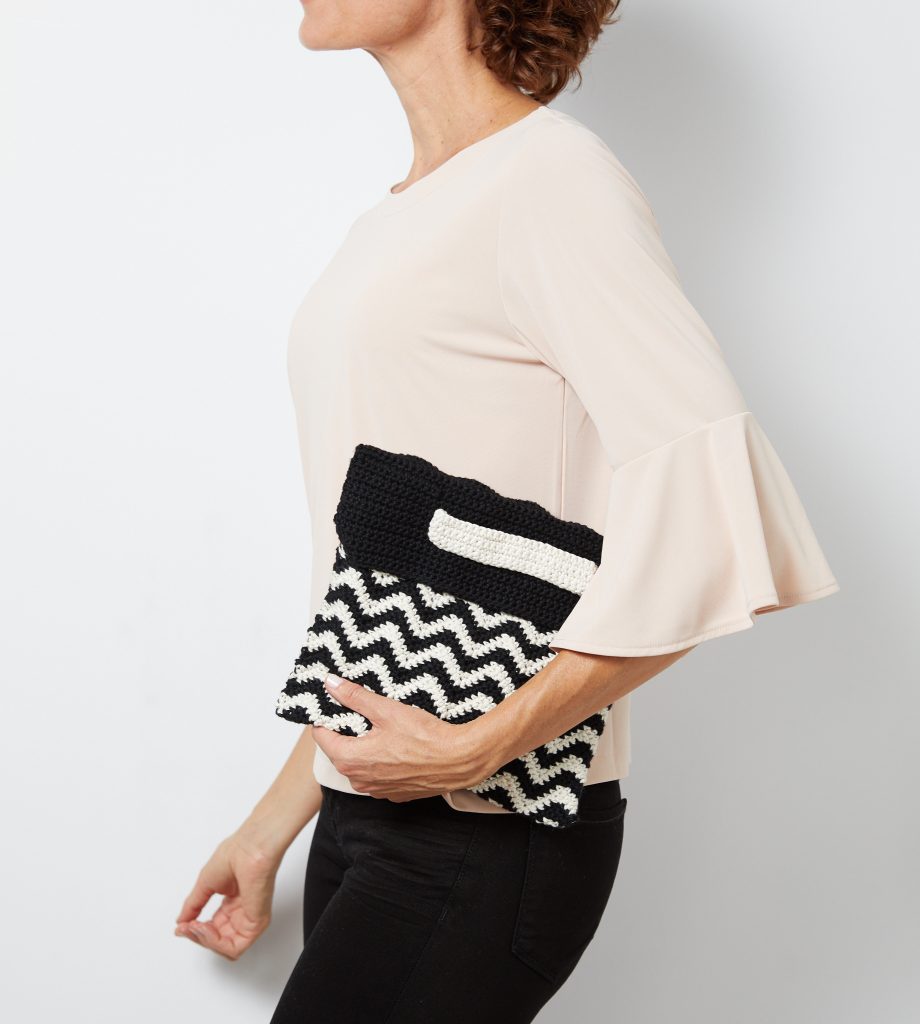
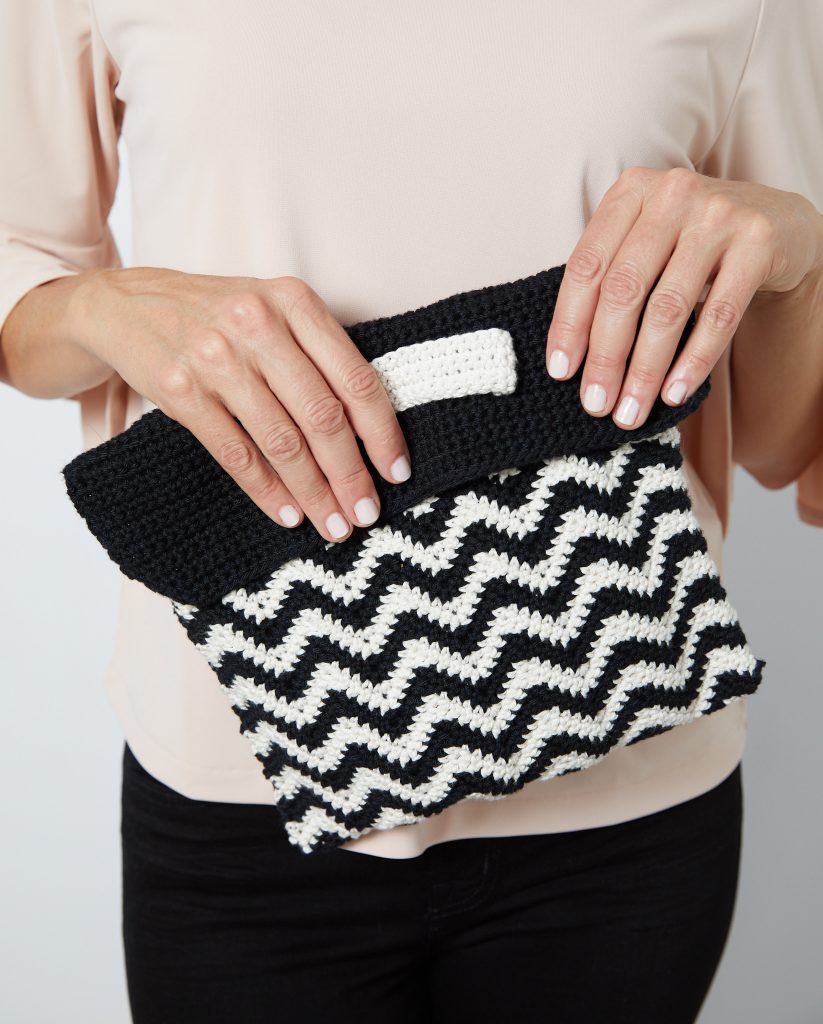
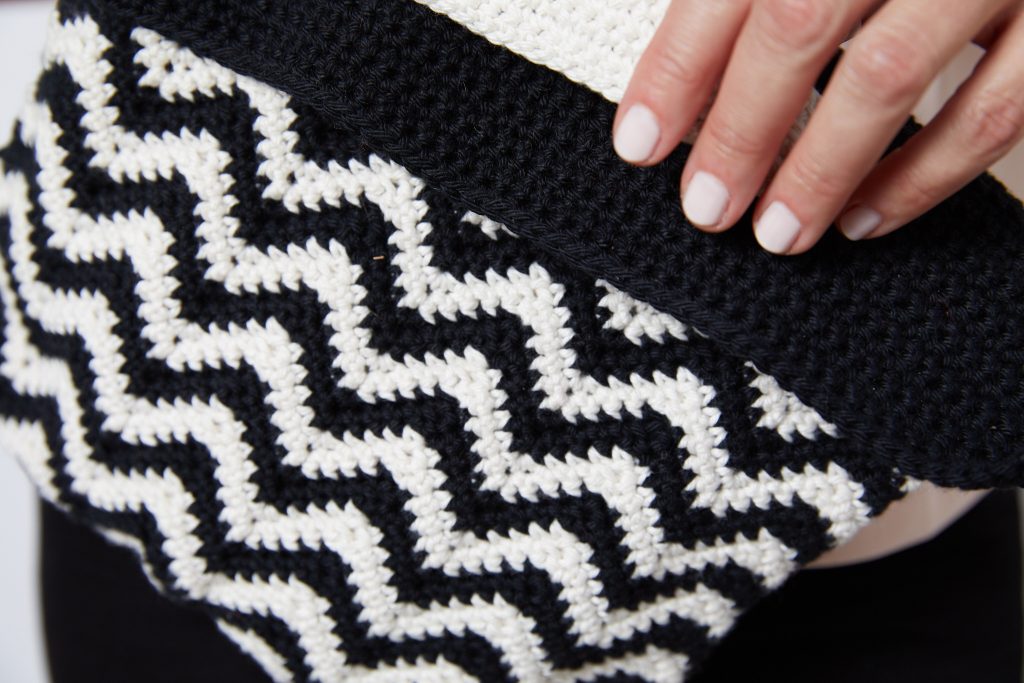
Chevron Wristlet Clutch Bag Crochet Pattern
Chevron is the most classic pattern out there. And when you’re looking for a clutch to carry around with you wherever you go, classic takes the cake. It matches with everything and gives a cool touch to any outfit.
We chose a black and white yarn because of the timeless look. You can opt for any two colors you like. Make them complementary and subtle, or choose two primary colors that pop. Whatever way you choose to go, you really can’t go wrong.
You can finish making this clutch in just a few short hours. It might seem hard to even wait that long before you’re able to use it – so, get started right away! You can choose to add a metal popper to your clutch, or just use the handle. You’ll be ready to go in no time.
Difficulty: Advanced Beginner
Supplies:
1 skien Berroco Pima 100 DK weight cotton yarn, Magnolia
2 skiens Berroco Pima 100 DK weight cotton yarn, Black Eyed Susan
G (US) / 4 mm hook
Yarn needle
Scissors
Abbreviations:
Sc: single crochet
St: stitch
Sk: skip
Sc3tog: single crochet 3 together, decreasing stitch
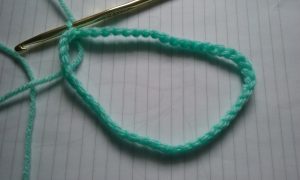
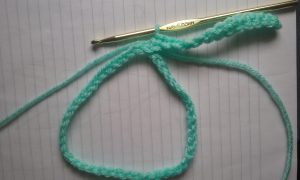
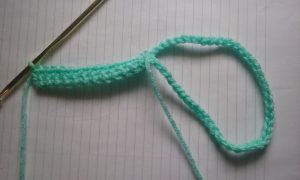
Ch 74
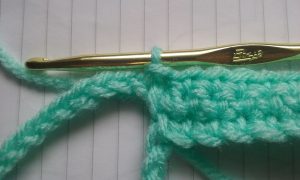
Row 1: sc into the 2nd ch from the hook. Make 3 more sc, then sk 3 st. *Sc into the next 4 st, then 3 sc into the next st. Sc in the next 4, sk 3 st* Sc into the next 2 st, 3 sc into the last st. Ch 1 and turn
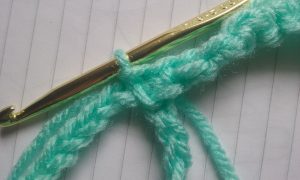
Row 2: Sc into the first 4 st, sk 2, *sc in the next 4 st, 3 sc in the next st, sc in next 4 st, sk 2*
Row 3 & 4: Repeat row 2 in contrasting color
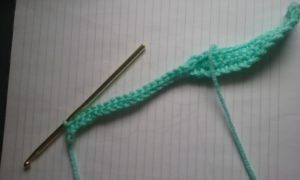
Rows 5-66: Continue repeating row 2 changing colors every two rows. The last two rows will be black, as will all the remaining rows.
Row 67: Sc into the first 4 st, sc3tog, *9 sc, sc3tog*
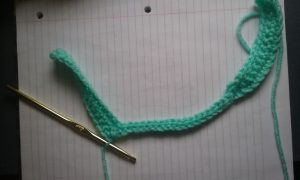
Rows 68-88: Sc across
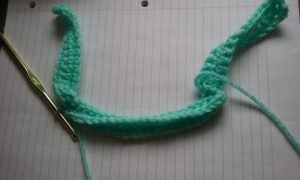
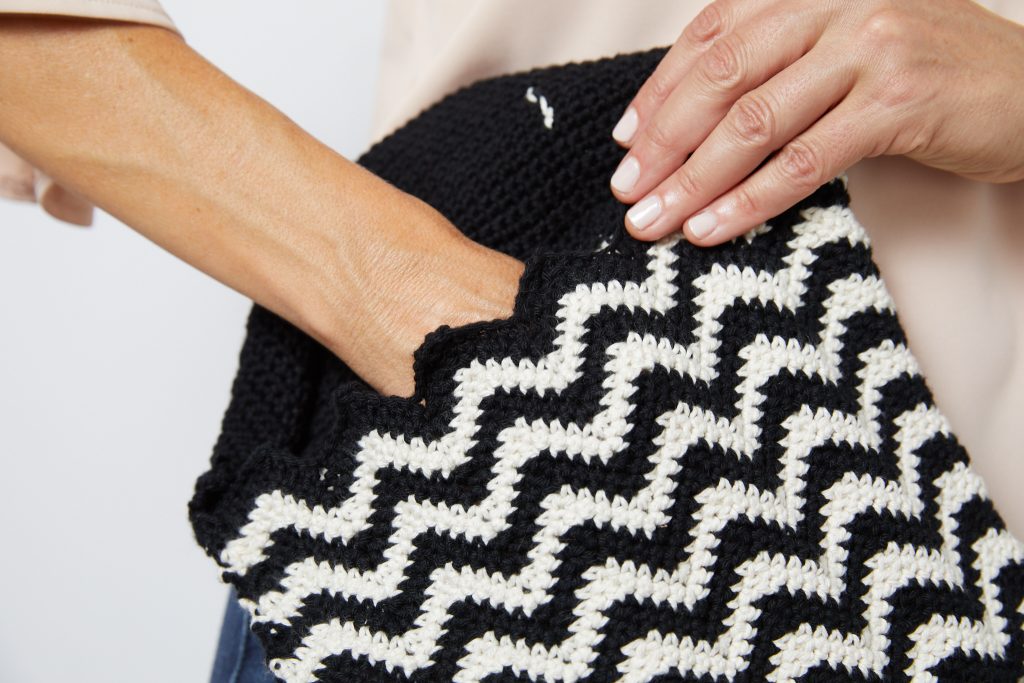
Fold the right sides of the work so they face each other, with the chevron patterns even with each other. Leave the solid black portion above the rest, and whip stitch the chevron portion together. Turn right side out, then attach handle in the center of the flap.
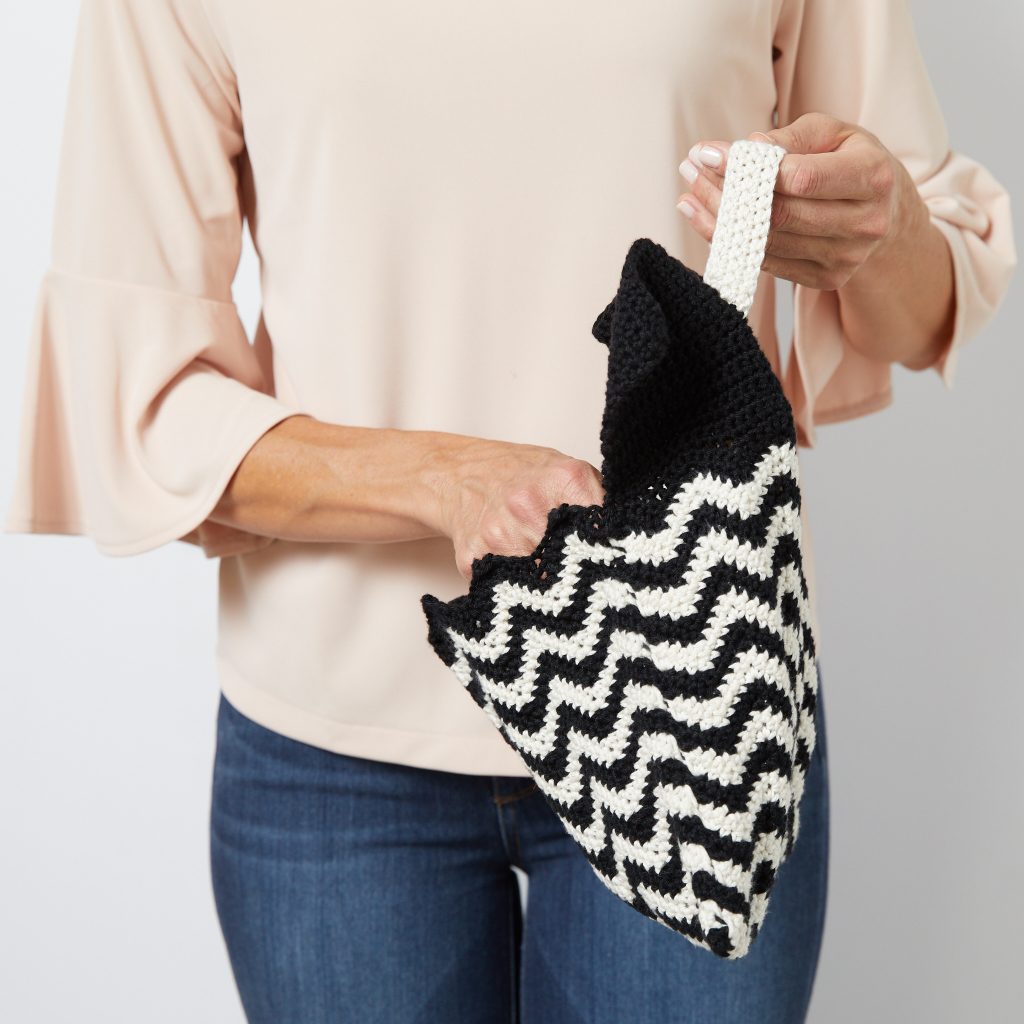
Handle
Ch 31, sc into the second ch from hook and across.
Rows 1-5: Sc across
Leave a long enough tail on each end to sew centered on flap of bag.
Where’d your clutch come in a clutch? We want to see pictures of how your new trendy bag looked as you carried it around town.
These bags are also great to give away as gifts, so once you’re finished making yours, you can start on another. It’s cool to match with your friends.
![]()