These have to be the easiest stash buster projects you will make and you can use them for so many things you will want to make one for everyone you know! Scroll down for the complete free pattern or get the ad-free, printable PDF here.
Get the ad-free, printable PDF pattern here.
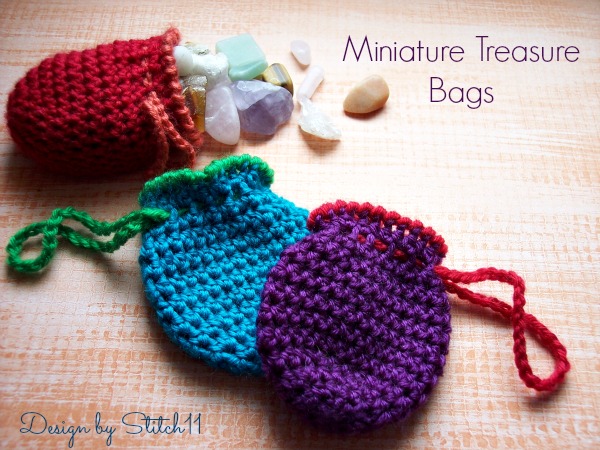
These tiny crochet treasure bags are perfect for using little bits of yarn left over from other projects. You can also change up the size by using a different weight of yarn or making the base or the sides of the bag bigger.
The samples use a single color for the body with the contrasting yarn used at the top of the bag and for the drawstring, but you can make it even scrappier by changing colors every couple of rounds.
These cute crochet bags are perfect for holding little rocks or shells from a nature walk, tiny gifts, and other special treasures.
One great thing about this crochet project is that it's super quick to work up. If you enjoy crocheting projects that are quick and easy, check out 90 amazing “Done in a Day” crochet patterns here.

Skill Level: Easy
Materials:
• Hook:
– US Size E/4 (3.5 mm) crochet hook or size
needed to obtain gauge
• Yarn: DK / light worsted weight yarn
– 60 yds main color (A)
– 15 yds contrasting color (B)
• Notions:
– Scissors
– Yarn needle
Size:
• Width: 3.5 inches at widest point
• Height: 3 inches
Gauge:
17 sc x 17 rnds = 4 inches
ABBREVIATIONS DESCRIPTION ch Chain rnd Round sc Single crochet sl st Slip stitch st(s) Stitch(es)
*Looking for more great crochet stitches to try in other projects. Click here to see the Ultimate Crochet Stitch Library.
Pattern
Get the ad-free, printable PDF pattern here.
Join rounds where indicated with a sl st in the first st of the rnd.
BAG:
Make a magic circle.
Rnd 1: Ch 1, 10 hdc in magic circle, close magic circle, join. (10 hdc)
Rnd 2: Ch 1, 2 hdc in first st, hdc in next st, [2 hdc in next st, hdc in next st] around, join. (15 hdc)
Rnd 3: Ch 1, 2 hdc in first st, hdc in each of next 2 sts, [2 hdc in next st, hdc in each of next 2 sts] around, join. (20 hdc)
Rnd 4: Ch 1, 2 hdc in first st, hdc in each of next 3 sts, [2 hdc in next st, hdc in each of next 3 sts] around, join. (25 hdc)
Rnd 5: Ch 1, 2 hdc in first st, hdc in each of next 4 sts, [2 hdc in next st, hdc in each of next 4 sts] around, join. (30 hdc)
Rnds 6-12: Ch 1, hdc in each st around, join.
Fasten off.

Crab Stitch Edging:
This rnd is worked in the opposite direction from normal, to make the working yarn twist around the sts. So if you are right-handed, you will be working from left to right. If you are left-handed, you will be working from right to left. Do not turn your work, simply work each single crochet in the previous st instead of the next one.
Join B with sl st in any st.
Rnd 13: Ch 1, [sc in previous st] around. Fasten off, sew tail to first st to join rnd. Weave in all ends.
Drawstring:
Ch 50. Fasten off.
Weave drawstring through the stitches of rnd 11 on bag.
Using one of the tails, sew the ends of the drawstring together.
Weave in all ends.
If you enjoyed this crochet bag pattern, you may also like some of my other patterns below.
Lemon Peel Fingerless Gloves Crochet Pattern

I love little bags…been making them for years and years.
These are sooooo sweet….
Thank you!
They are so cute, perfect for little treasures
I have been crocheting drawstring bags for years but I don’t use a magic circle to start any of my “creations”. I use a slipknot which was how I was taught around 45 years ago. I have yet to make my 1st magic circle.
These little bags are really cute.
I never use a magic circle either, I prefer the old fashion way of starting a circle
I’ve been crocheting for over 25 years and I have never used a magic ring. I do the old way with a slip knot. and I just can’t get the hang of making a magic ring. The old way is best for me!