
A few months back I had designed the On The Go Makeup Bag. As much as i loved the hot pink bag for my makeup, its now being used to store my curler clips. 🙂 This FREE crochet pattern for the On The Go – Take Two, is a lot like the original makeup bag but with much improvement. Some day I will make another one… even better! Until that day I will get lots of use out of this YARNTASTIC makeup bag! Have a happy hookin time!
Supplies
Medium weight yarn (two strands)
5.5 mm hook
Yarn needle
Stitches
CH- Chain
SC- Single Crochet
HDC- Half Double Crochet
Slip stitch
Back loops only
Get Started!
USING TWO STRANDS OF YARN
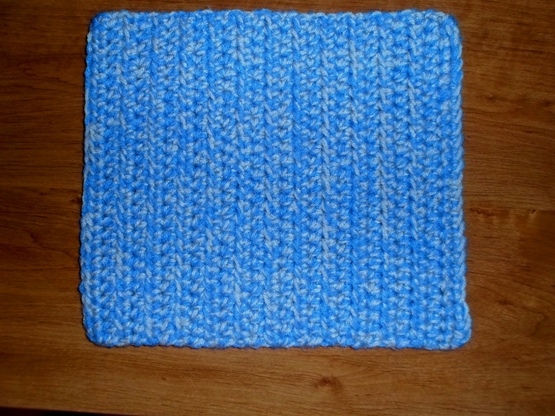
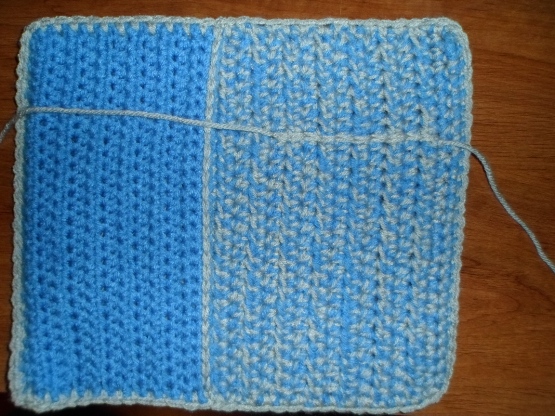
Row 1: CH 27, SC into 2nd CH from hook and in each stitch across. (26 SC)
Row 2: CH 1, Turn, SC into each stitch across (26 SC)
Row 3-26: CH 1, Turn, HDC into each stitch across. (26 HDC)
Only using one strand of yarn
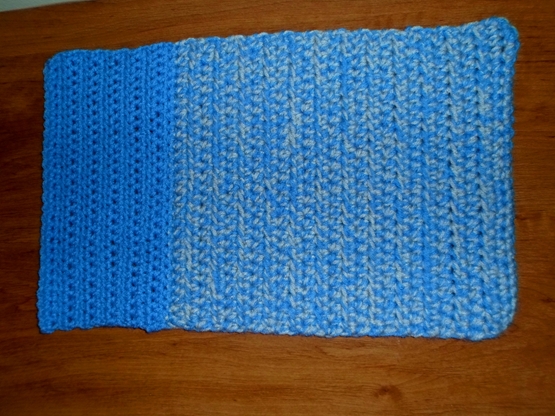
Row 27: CH 1, Turn, ~IN BACK LOOP ONLY~ SC across. (26 SC)
Using both loops again
Row 28-37: CH 1, Turn, HDC into each stitch across. (26 HDC)
Row 38-39: CH 1, Turn, SC into each stitch across (26 SC)
Finish off and weave in ends.
Edging
Step 1: Fold the pocket up with the front loops from row 27 facing
out.
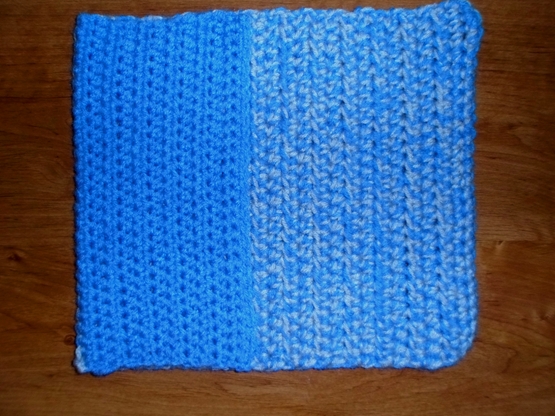
Step 2: Join one strand of yarn in the corner where the piece is
folded.CH 1 and SC around the outside edge of entire piece..
crocheting the pocket sides shut in the process. Join to first SC.
Finish off and weave in ends ~~tip: When working around the outside
edge-I only crochet one SC for every HDC.~~
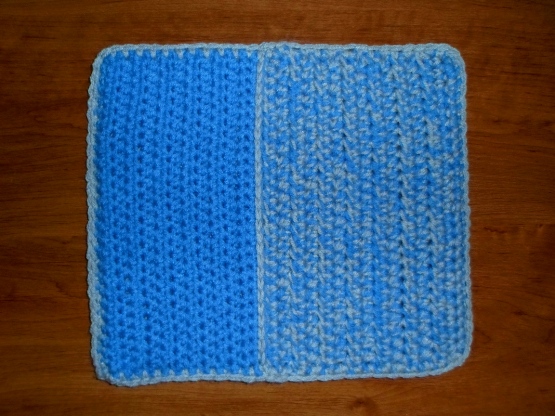
Step 3: Attach one strand of yarn to the right side of the open end
of the pocket. Slip stitch across the end. Finish off and weave in ends.
Holders
Attach yarn into the second row, 8th stitch from the edge. Slip
stitch across 10 rows. ~~~Tip: You can make these slip stitches as
tight or loose as you will need them to be. I would recomend making a
variety of sizes for a variety of utensils… I didn't and I wish I would have- may go back and change it.
Repeat from other side so you have two slip stitch rows. And weave in ends.
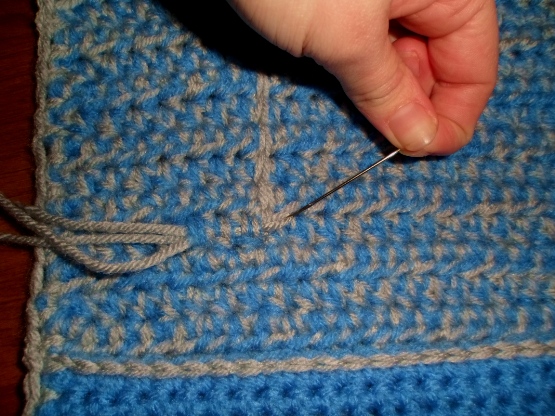
The photo above is showing how I wove my ends in.
Closing
Fold front of clutch down and attach button to the front of the
clutch.
Attach yarn to the bottom center of the clutch. CH 20. Slip stitch
into next stitch. (attach 13 stitches in from the left. After
chaining you will slip stitch 13 stitches from the right. Turn, Slip
stitch back across the chain. ~~~Hint: You may need to make this
Chain longer or shorter, depending on your button.


I love this! I do have one question though. When you say 2 strands, do you mean to say like, 2 different strand from 2 balls of yarn?
Yes 🙂