These wings are one of the last pieces to my daughters costume. To see the previous pieces/tutorials check out Rainbow Pony Hat, Rainbow Tail, Rainbow Lightning Bolt, and the Leg Warmers and Fingerless Gloves.
For these wings you will need:
Less than 1 yard of fleece
Cardboard (about 4 cereal boxes)
Hot glue gun and sticks
3/8 elastic
Scissors

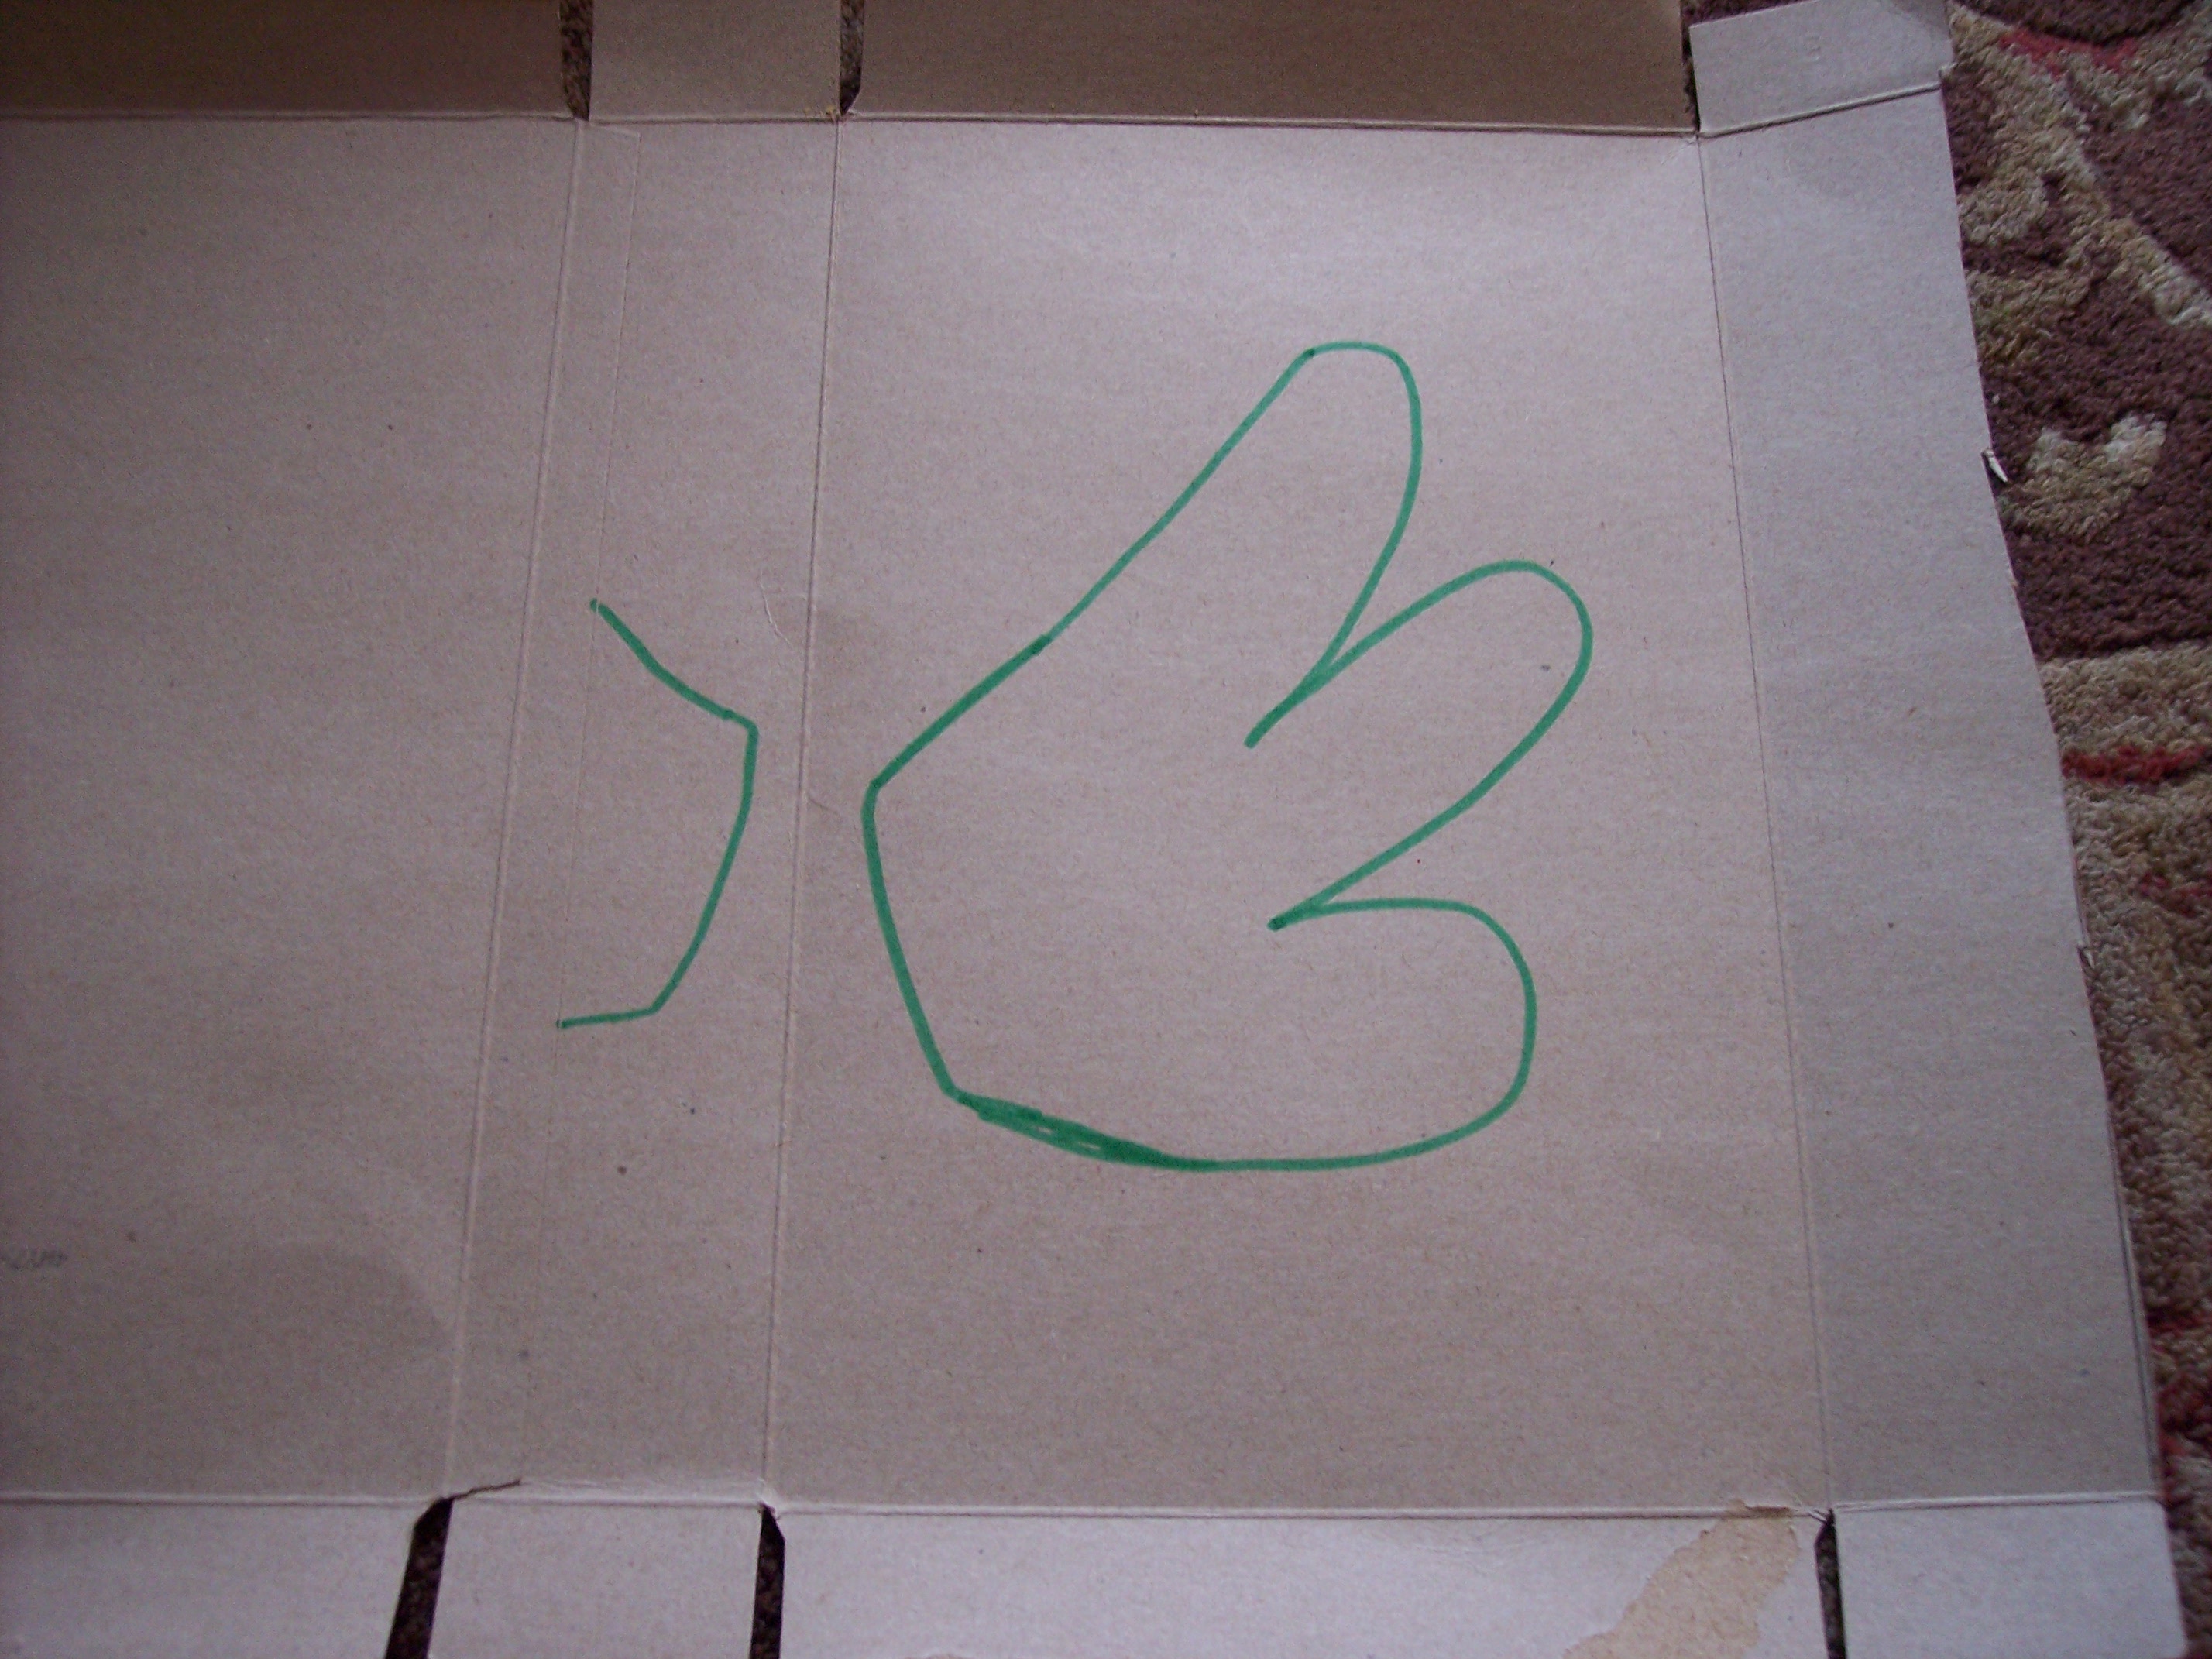
First, you will want to draw the back layer of the wing.
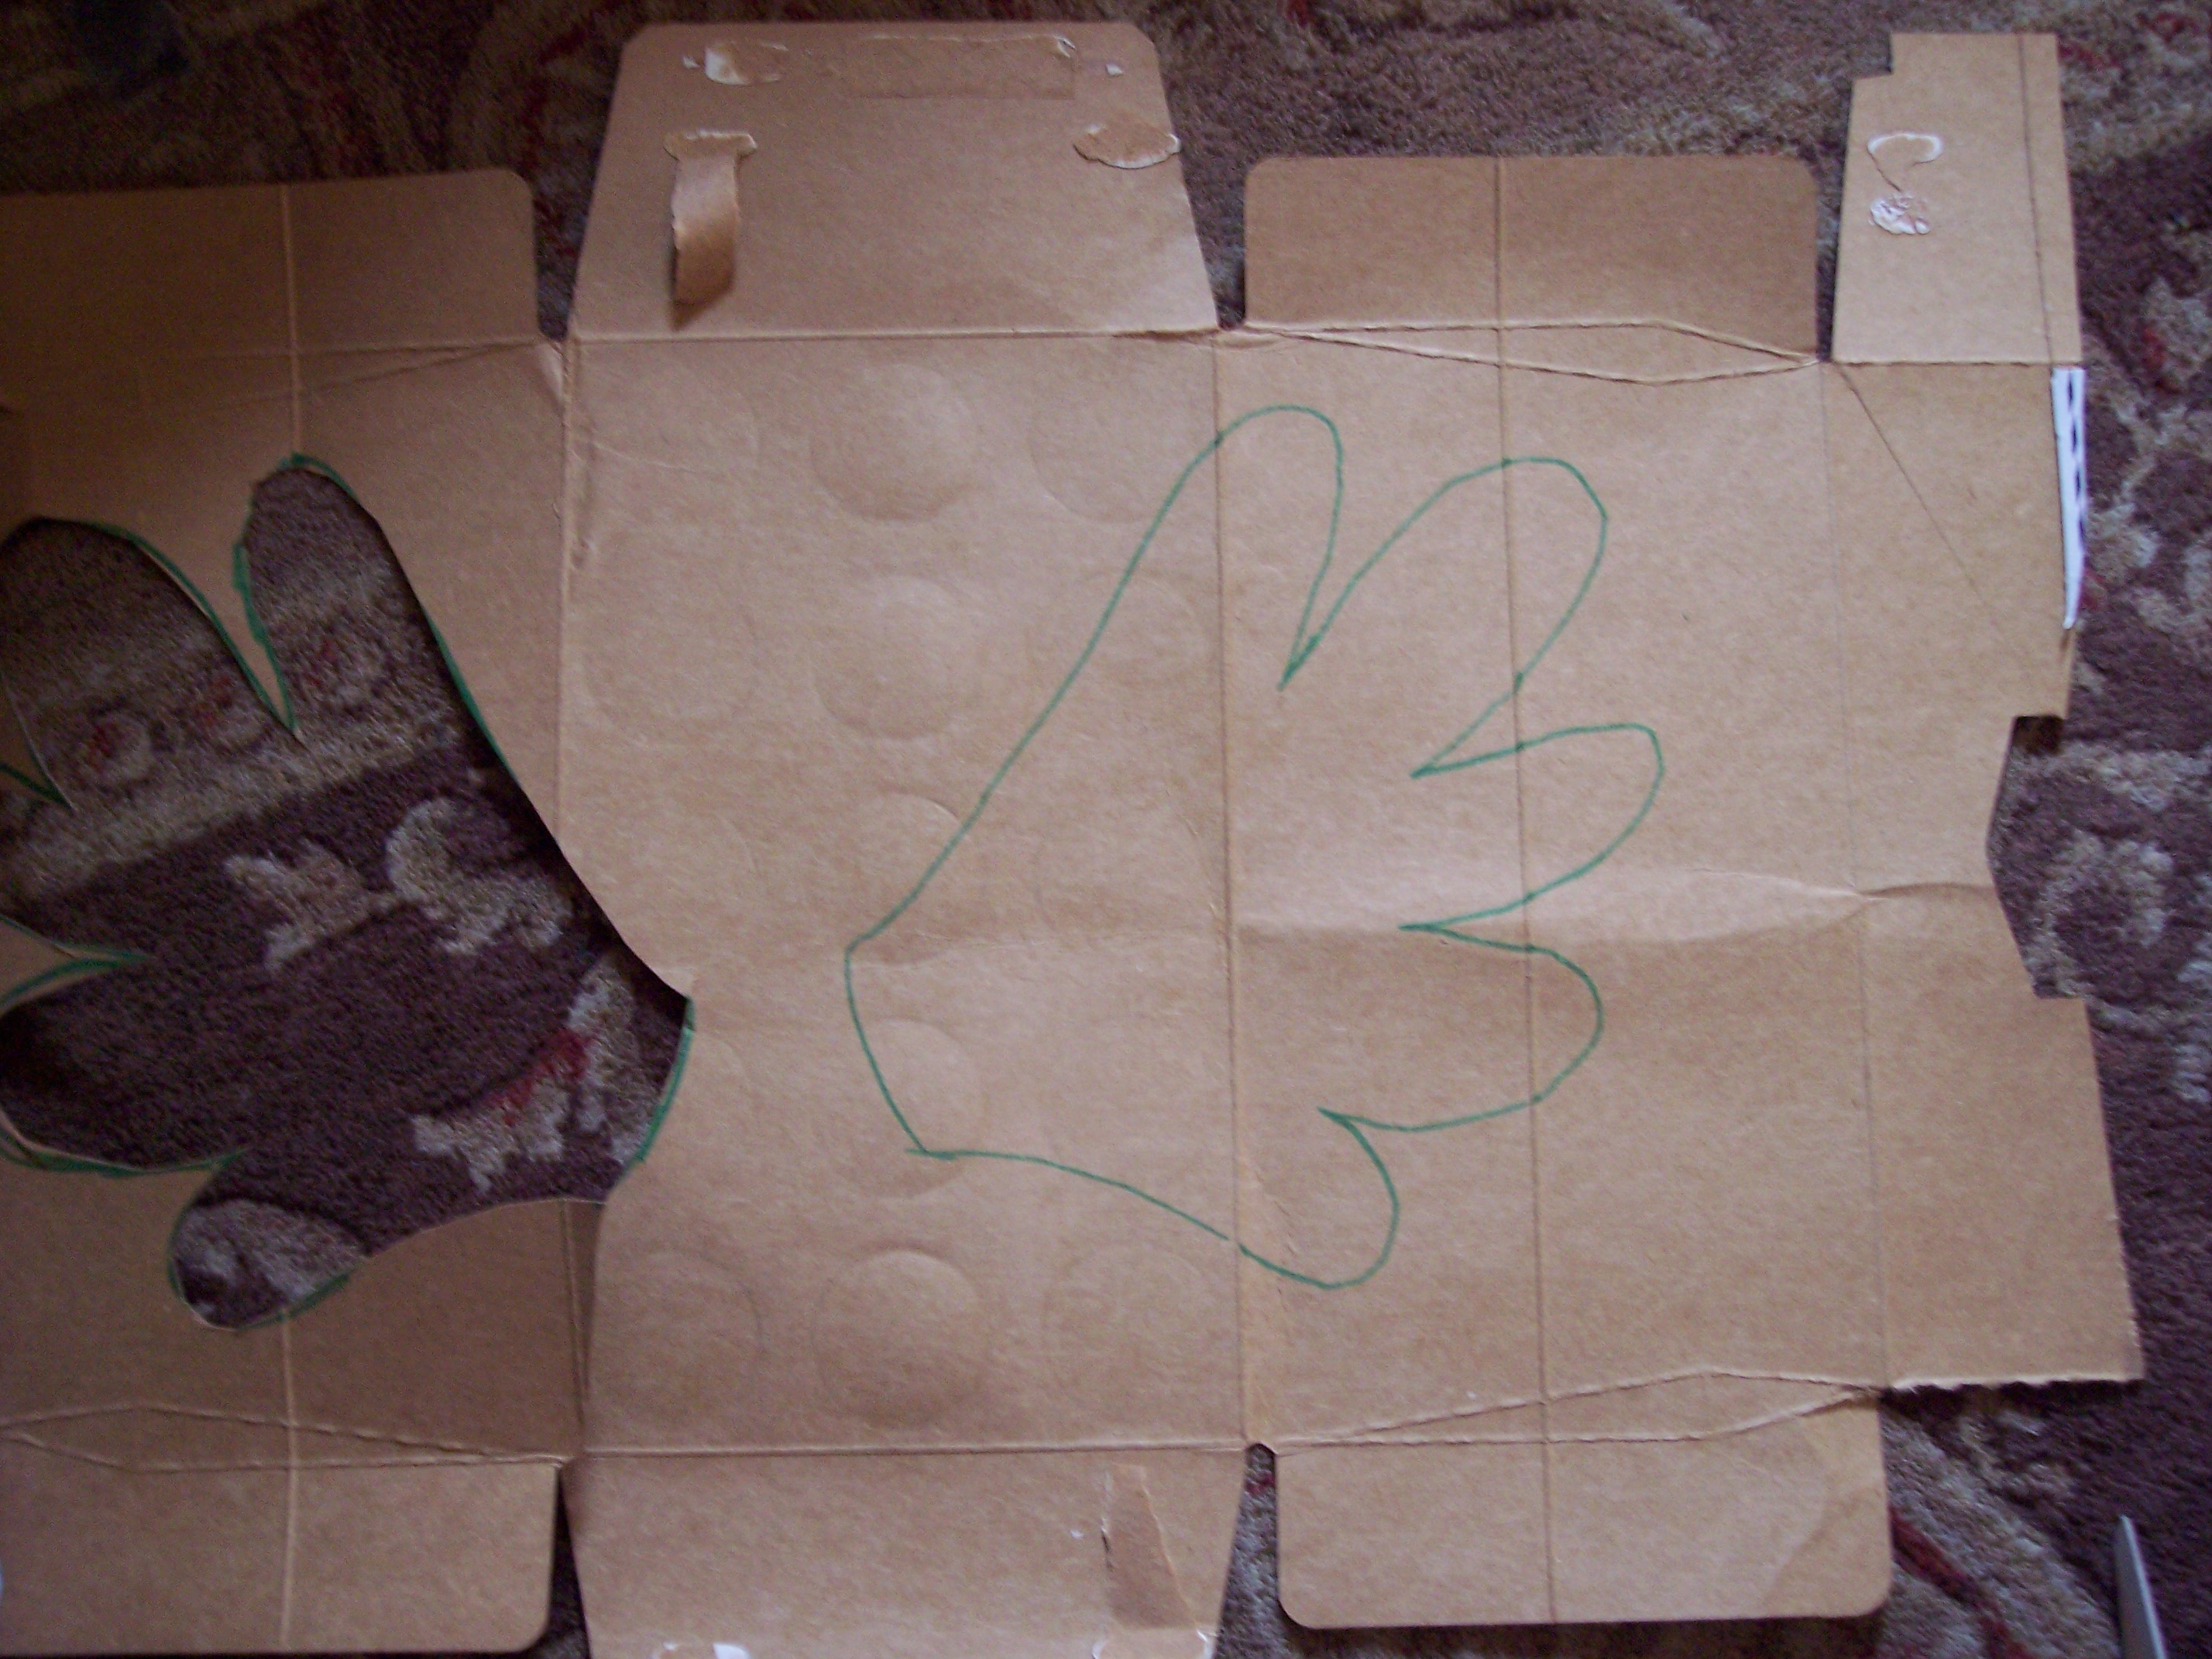
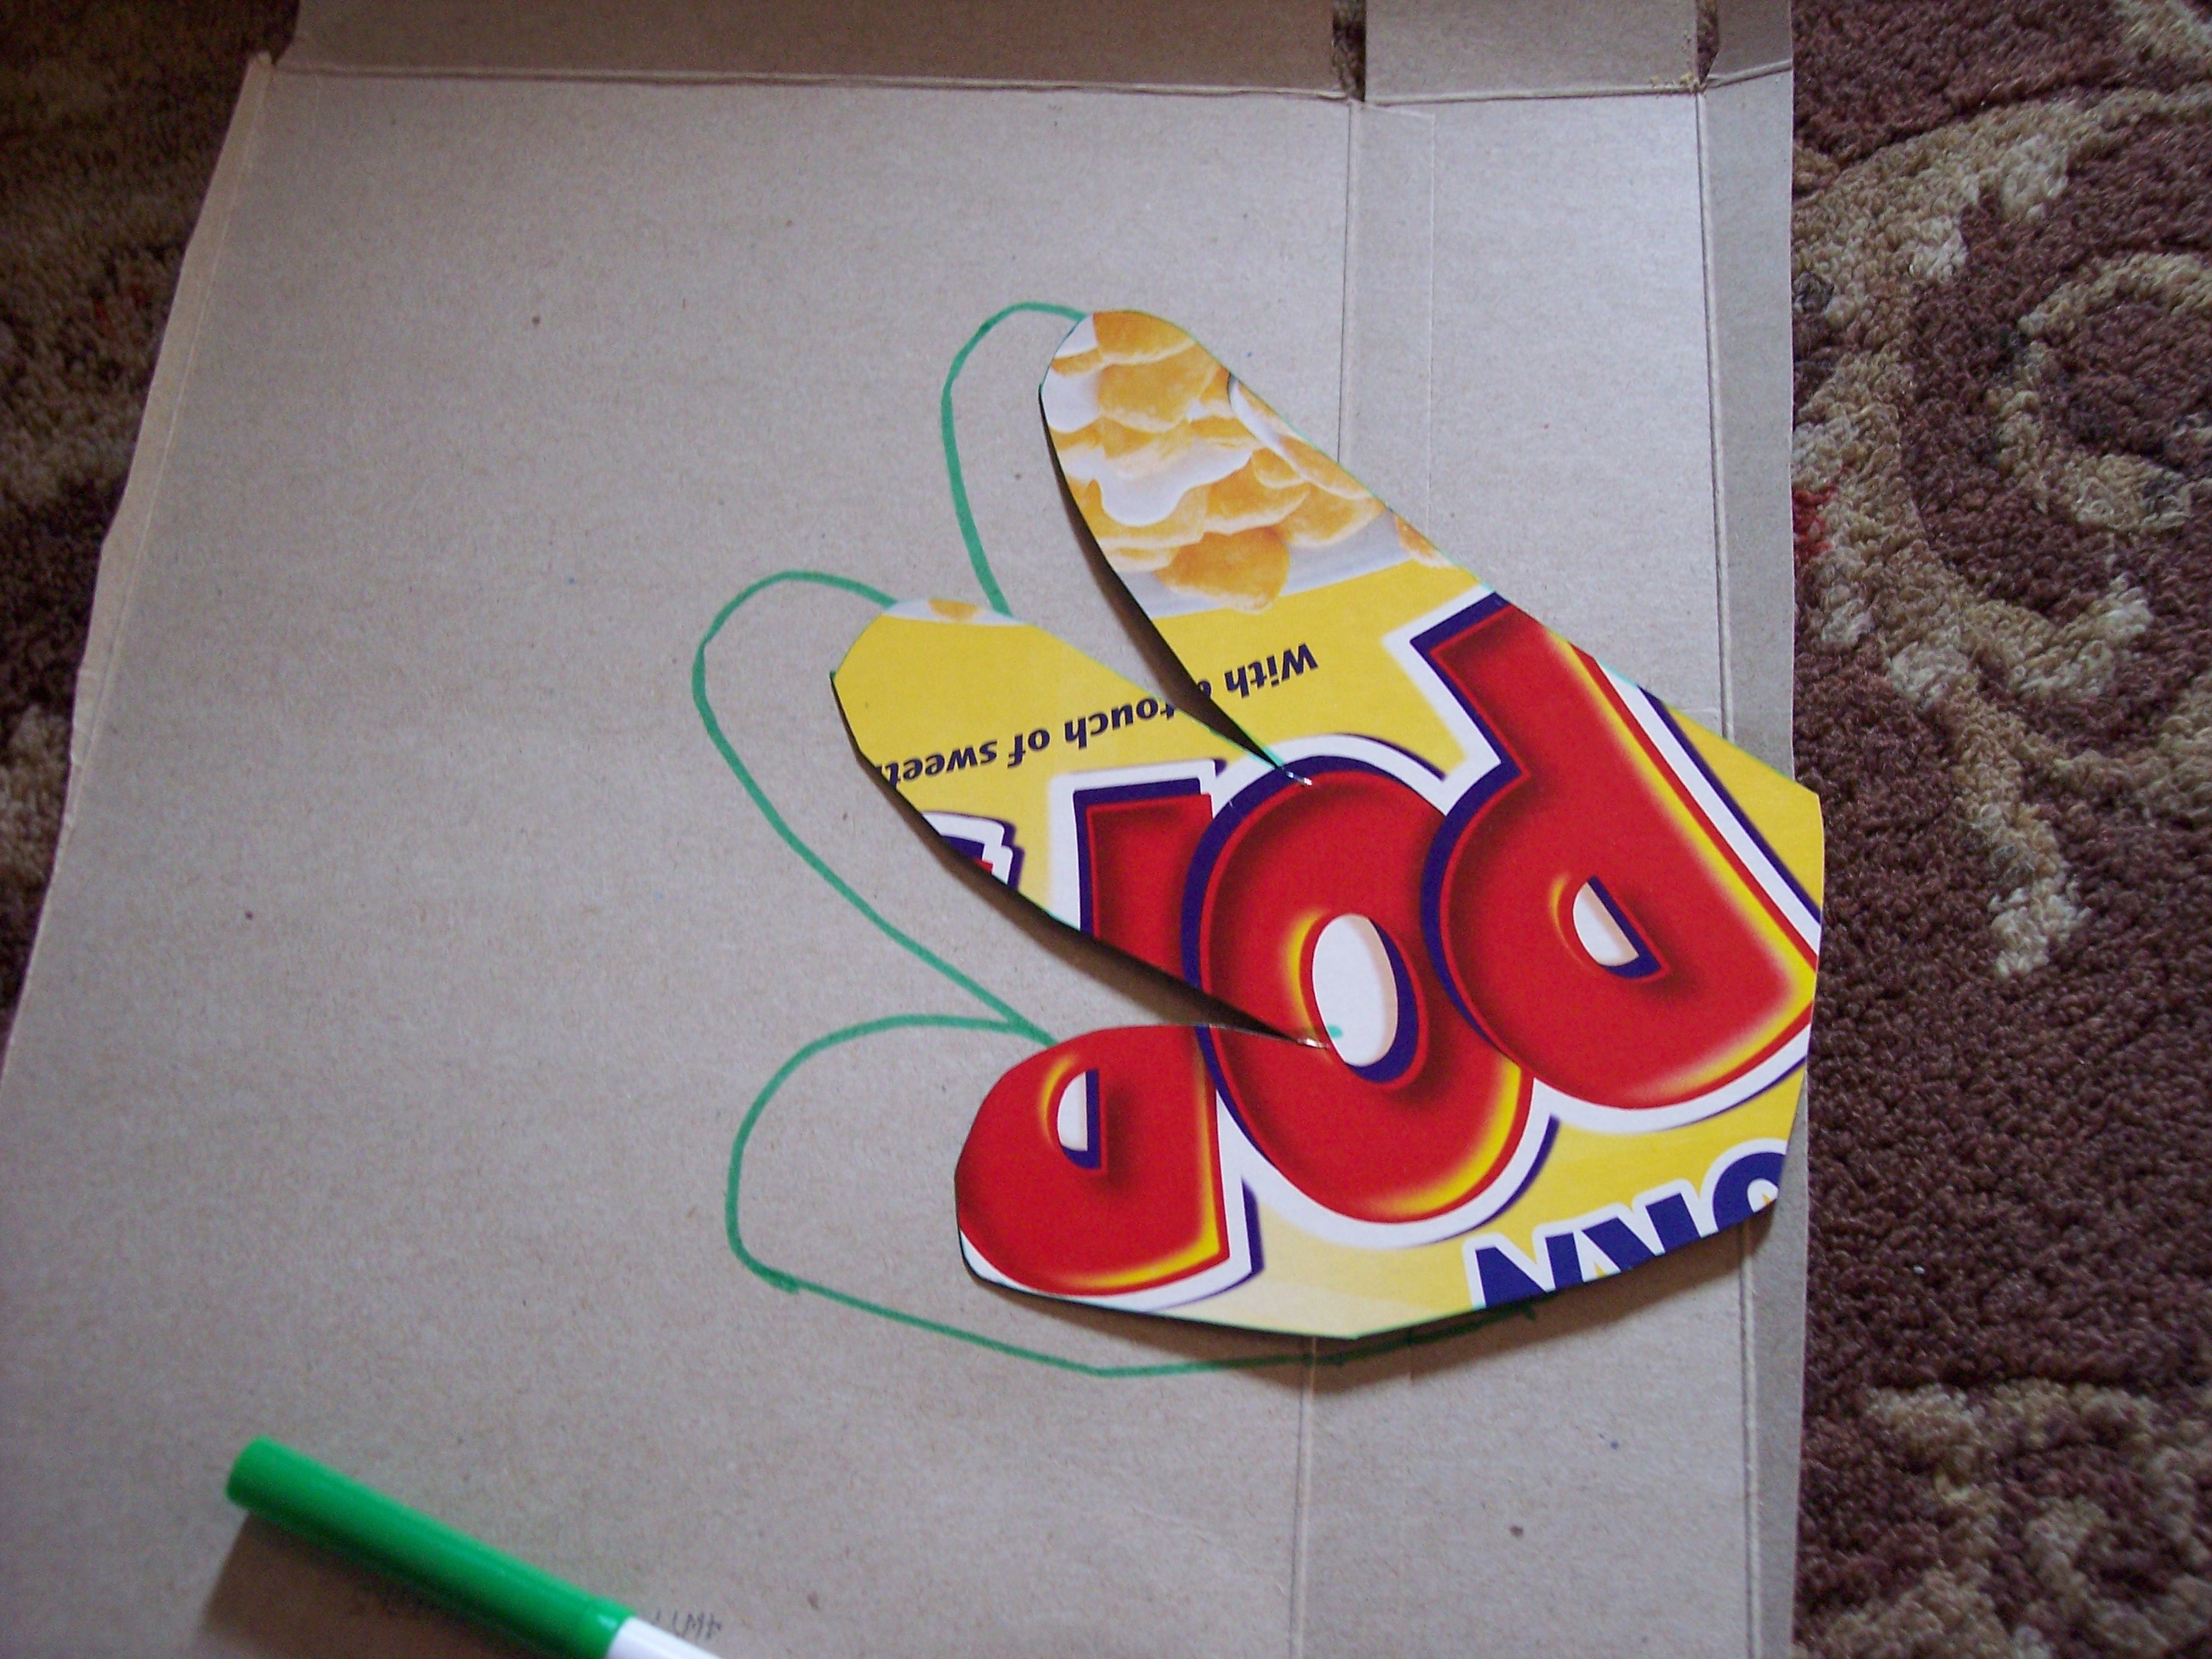
Cut it out, and trace it the other direction for the other wing.
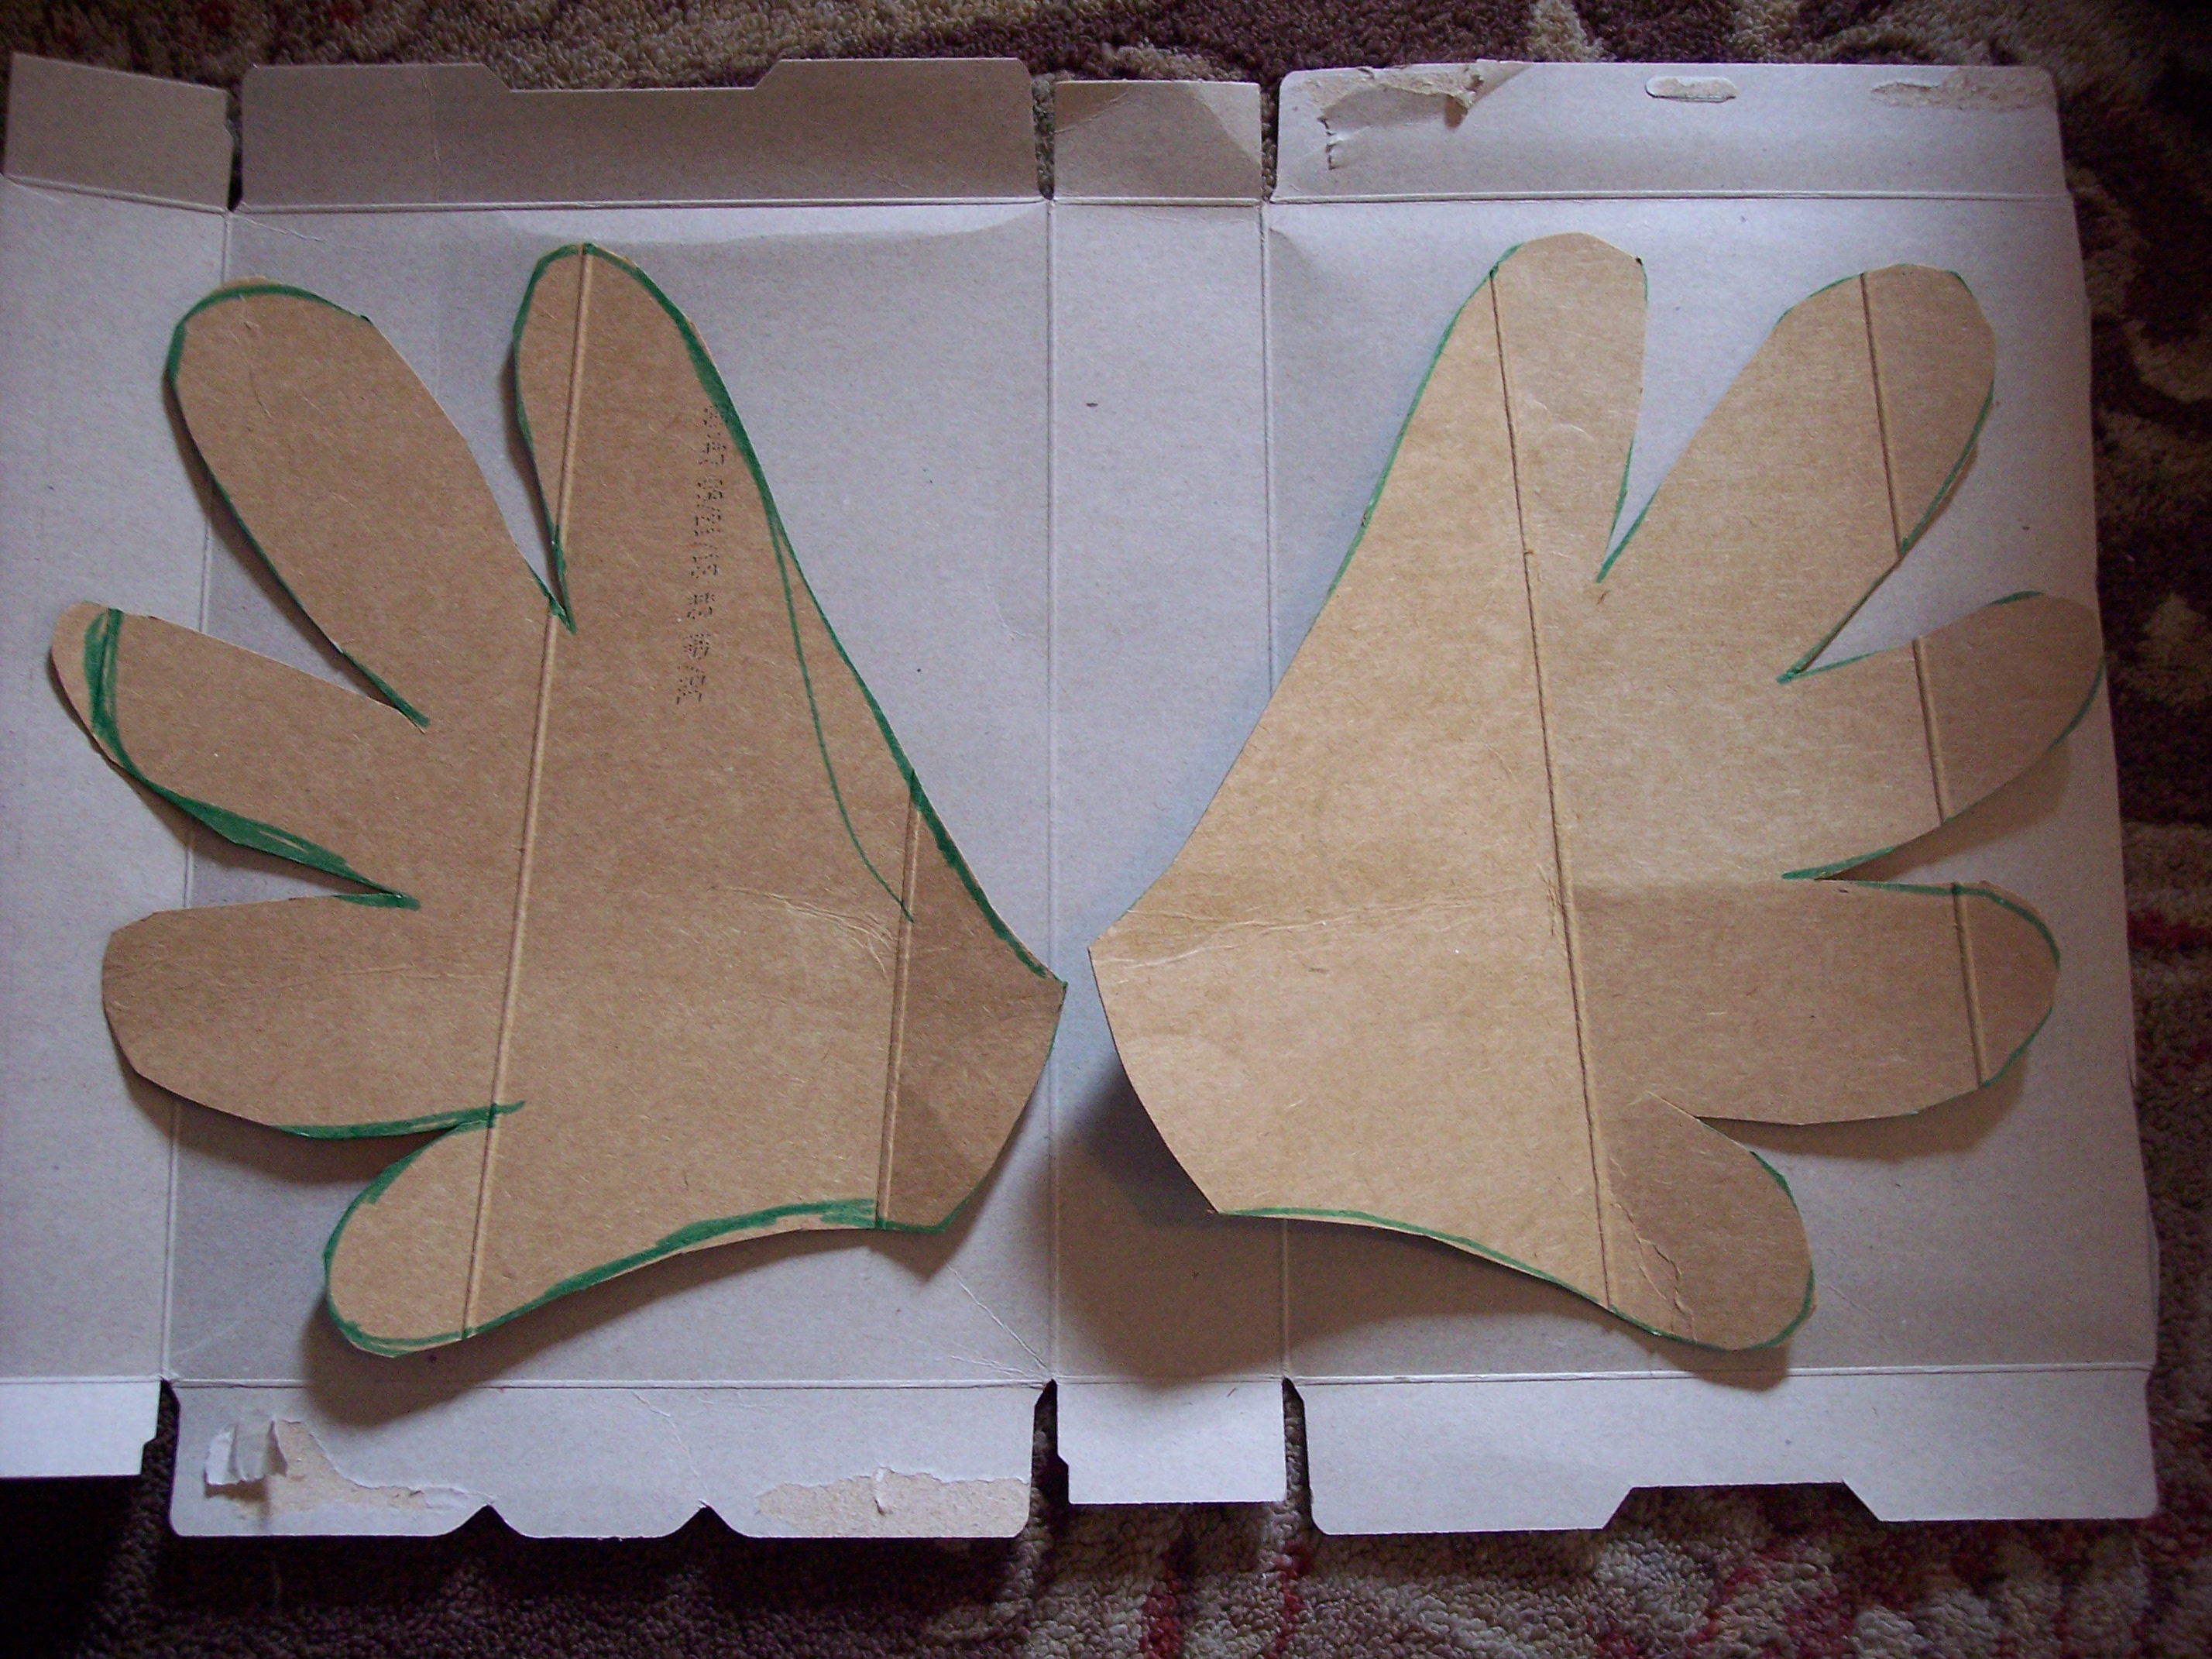
Cut the other out, and now you will trace them both again. We will be layering them to make them stronger.
Cut out your second set like you did the first. Now lay them on more cardboard and trace the inside of the pieces. This is just to make sure your second layer has the same size and shape as the back layer.
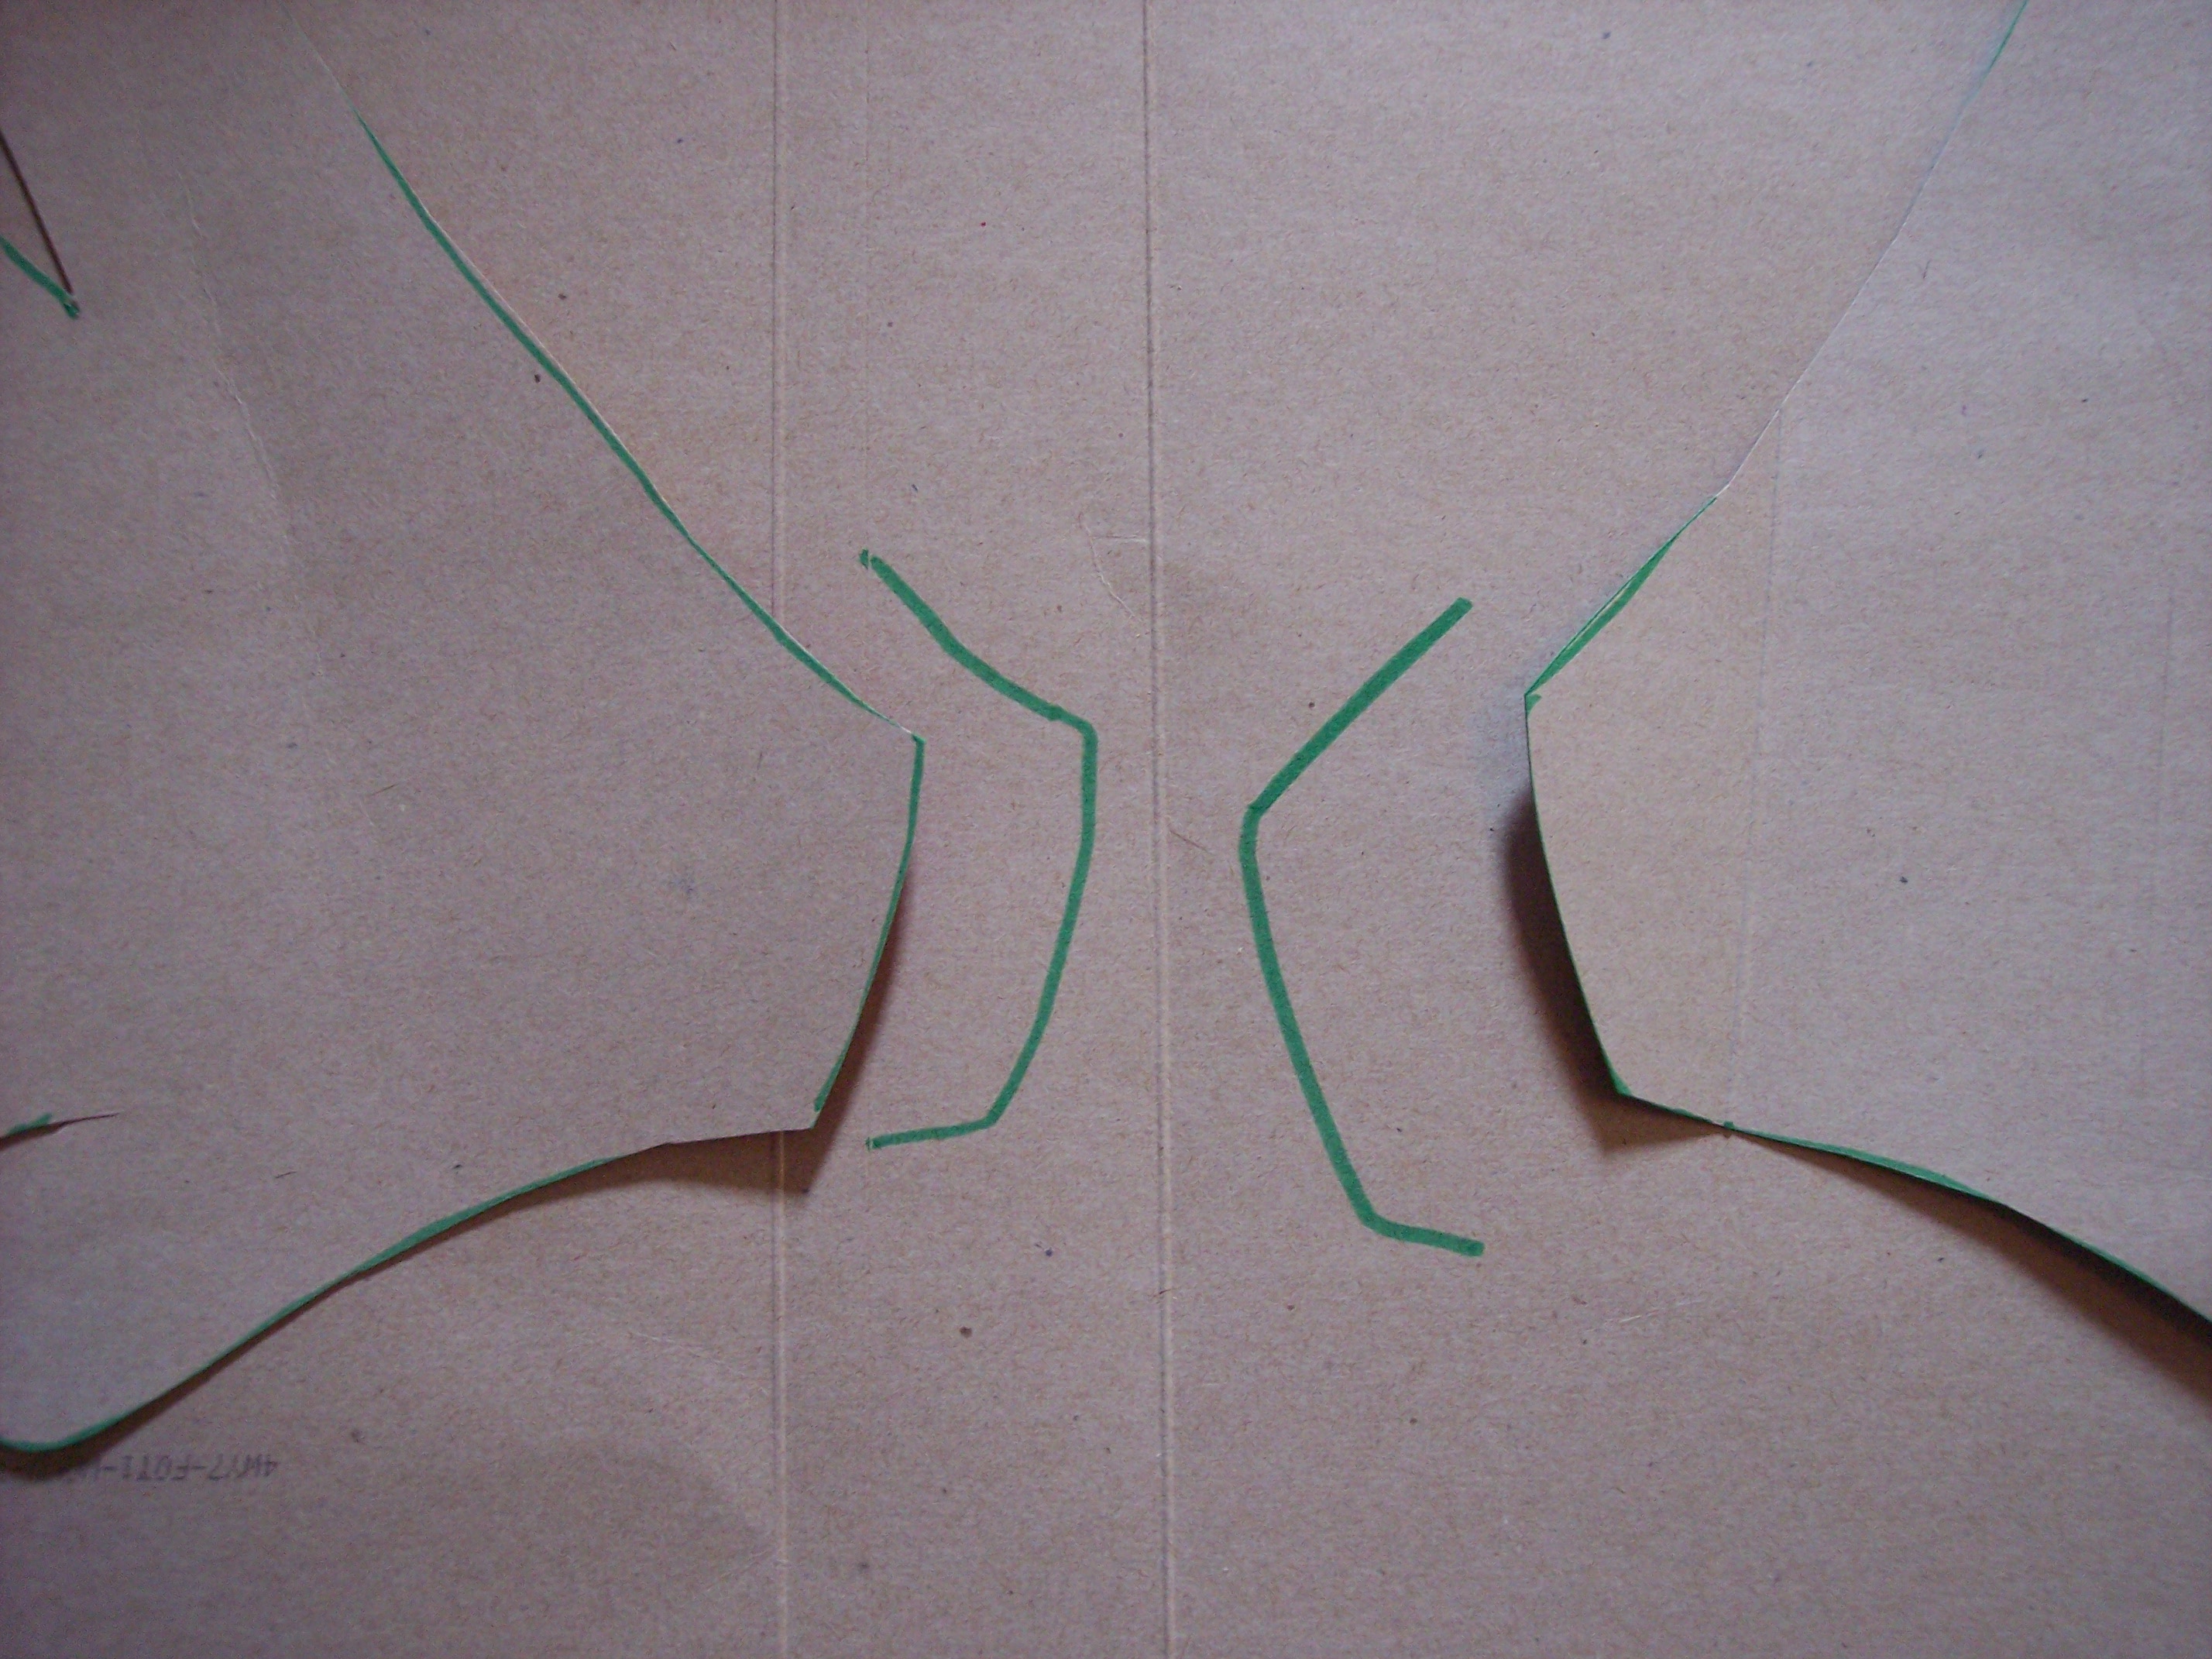
See….
Cut out your first one, flip it, and trace it for the other side.

And, trace them again. Cut them out as well!
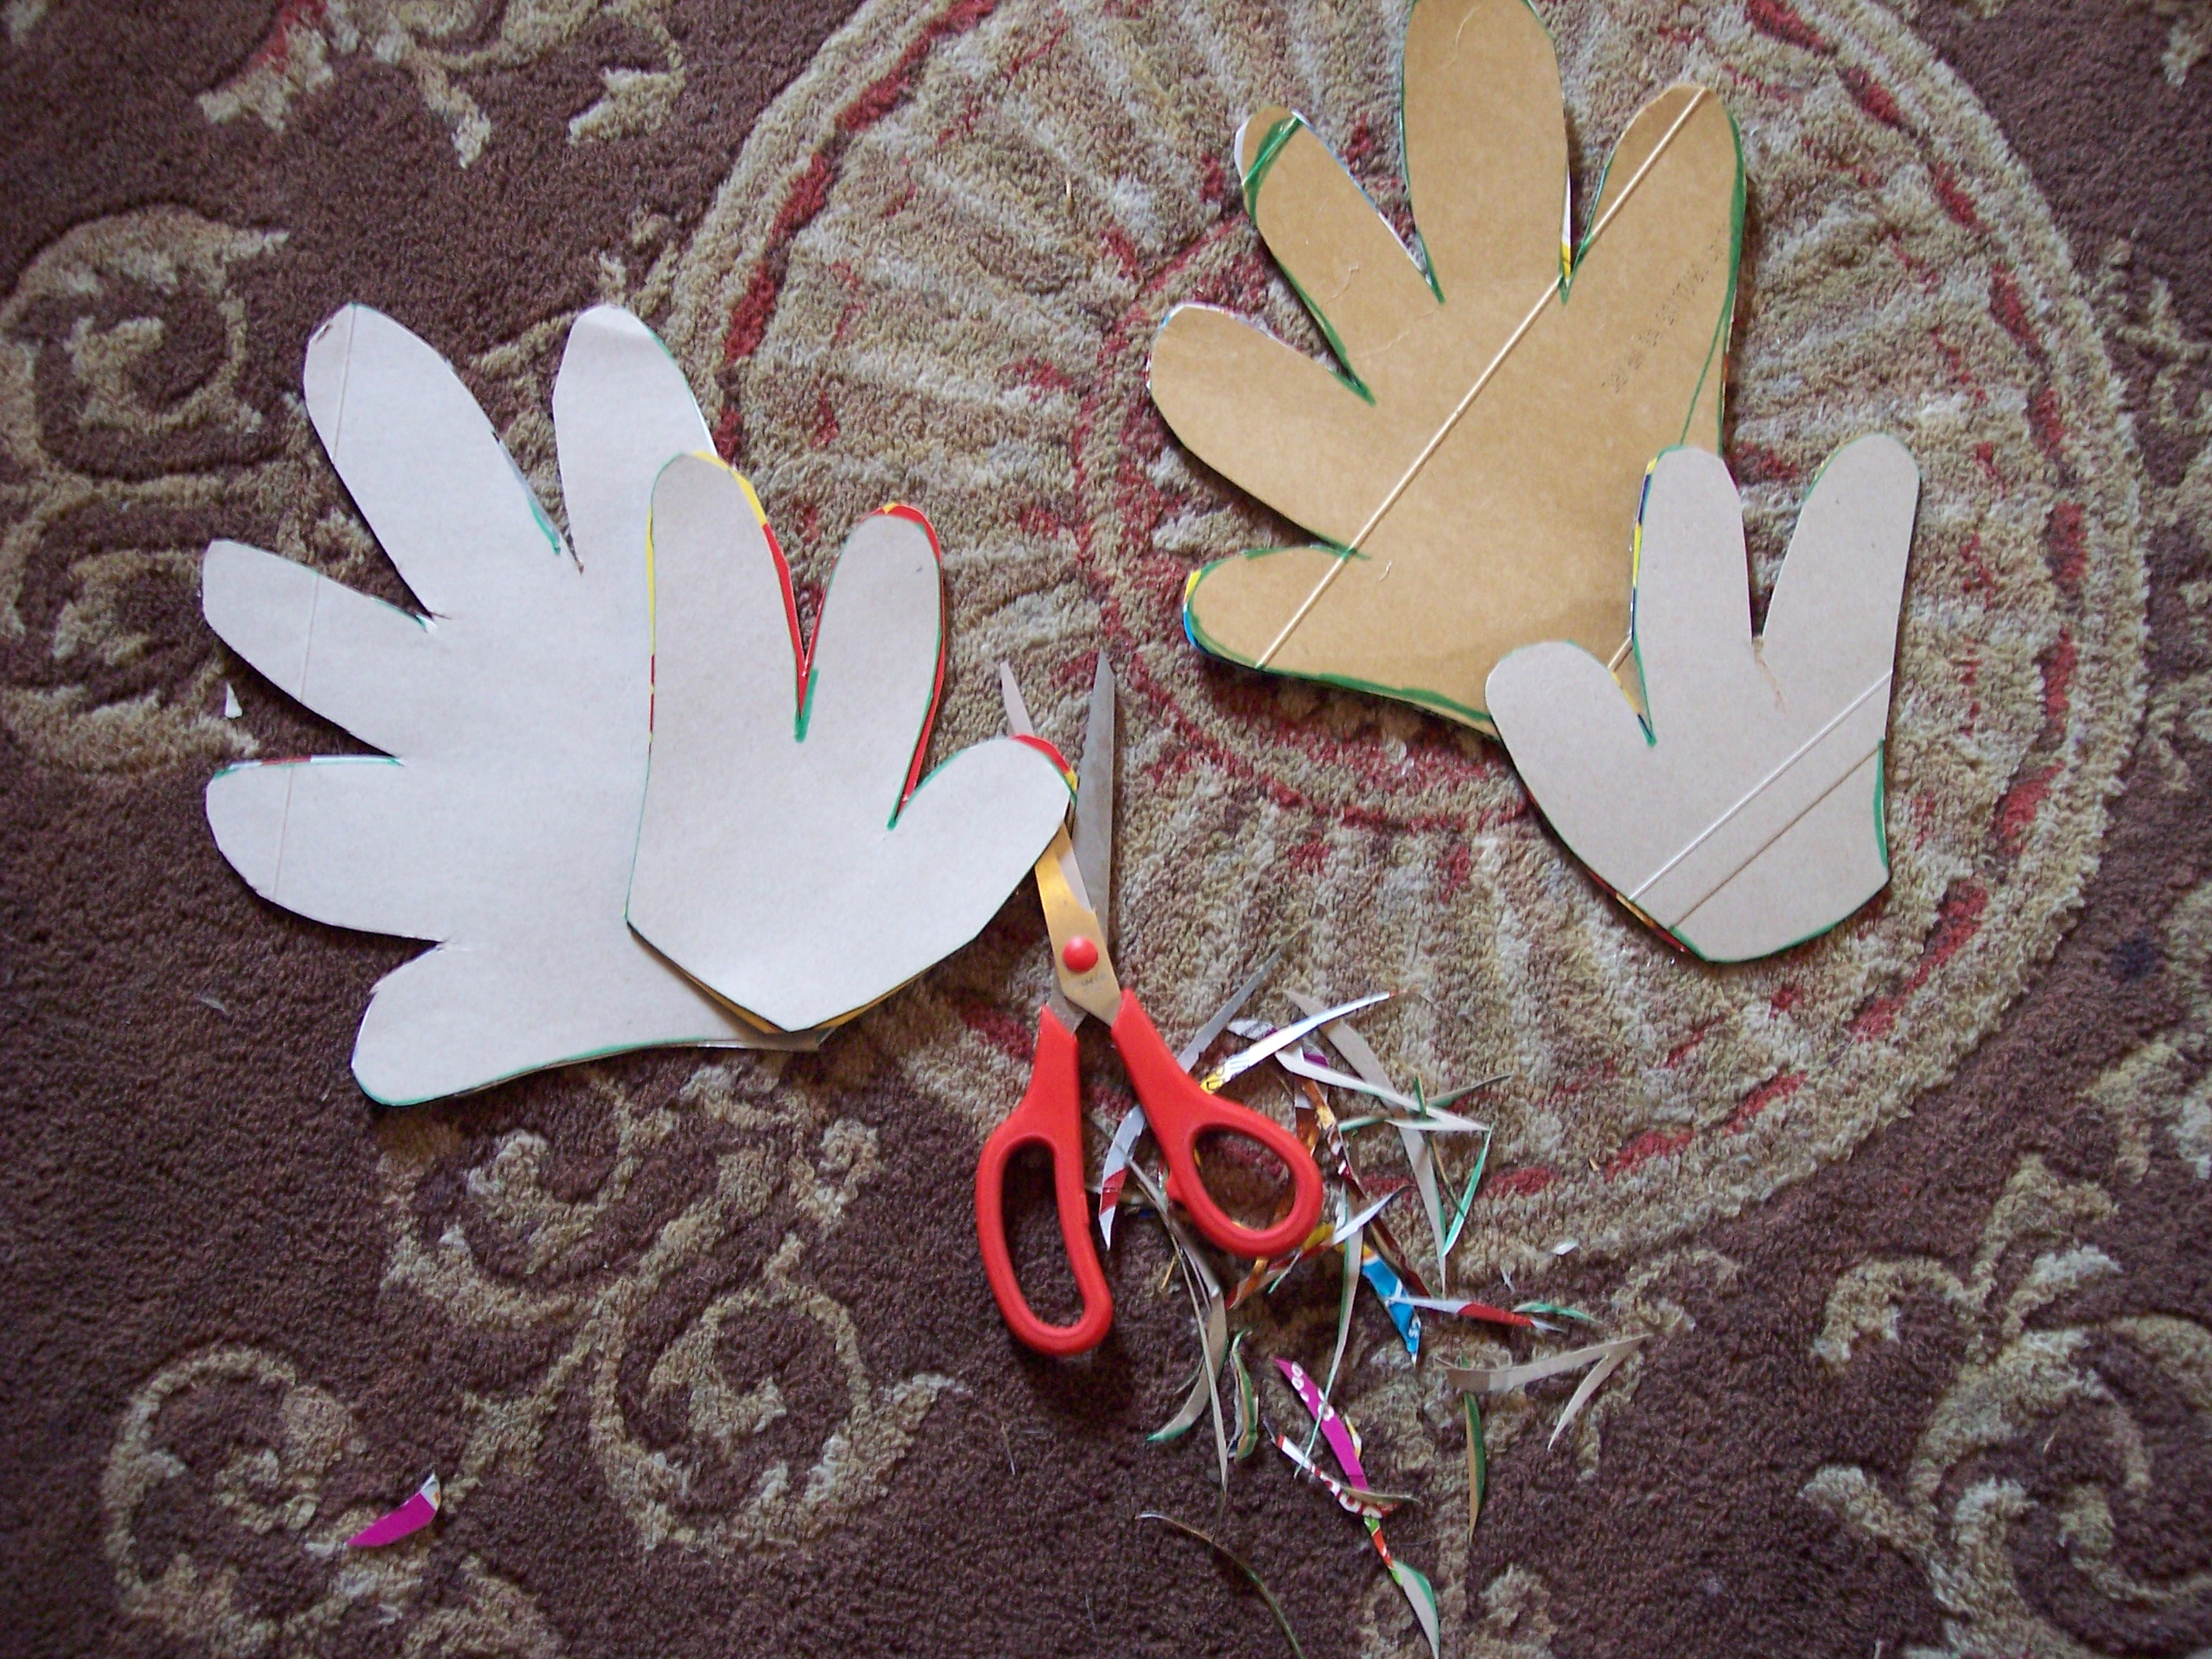
Next, you will hot glue the matching pieces together. So instead of 8 pieces, you now have 4. Each wing is stronger with them doubled and glued together. Go around the edges and cut the wonky looking pieces off to smooth it out.

Trace each piece onto your fleece, from both sides of each piece.

Start hot gluing each piece to the already glued together cardboard pieces.

While gluing, you will have to glue little parts at a time. If you try to glue the entire thing at once, half of your glue will dry before you place the fleece on it. (Learn from my mistakes! ha!)
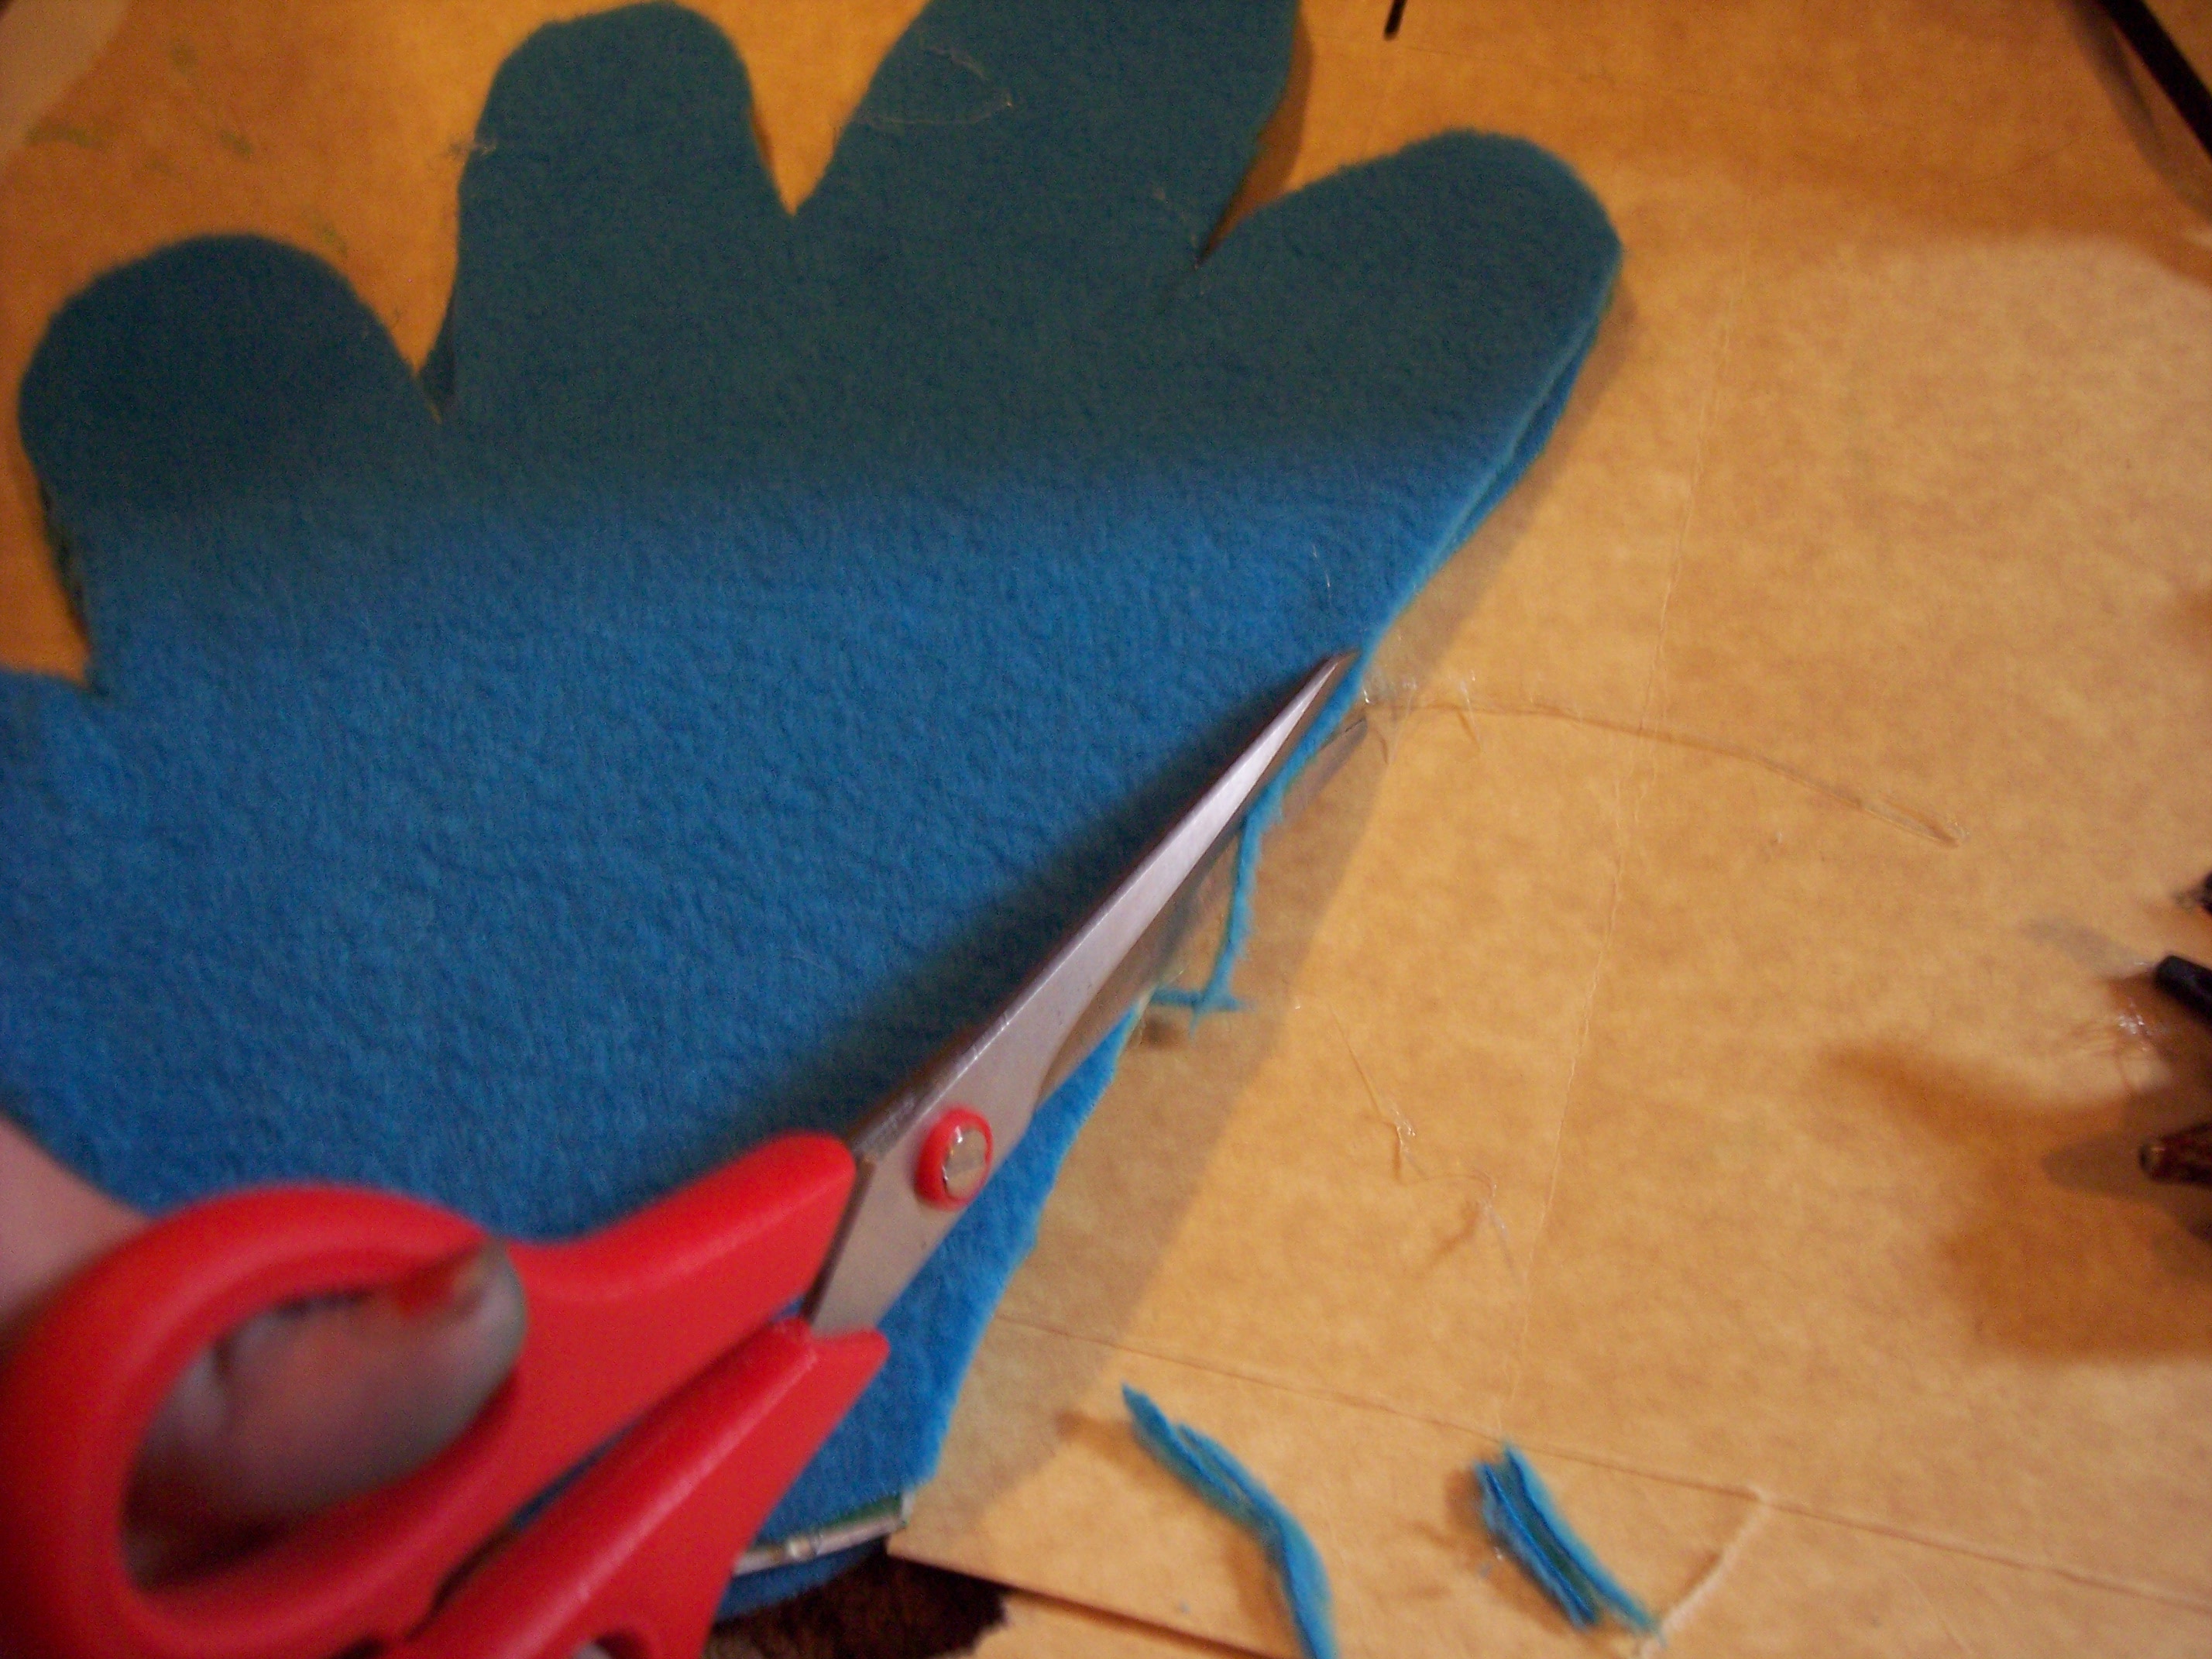
After you glue all the pieces together, trim the wonky edges. If you do not have wonky edges, you are a much better tracer and cutter than I am. 😉
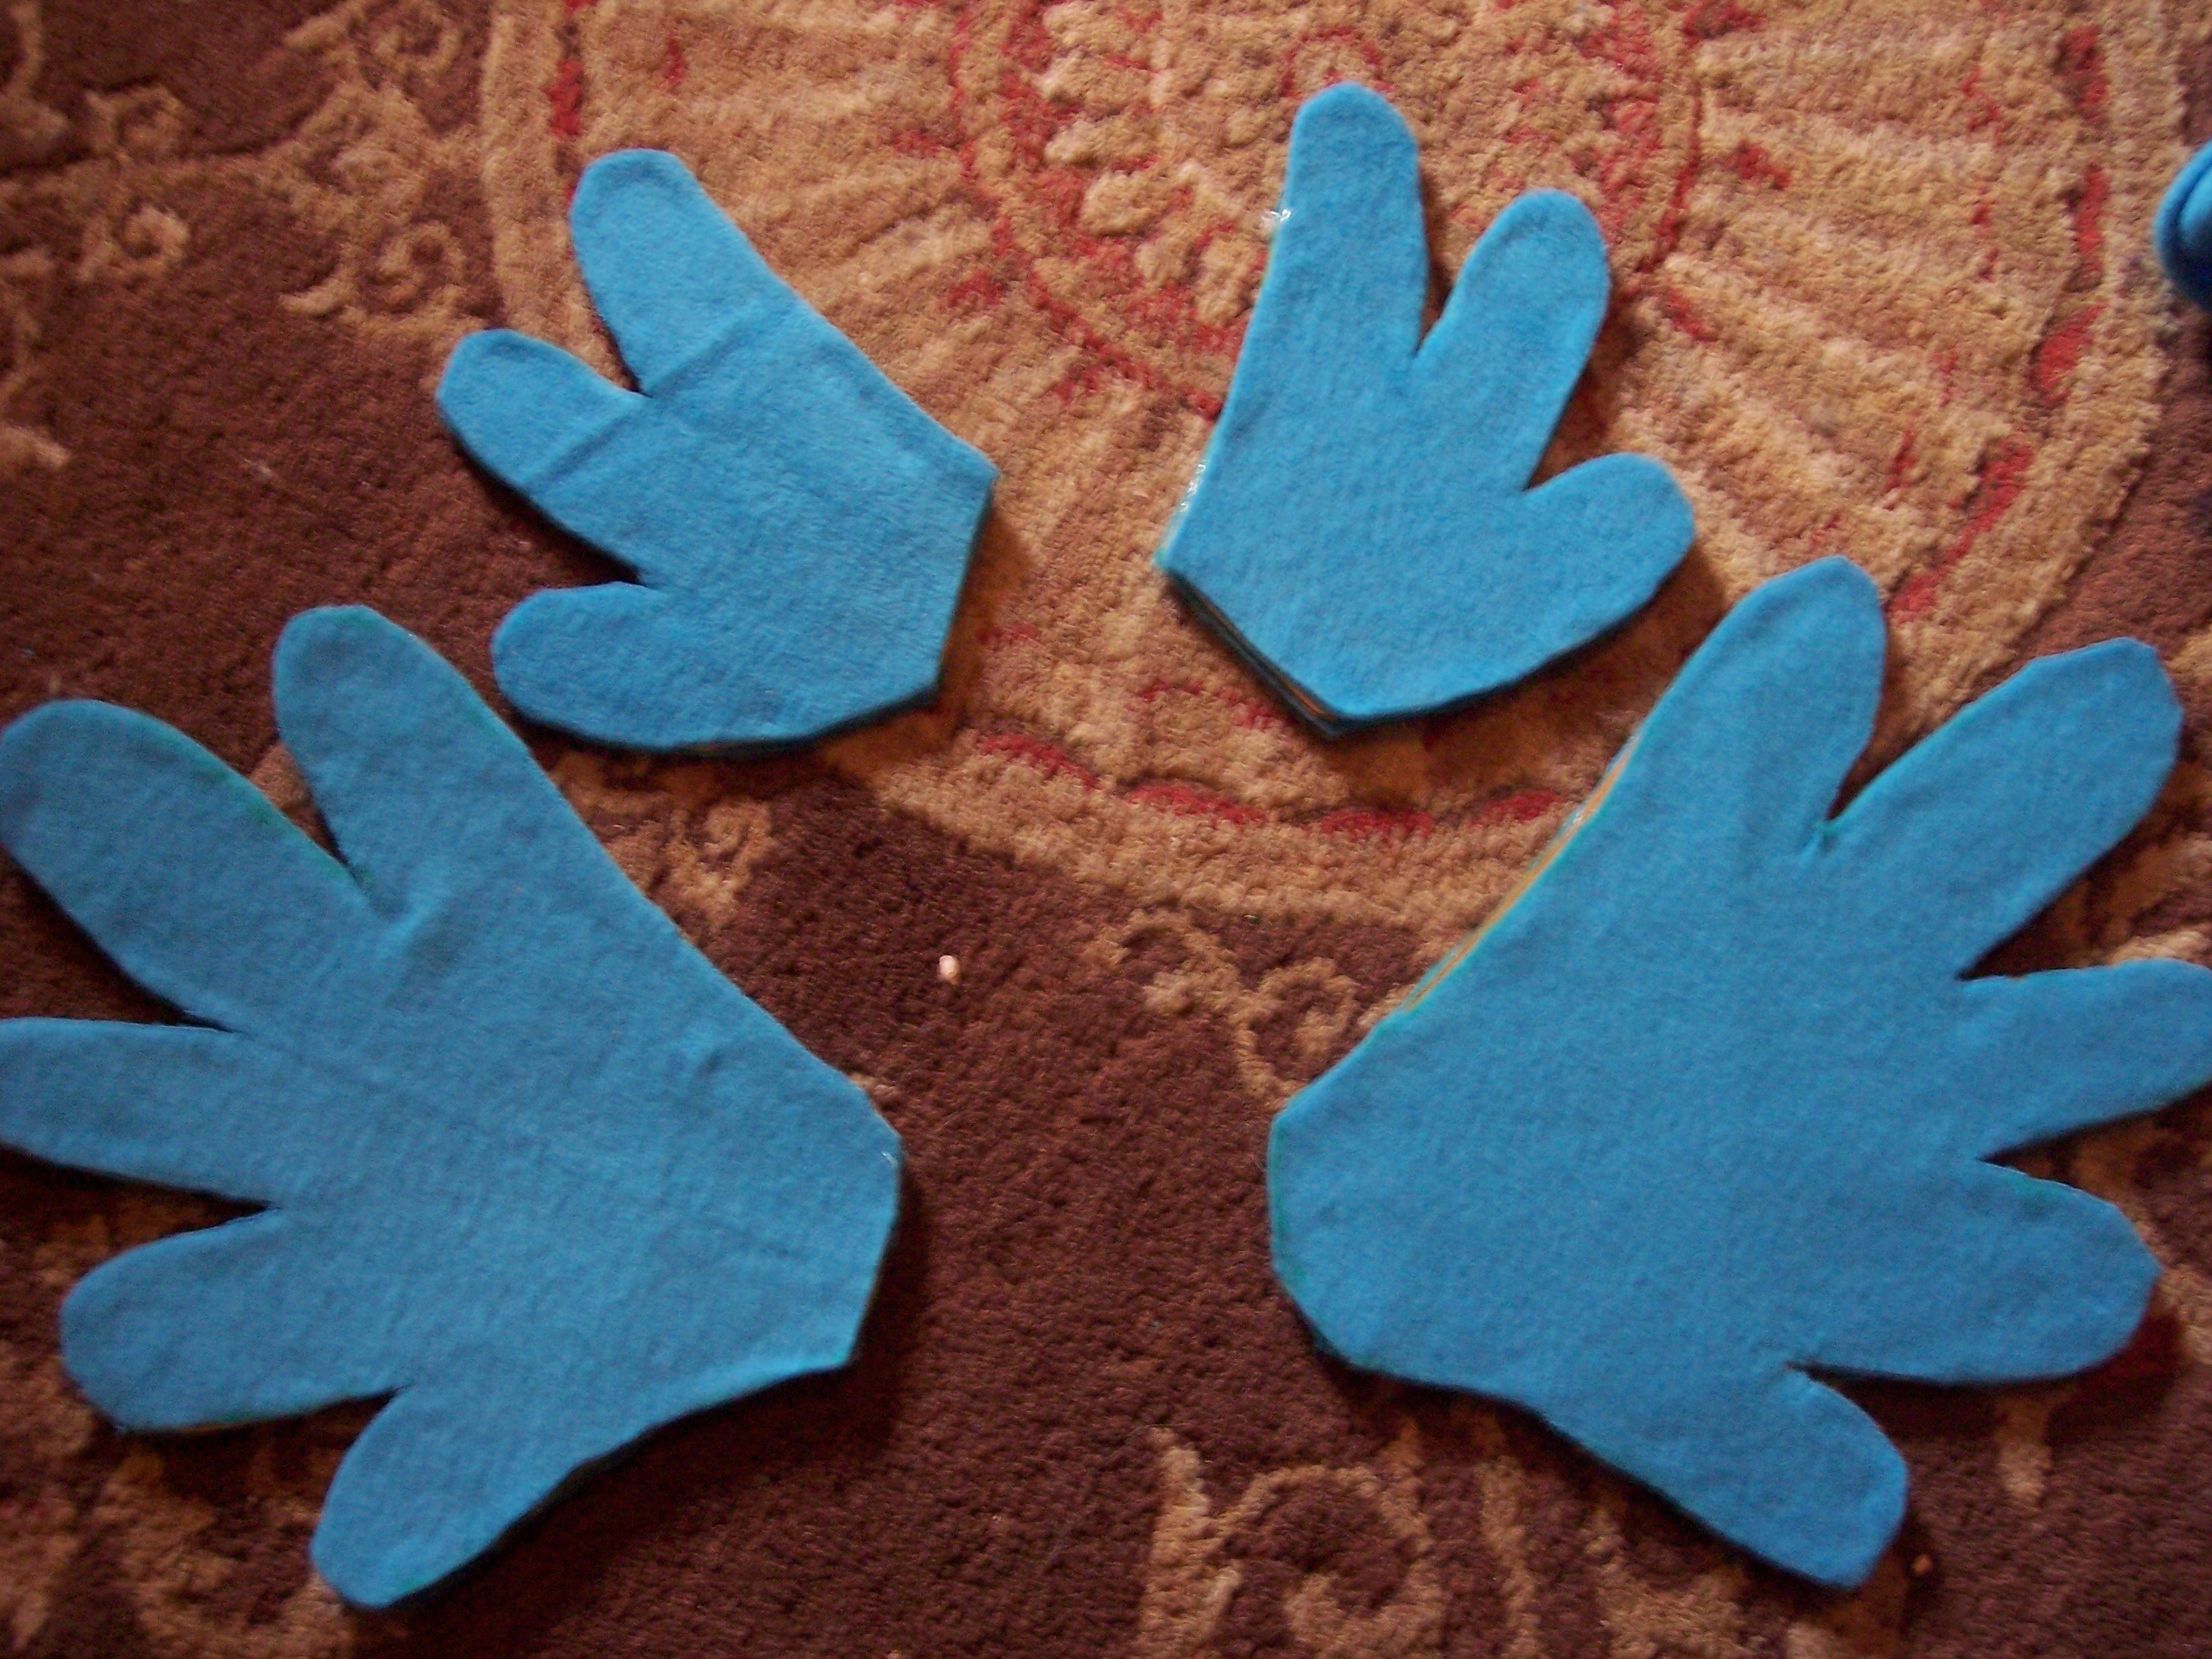
This is what you have!
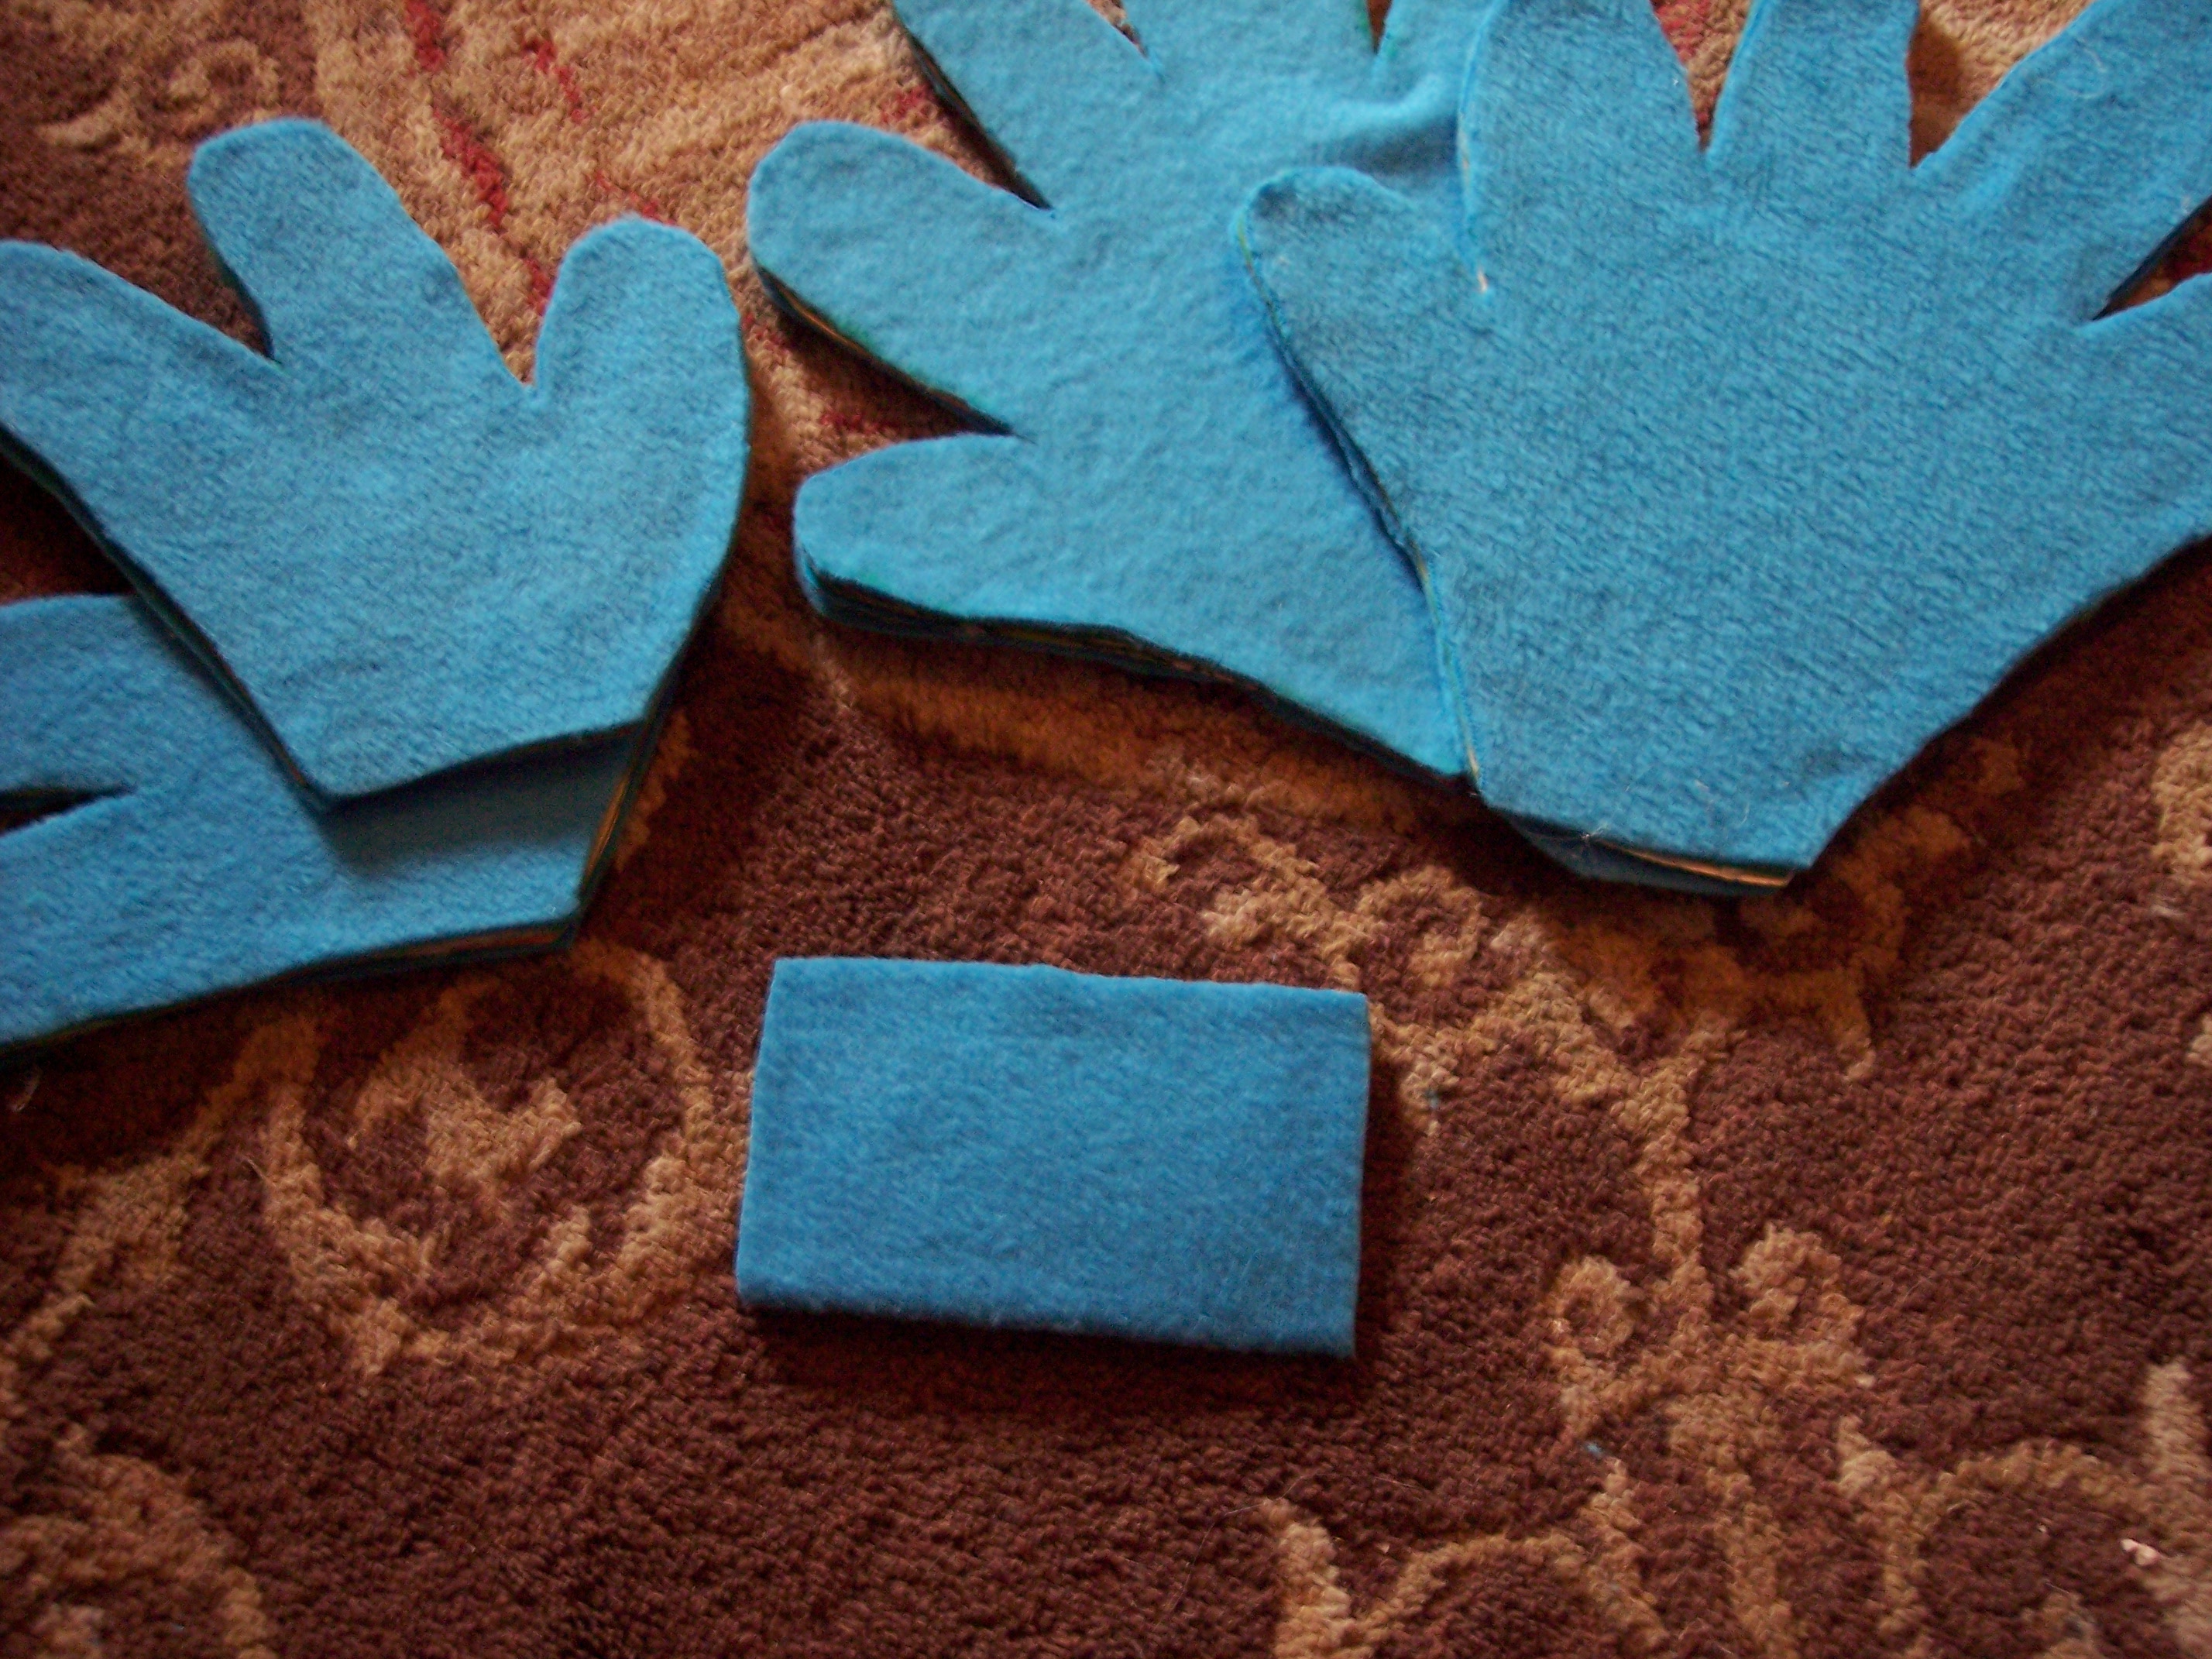
Now make a rectangle the same way you made your wings. 2 layers of cardboard hot glued together with fleece hot glued around it.

Hot glue the rectangle onto the large wings.
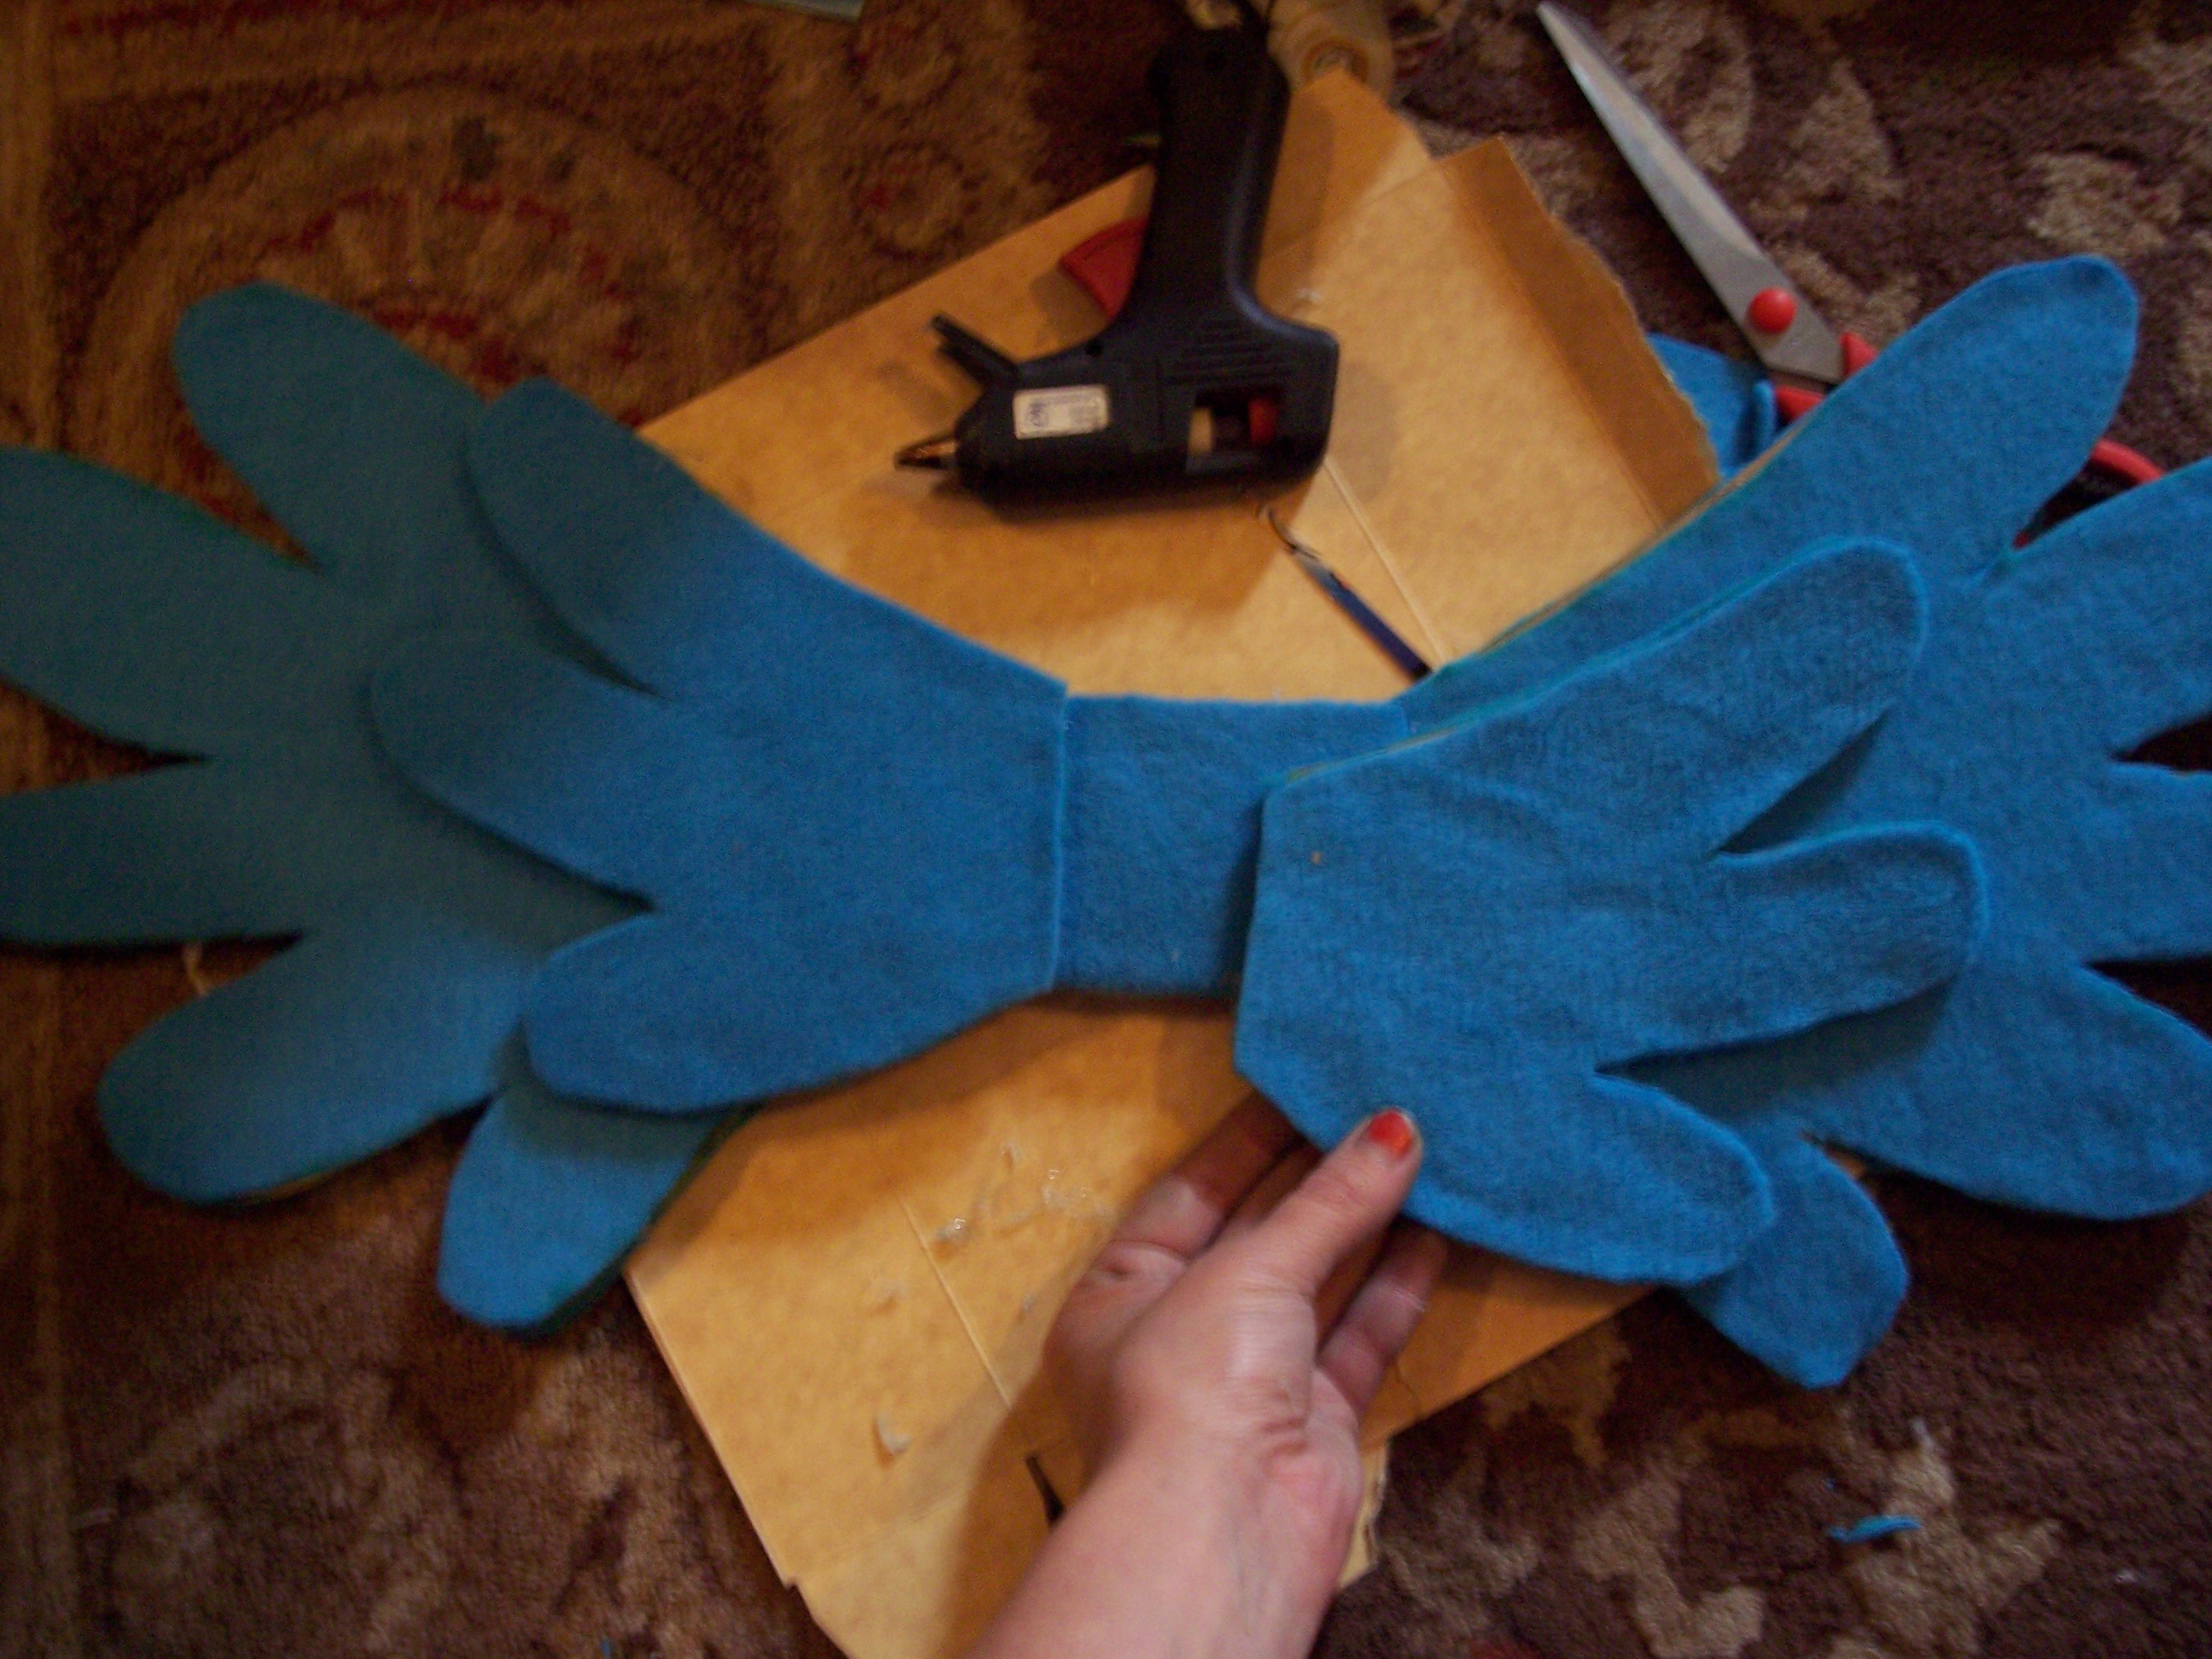
Hot glue the smaller wings onto the top of the rectangle piece.

Cut your elastic at about 18 inches (adjust for the person who will be wearing it) tie them into a knot to make them a loop. Hot glue it down. I used an overload of glue. 😉
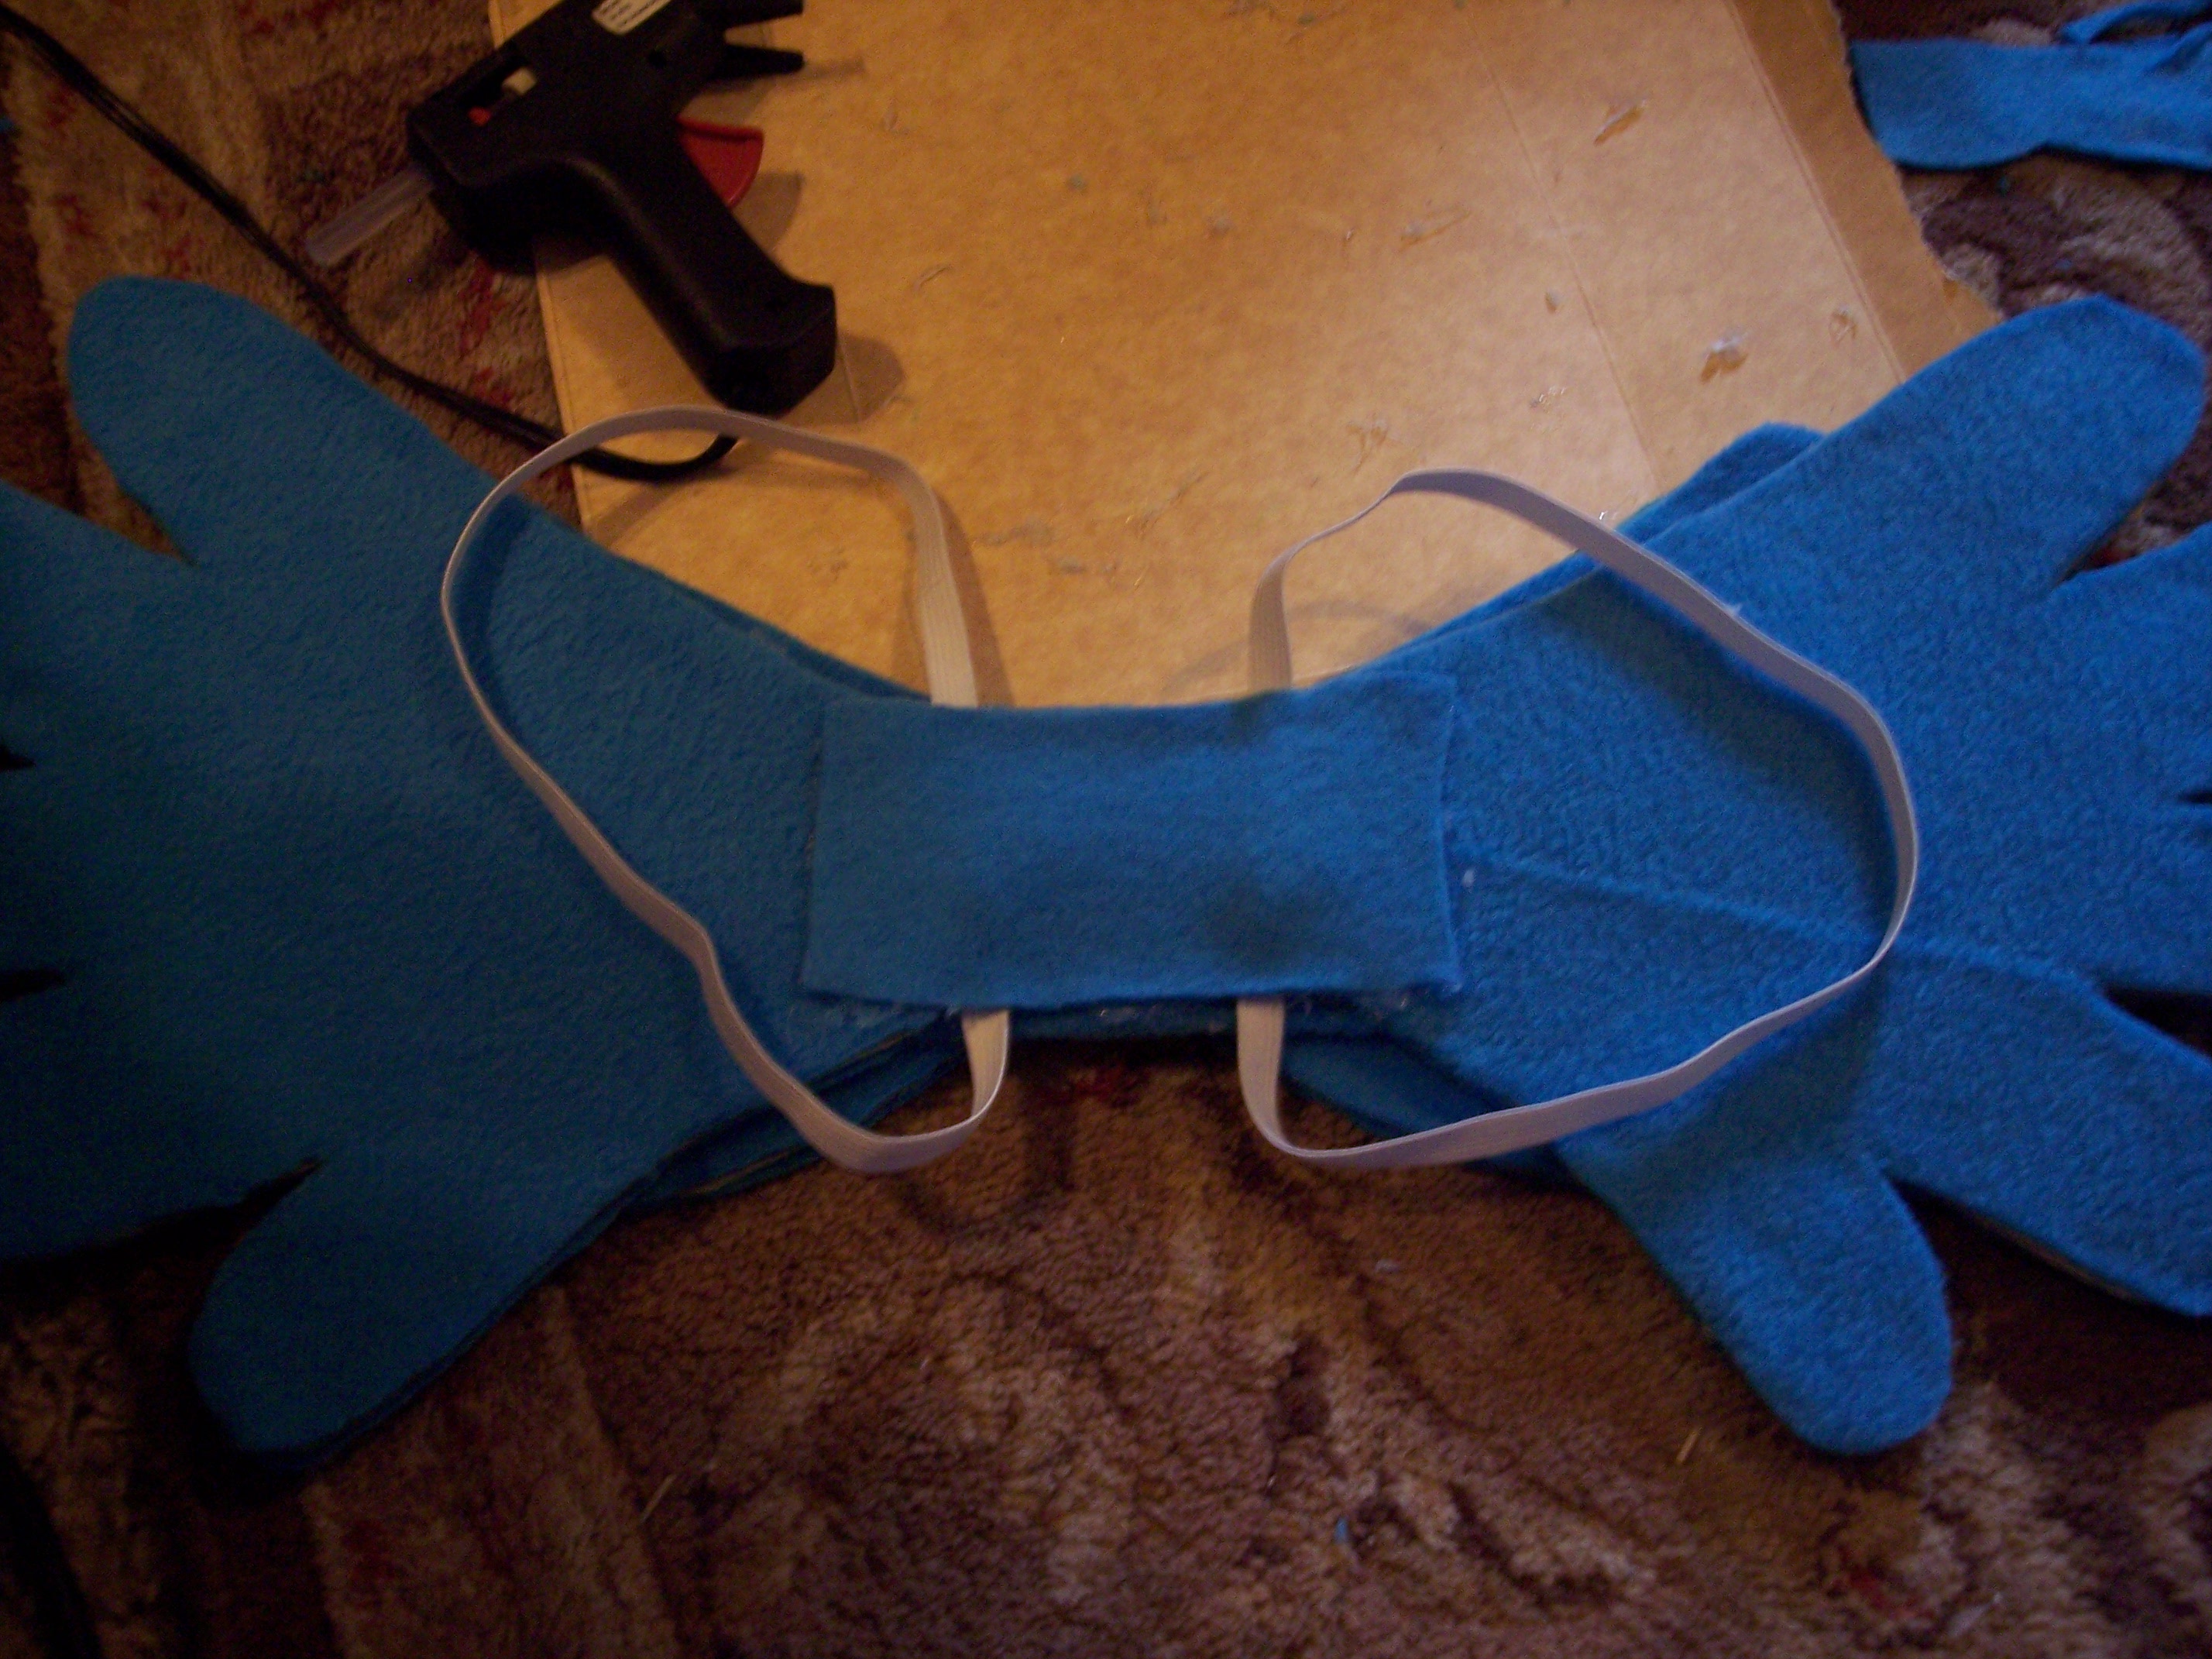
Cut another rectangle of fleece and hot glue it all over, over the elastic.
TA DA!

Leave a Reply