We don't see any reason not to love this bun hat. Aside from being a cute little number that turns heads wherever you go, it's made with the softest and most breathable yarn that'll keep you comfy. You can also pick your favorite colors and work it from the brim up! Get started with the free pattern below or get the ad-free printable PDF here.
Retro Messy Bun Hat Crochet Pattern
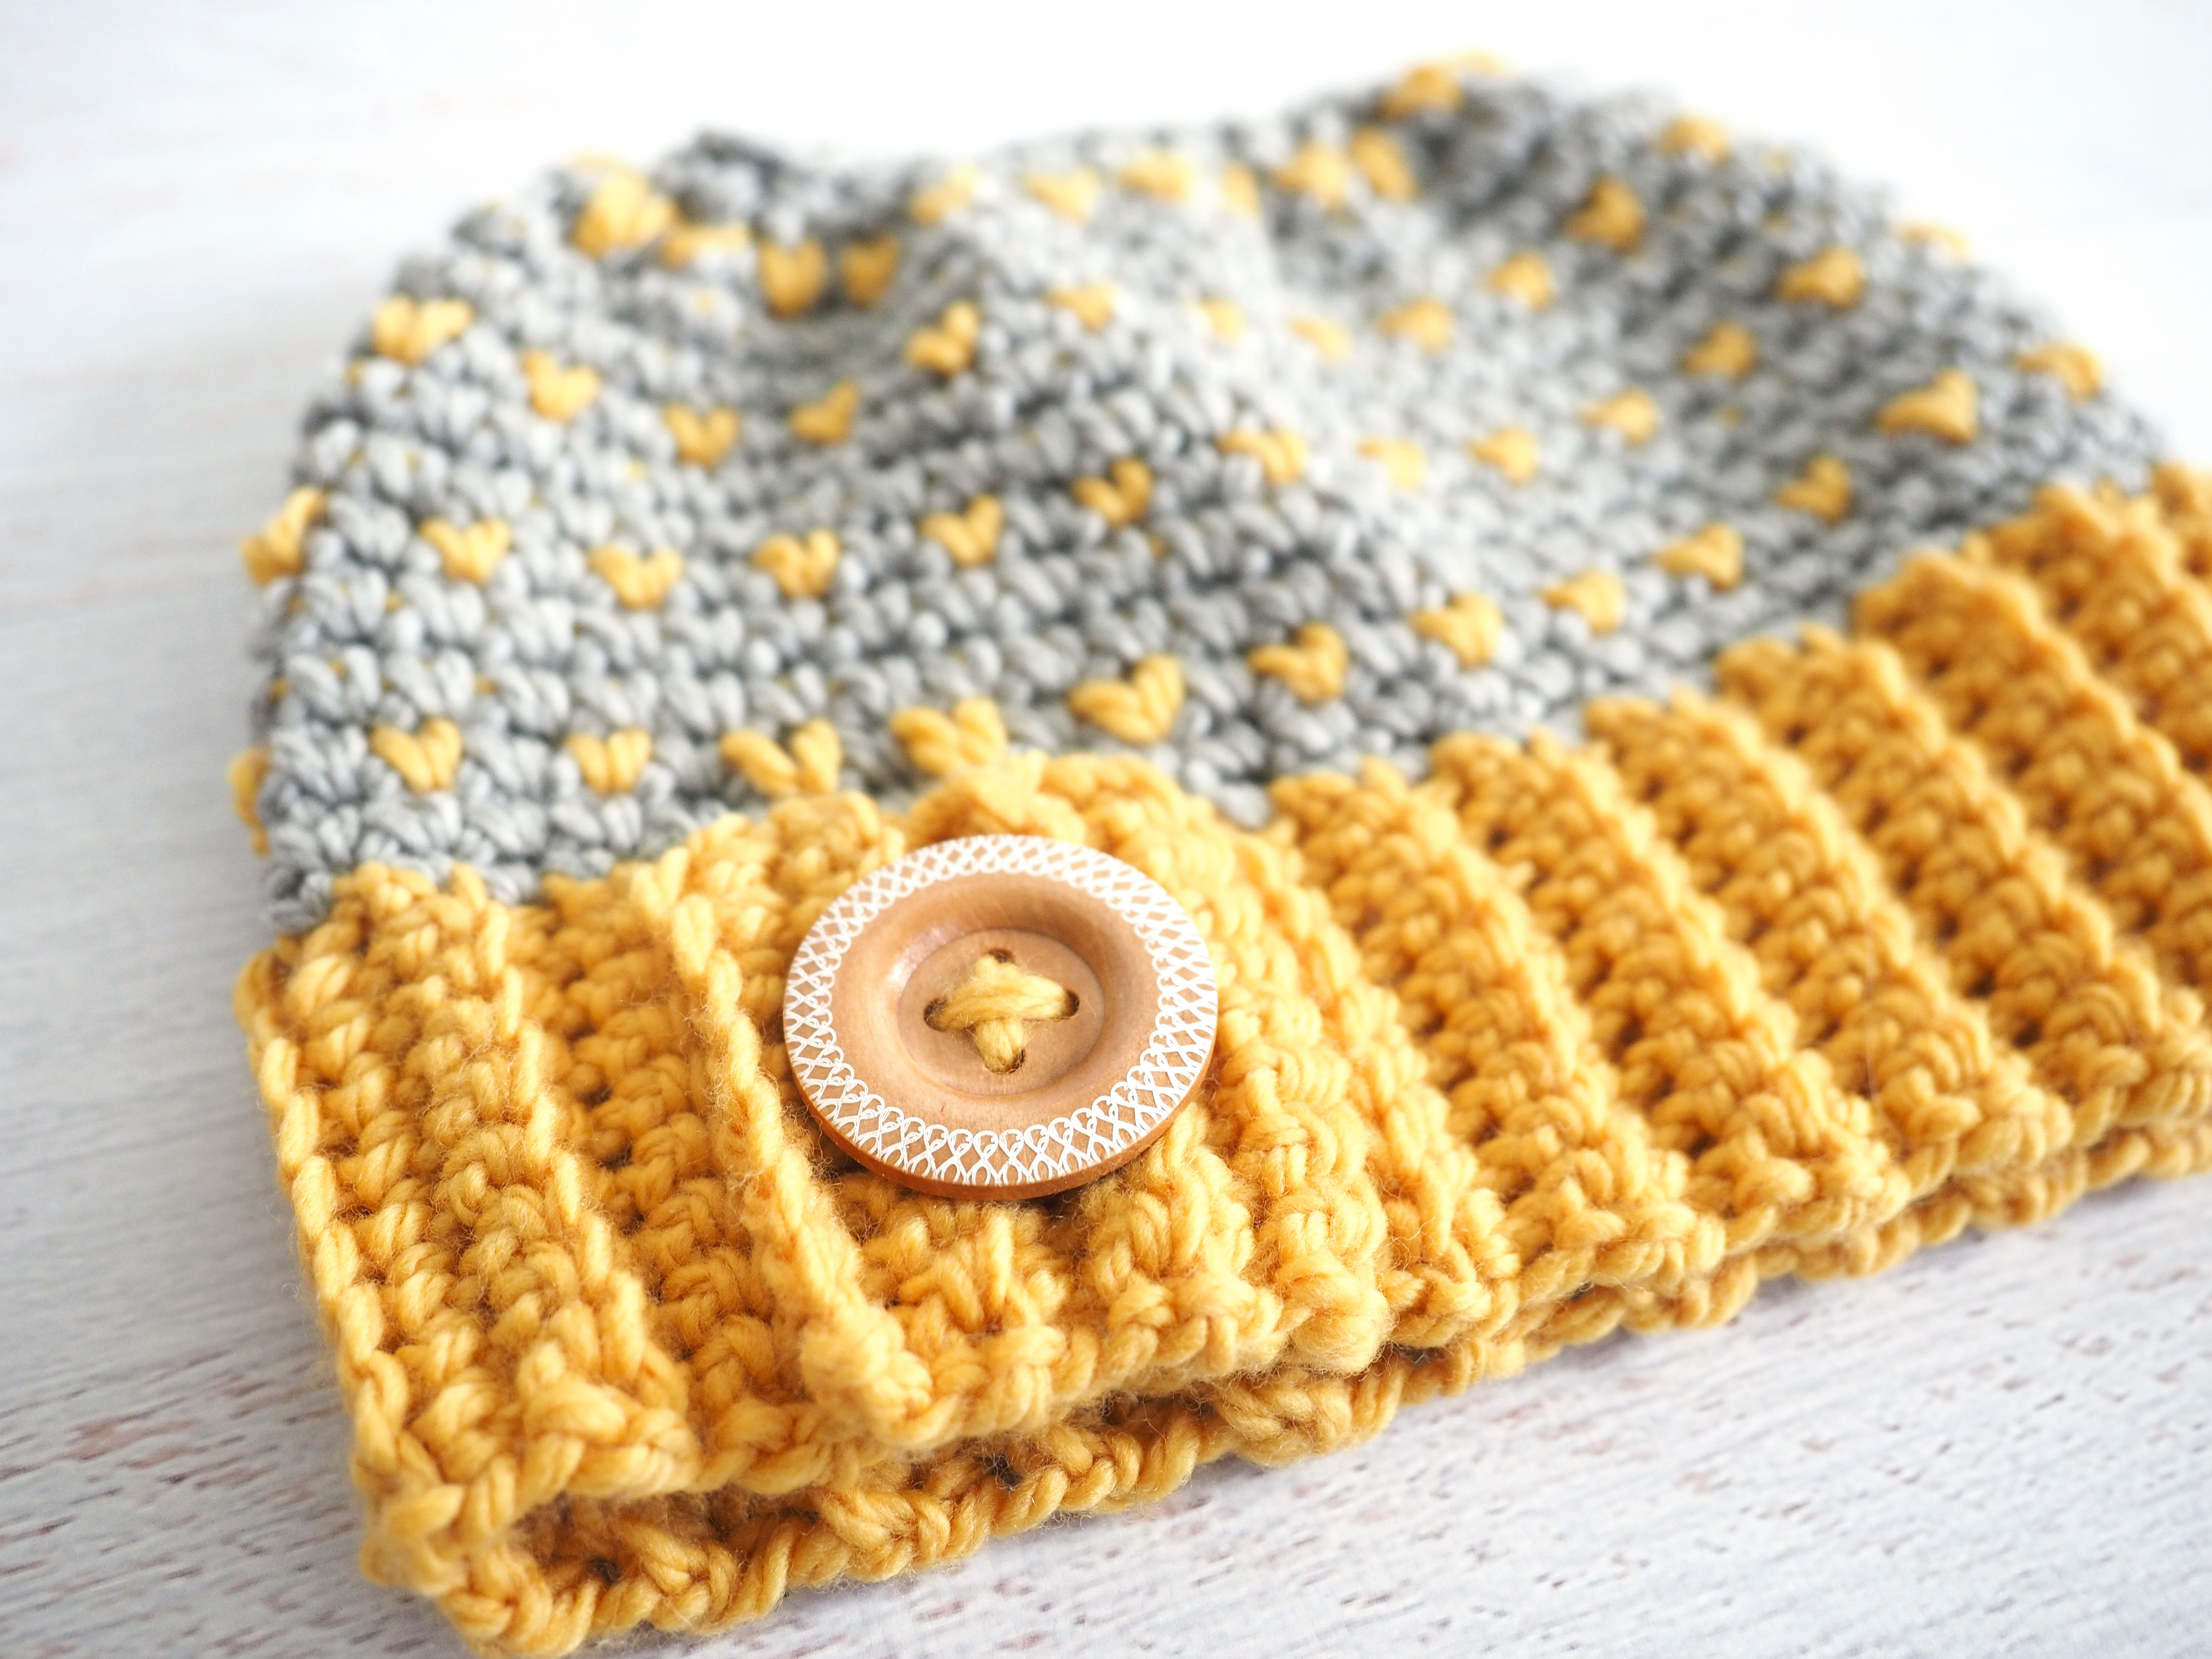
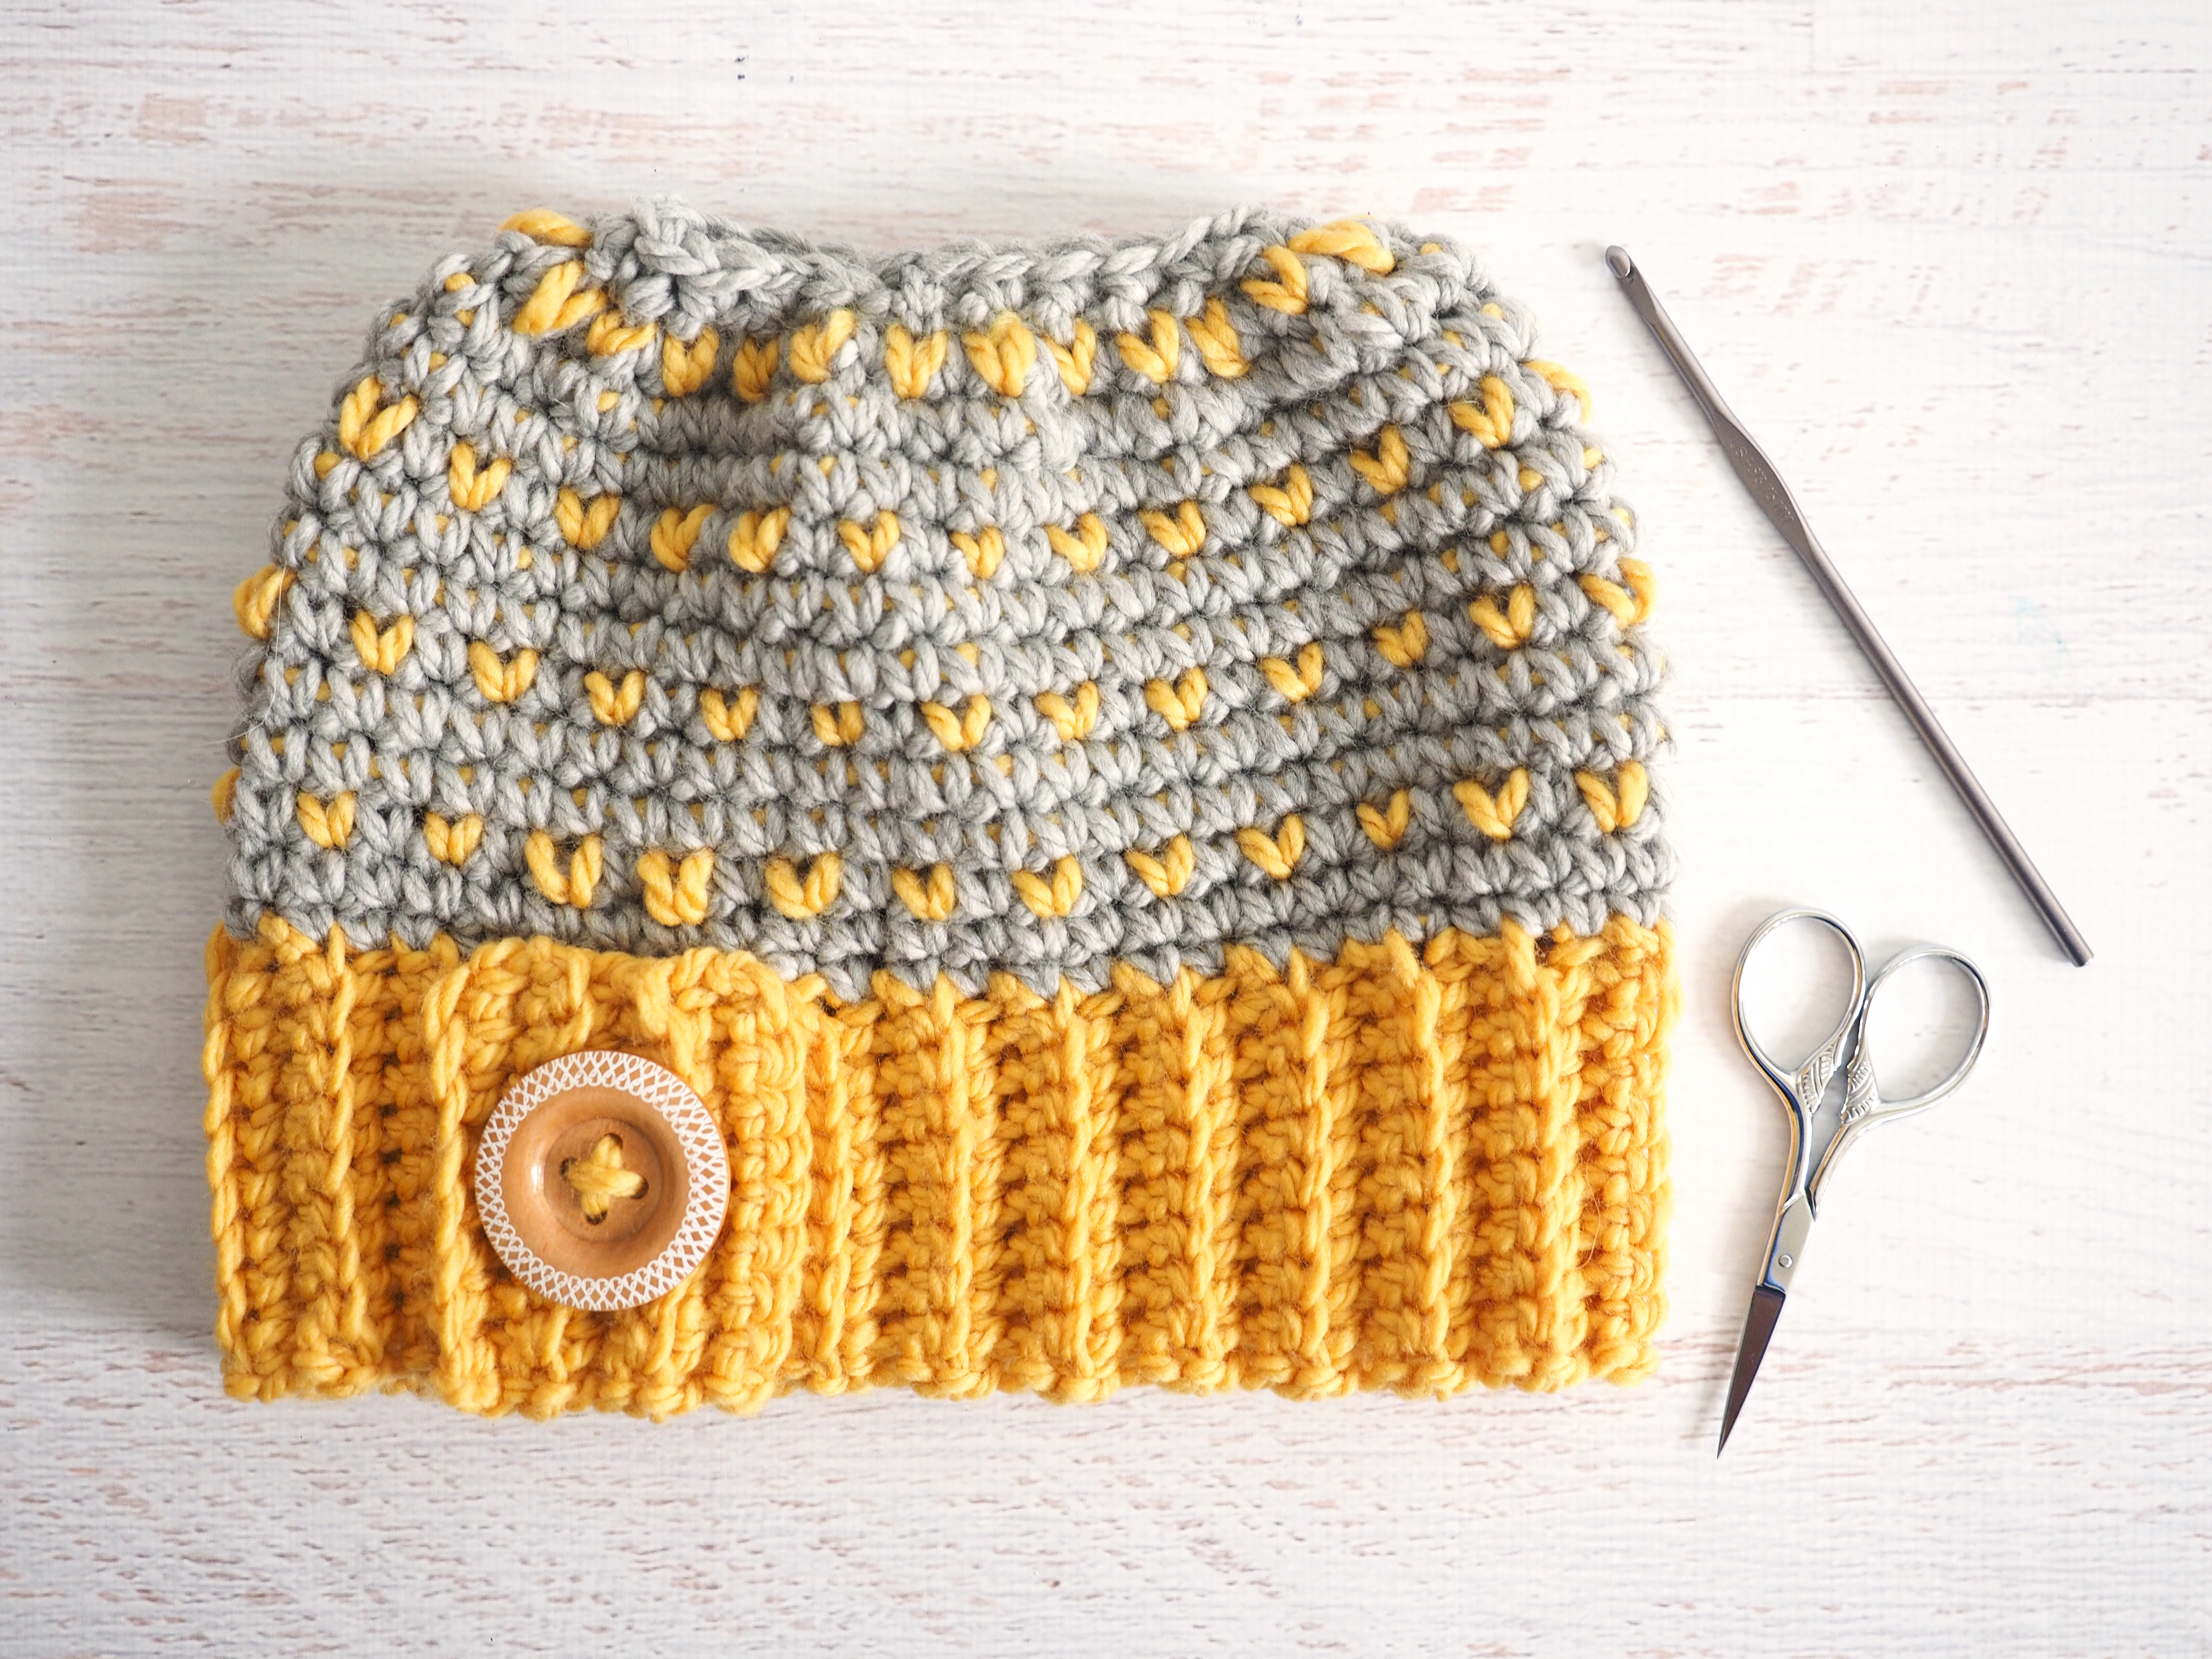
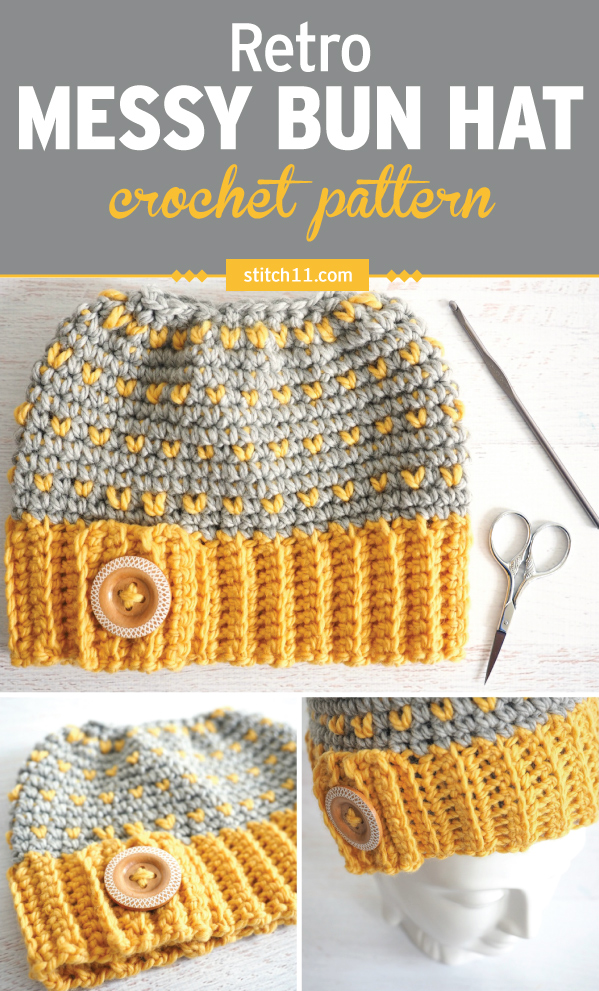
This fun yellow hat will be sure to brighten up any gloomy day – even though you can choose whichever color you’d like. People won't be able to help but ask you where you go your cheerful crochet messy bun hat from.
In this easy to intermediate crochet pattern, you'll begin by creating the band. Next, you'll work your way up to making the rest of the hat and finally add whatever button you may choose.
If you feel apprehensive about taking on an intermediate hat pattern I can help you with my step by step crochet fundamentals videos. I teach you exactly how to crochet a hat (and other projects) to help you get started. Just need to brush up on your skills? No problem I have my essential skills course where you can review 72 crochet (& knit skills) that all crocheters need.
For yarn, we chose merino wool yarn because it's warm, soft, and breathable. It doesn't have any of that itchy and scratchy feeling you might associate with wool.
Wear this versatile messy bun hat on a trip to the mountains or outside on a chilly morning walk to keep you cozy. Ok, it's time to grab your yarn and let's get started. Time to add some cheer to the world, one stitch at a time.
Want to customize your hat? Learn 45 new crochet stitches from my Ultimate Crochet Stitch Library and use them to make your very own designed pattern.
Get the ad-free printable PDF here
Pattern Title: Retro Messy Bun Hat
Skill Level: Easy
Materials:
• Hook:
– US Size K/10 1/2 (6.5 mm) crochet hook or size needed to obtain gauge
• Yarn: Bulky weight yarn
– 85 yds yellow (A)
• – 85 yds grey (B)
• Notions:
– Scissors
– Yarn needle
– Stitch marker
– 1.5-inch button
Size:
• Top opening diameter: 3 inches
• Hat circumference: 19 inches at band, 20 inches at widest point
• Hat length: 7.5 inches
Size/Gauge:
10 sc x 11 rows = 4 inches
ABBREVIATIONS DESCRIPTION blo Back loop only ch Chain rnd Round RS Right side(s) sc Single crochet sl st Slip stitch st(s) Stitch(es)
The pattern:
Get the ad-free printable PDF here
Pattern
BAND:
With A, ch 10
Row 1: Sc in 2nd ch from hook and in each ch across. (9 sc)
Rows 2-28: Ch 1, turn, sc in blo of each st across.
Fasten off, leaving a long tail for sewing.
Fold band in half, overlapping the ends by about 4 rows, so that row 28 lines up with row 4.
Use tail to sew band together where these two rows meet.
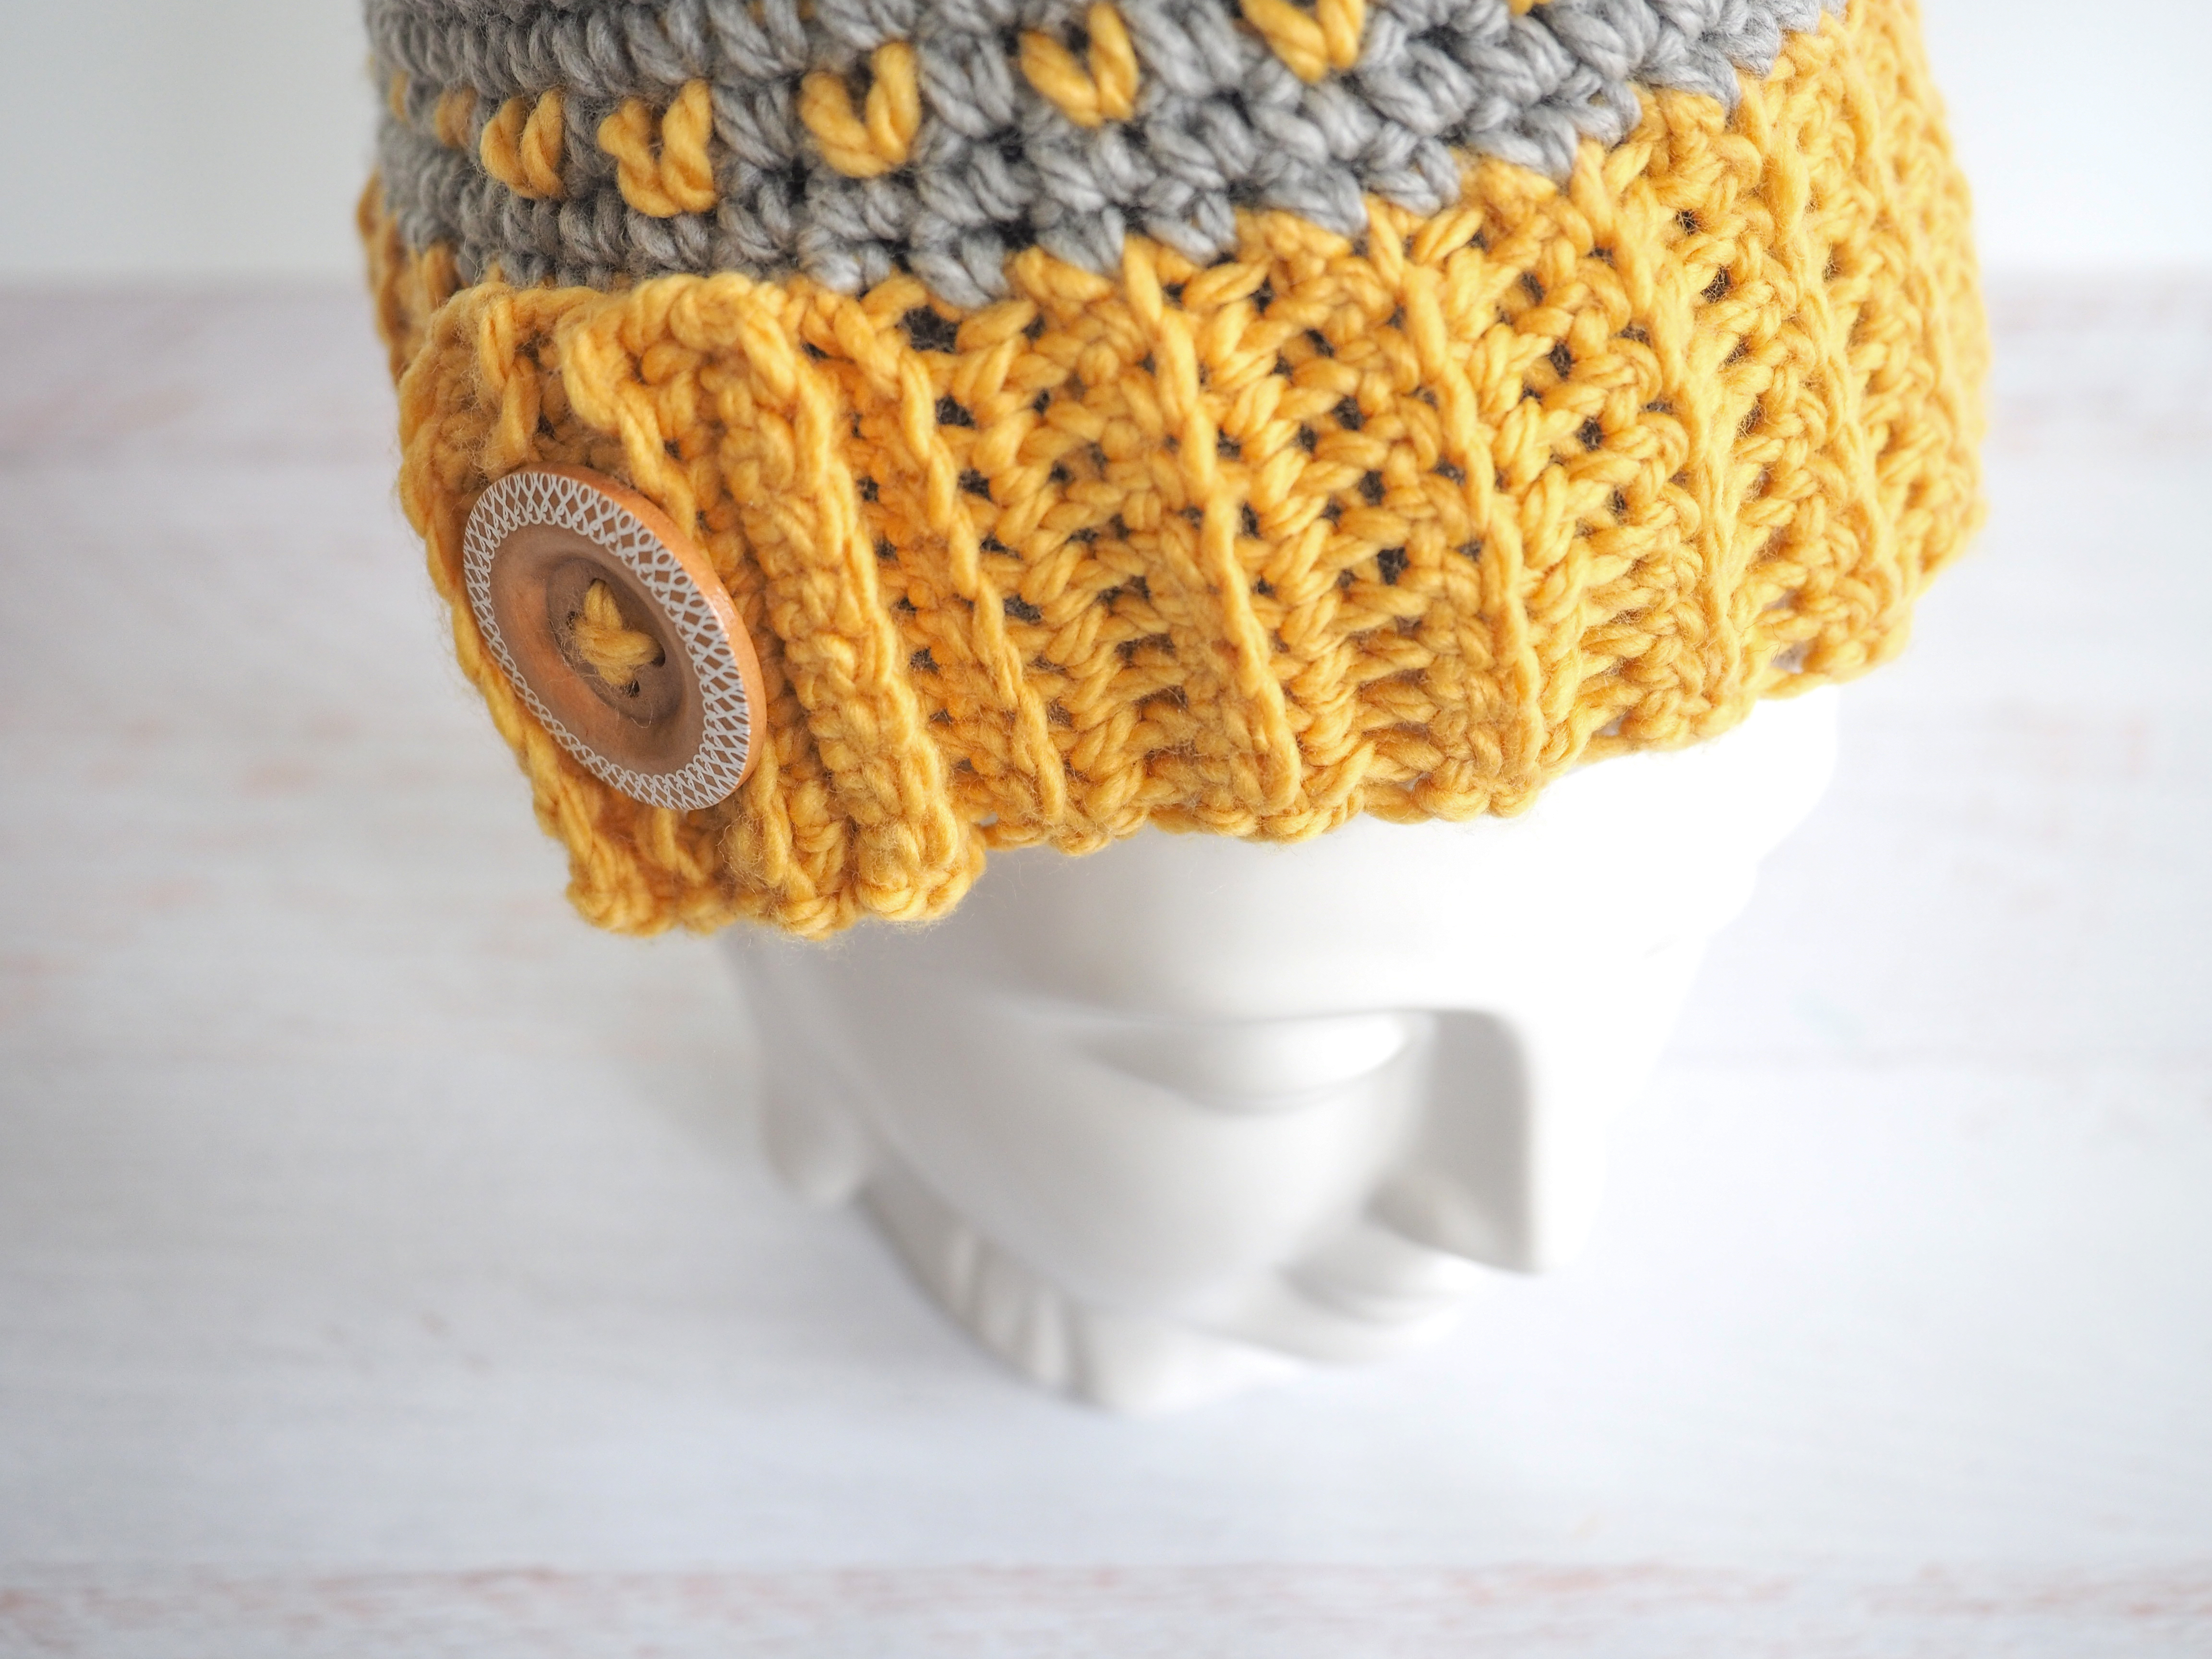
The overlapping flap is now the RS of the band, and is where the button will be placed later.
HAT:
Do not join rnds unless indicated. Mark the first st of each rnd.
With RS facing, join B with sl st in the end of any row on band.
Rnd 1: Working in sides of rows, 50 sc evenly spaced around side edge of band. (50 sc)
Rnd 2: Sc in each st around.
Begin carrying A. When working a st with B, work over the color A yarn. When working a st with A, work over the color B yarn. Change colors as needed by using the new color to complete the last “pull through” step of the previous st.
Rnd 3: [Sc with B in next st, sc with A in next st] around. (25 sc with B, 25 sc with A)
Rnds 4-5: Sc with B in each st around. (50 sc with B)
Rnds 6-11: Repeat rnds 3-5 twice
Rnd 12: [Sc with B in next st, sc with A in next st] around, join with sl st to first st. (25 sc with B, 25 sc with A)
Fasten off both colors, leaving a tail of B approximately 45 inches long. Turn hat inside out.
Sew long tail of B through each st of rnd 12 and pull tightly until opening measures about 3 inches in diameter.
Turn hat RS out.
Sew button to flap on band.
Get the ad-free printable PDF here
You'll definitely fight against the cold by feeling all warm and fuzzy from the compliments you're bound to receive on this hat. Once you've got your hat finished, you can continue the cozy train by choosing a scarf to make. If you've got a beautiful end result – and of course you do – show it off! We'd love to see it.

I like your hat. I even like the color. I usually don’t like yellow but I love this.
LOVE your patterns.
GREAT
Thanks so very much, Brittany!! You are AWESOME!!
Sincerely,
Shelly Calvert
P.S. I will try my best to post you a pic when I get this finished!
Every time I try to make a hat (any type), it always comes out too big. I seem to be adding stitches somewhere along the way. For the life of me, I’d just like to make one hat that actually comes out perfect.
I’d like to know if there are any corrections to this pattern. It’s adorable. The gauge says that 11 rows should measure 4″. If that’s the case, 28 rows would measure about 10 inches – certainly not enough for the circumference of the average head. I’m just continuing to work on this pattern
and will see how many stitches are needed for the other 1/2 of the hat . If the instructions are not correct, could you post how many rows are really needed.
Is there any way to make this a regular beanie rather than a messy bun?