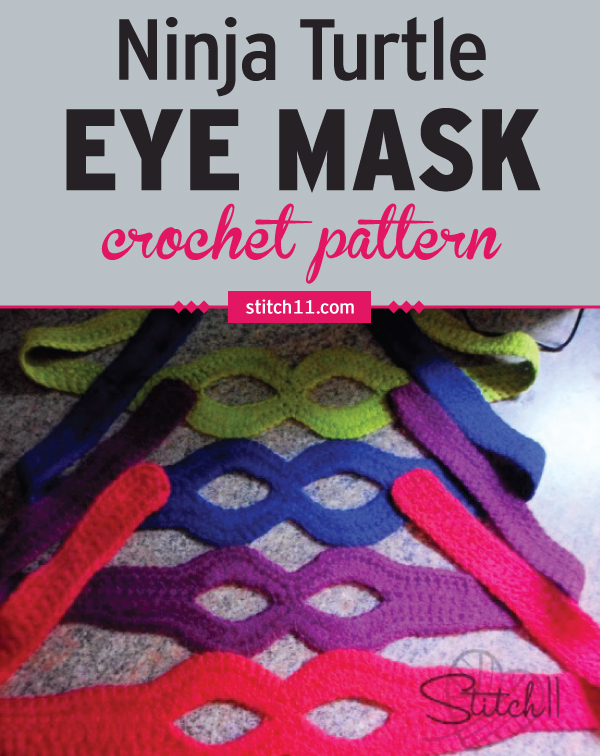
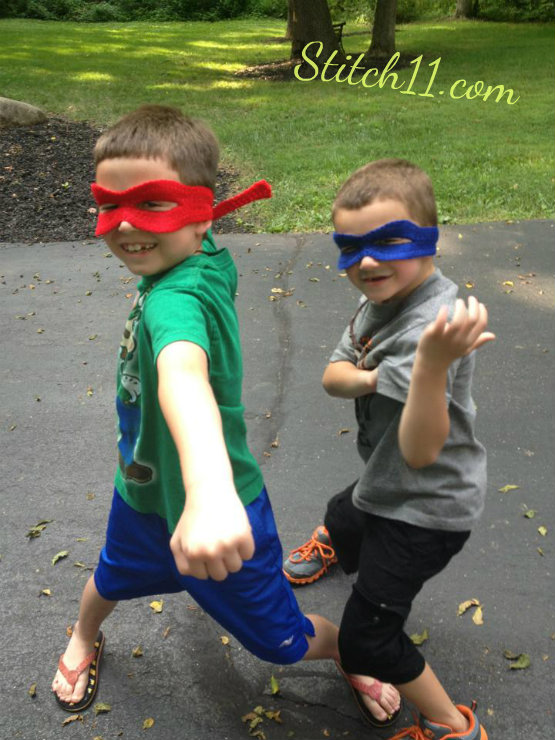
 During this last week, I have tried and tested countless crochet masks. My goal was to make 4 ninja masks in the theme of the TMNT. 9 masks later I finally got it! I love the technique of making this mask and am very proud to say I came up with it. Now that I have made so many (using this pattern I have written out for you) I already have many more ideas for masks that I plan to test out in the upcoming weeks. So find a ninja or superhero near you and create them a mask of their own!
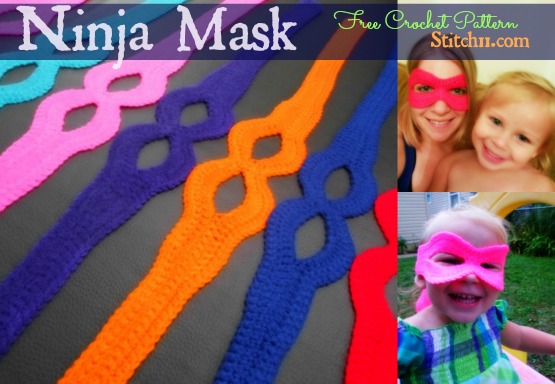
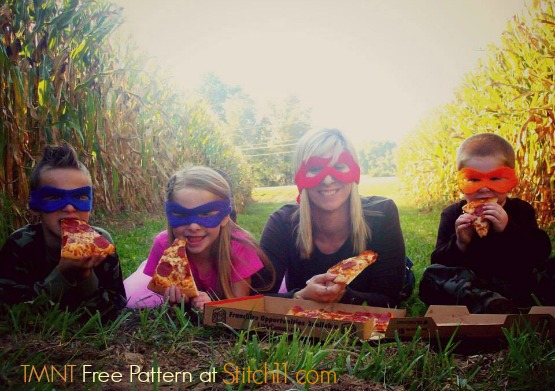
Ninja Turtle Mask
Supplies
Medium weight yarn (Red Heart Super Saver or I Love This Yarn)
Using H hook
Yarn Needle (for weaving in your ends)
Iron and wet cloth (for killing yarn)
A Super Hero 😉
Stitches
CH- Chain
HDC- Half Double Crochet
DC- Double Crochet
HDC 3 Together
Slip Stitch
Get Started!
Row 1: CH 116, turn, skip 1 CH. SC in next 40 CH, HDC in next CH, DC in next 9 CH, 2 DC in next 2 CH. 3 DC in next CH. 2 DC in next CH. HDC in next CH. 2 HDC in next CH. HDC 3 together. 2 HDC in next CH. HDC in next CH. 2 DC in next CH. 3 DC in next CH. 2 DC in next 2 CH. DC in next 9 CH. HDC in next CH. SC in next 40 CH. slip stitch into the same chain. CH 1, turn.
Row 2: (working on the other side of the CH) SC in same CH and next 47 CH. CH 8. Skip 8 stitches. SC in next 3 CH. CH 8, skip 8 stitches. SC in next 48 CH. CH 1, turn.
Row 3: SC in the same stitch and next 37, HDC in next stitch, DC in next 9 stitches, DC into next CH. 2 DC in next 2 CH. 3 DC in next CH. 2 DC in next CH. HDC in next CH. 2 HDC in next CH. HDC in next CH. HDC 3 together. HDC in next CH. 2 HDC in next CH. HDC in next CH. 2 DC in next CH. 3 DC in next CH. 2 DC in next 2 CH. DC in last CH. DC in next 9 stitches. HDC in next stitch. SC in next 38 stitches.
Row 4: CH 1, SC around the entire piece. Join to first SC.
Now you need to weave in your ends. Lay the piece on a flat surface and kill the acrylic yarn! To do this you will need to lay a wet washcloth or towel over the piece and iron it. For a “How to kill acrylic yarn”check out Moogly's tutorial! *tip* killing and letting it air dry will help the fit
.
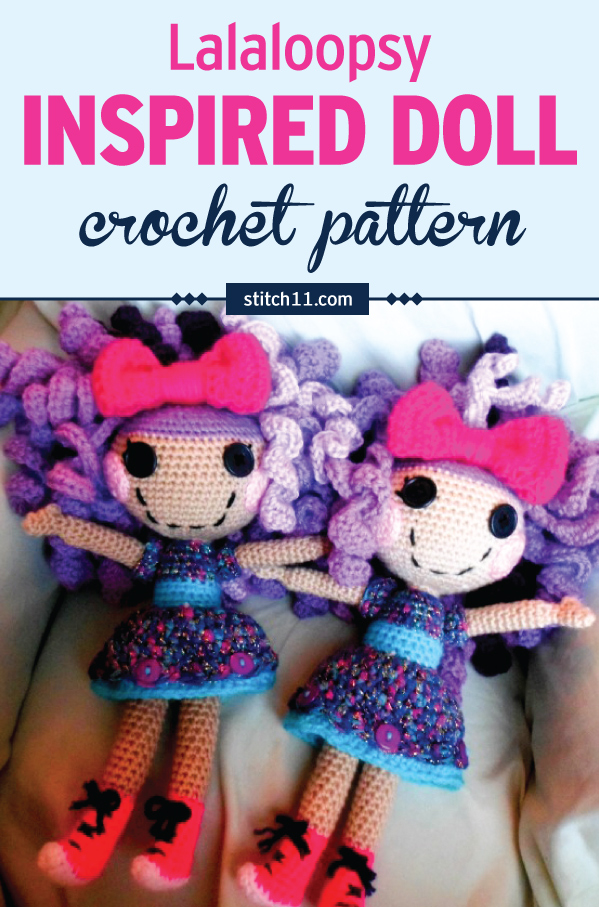 Here she is! For the last few months, I have had so many requests for me to write this free Lalaloopsy crochet pattern. I tried to keep her simple and I did my best at explaining everything as well as I know how. This is not an “Easy” pattern…. mostly because it takes a little extra patience. This crochet pattern is loads of fun! I encourage you to be creative with your yarns. I used all medium weight yarns but mixed up the textures and brands of yarns and I LOVE it!!! Now go look through your scraps and find all those small amounts of beautiful yarn that you have been waiting to use! And I will warn you, the hair takes twice as much yarn and twice as much time as it appears.
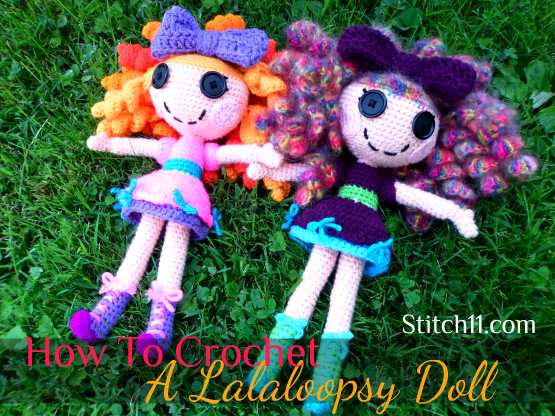


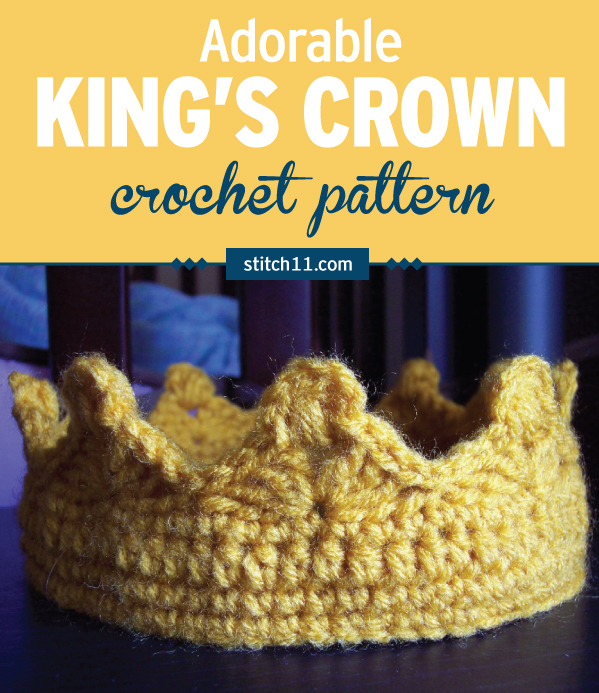 This King's Crown crochet pattern is for all of our little Kings who like to be in charge of the castle.