I now have the comfiest and warmest winter scarf for this frigid cold weather. Every morning I go out to collect eggs. By the time I get to our chicken coop, my face feels like it's about to fall off. This infinity scarf is so wide, I can pull it up to cover my face and neck, all with just one part of the scarf!
Looking for more free scarf patterns? Check out my latest! Jumping Retro Infinity.
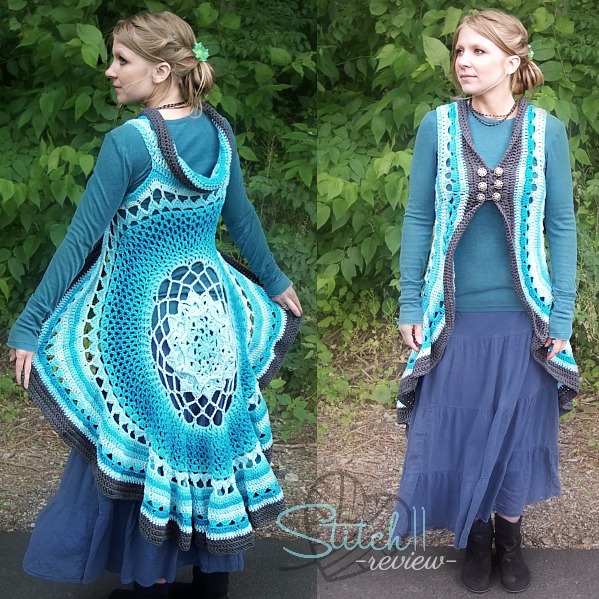
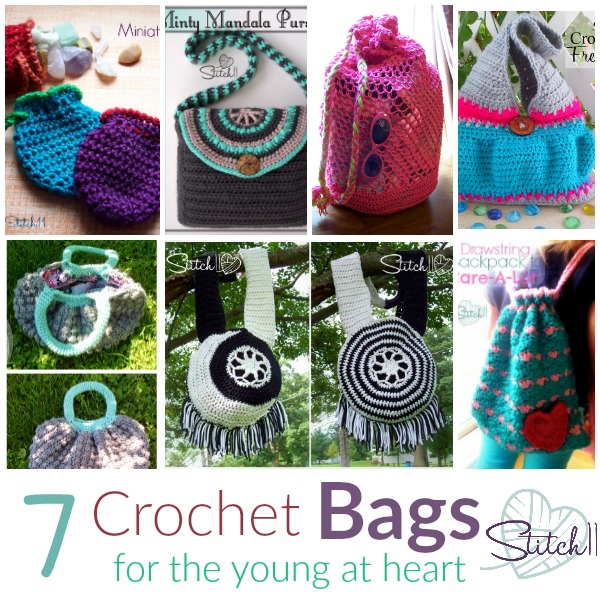
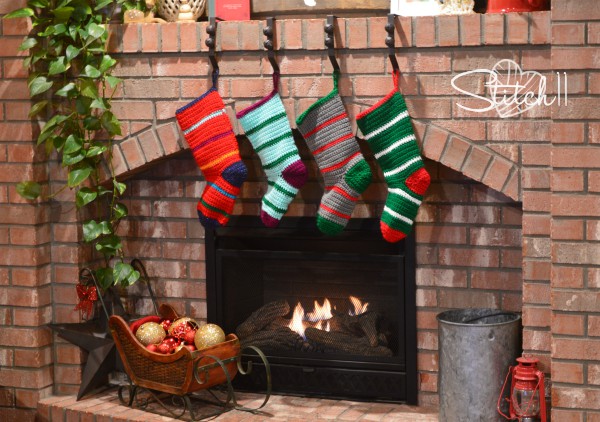
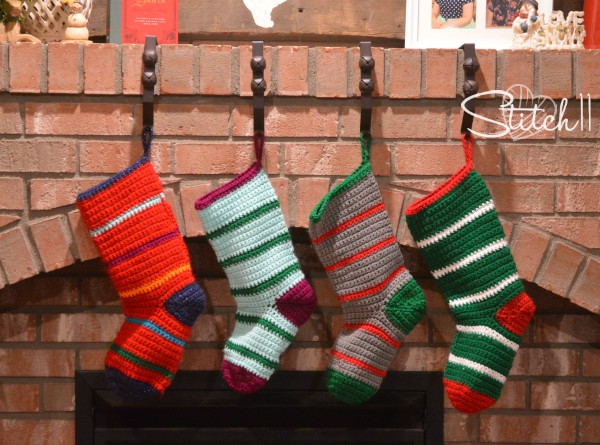
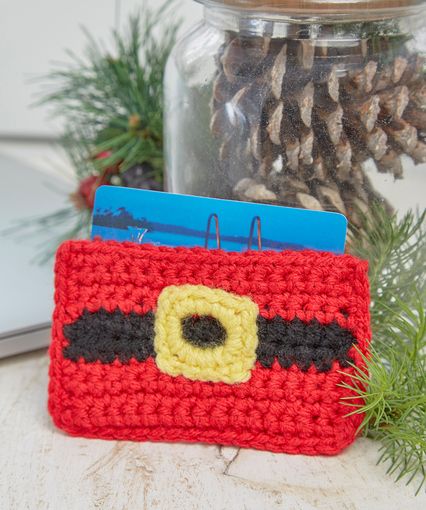
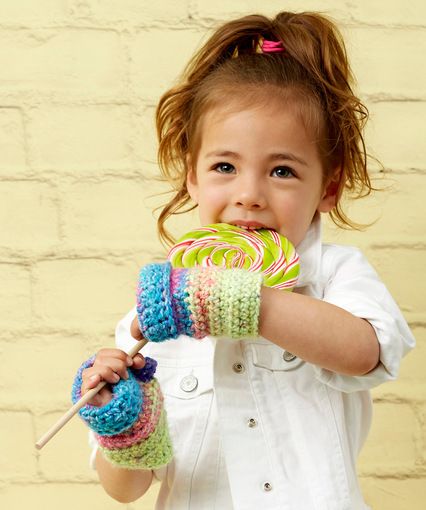
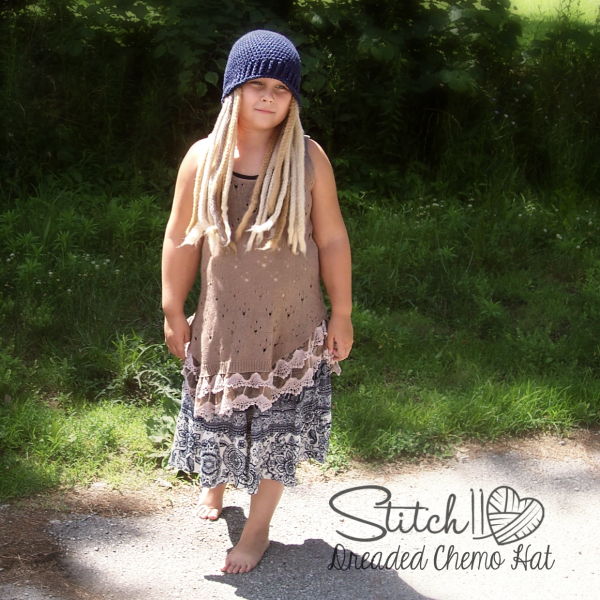
Also, here are a few of my favorites from over the last few years! 11 Scarf Patterns – Designed or Reviewed by Stitch11
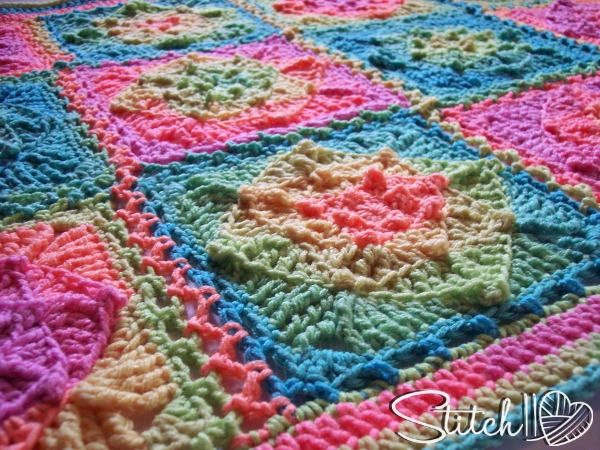
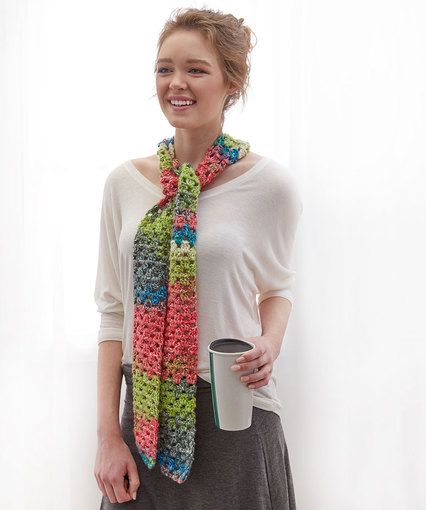
Somersault Winter Scarf Crochet Pattern
Supplies
I/9- 5.25 mm crochet hook
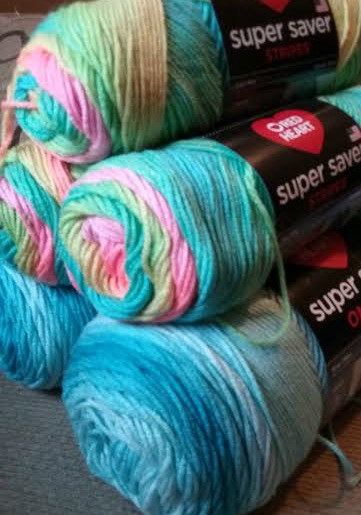
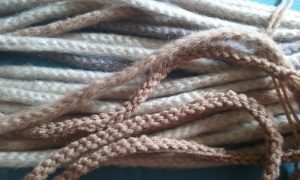
Red Heart / Hopscotch /Somersault – 2.5-3 balls (approx 580 yards)
Yarn Needle
Stitches
CH – Chain
SC – Single Crochet
TRE – Treble Crochet
Free Crochet Pattern
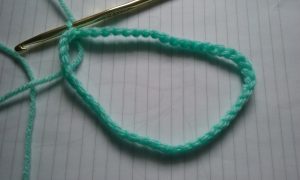
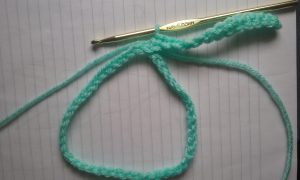
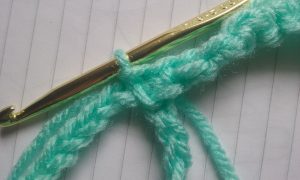
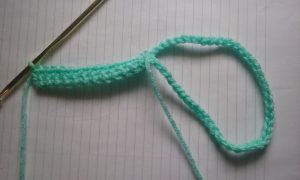
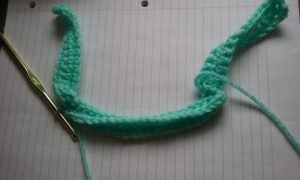
Row 1: CH 37. Turn. Skip 1 CH. SC into next 36 CH.
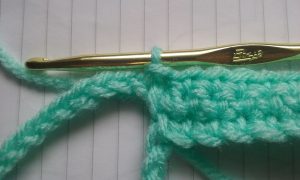
Row 2: CH 3. Turn. TRE into each stitch across. (36 TRE)
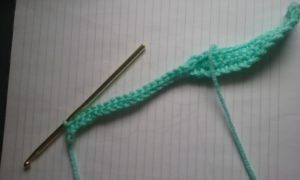
Row 3: CH 1. Turn. SC into each stitch across. (36 SC)
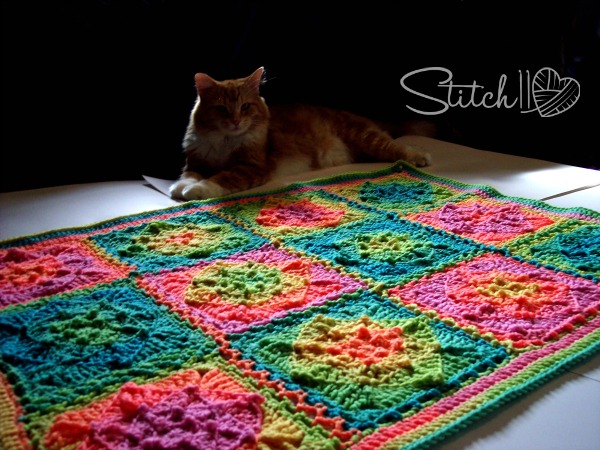
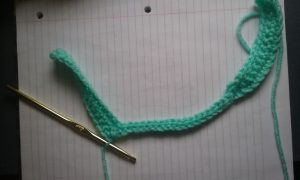
Repeat rows 2 and 3 approximately 54 times or until you reach the desired length. My infinity scarf measures just over 6 ft.
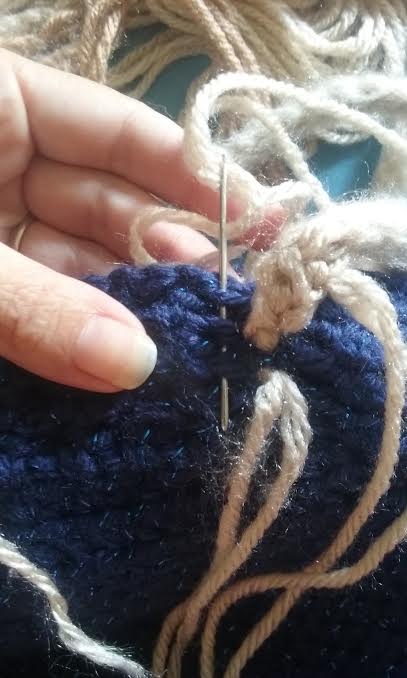
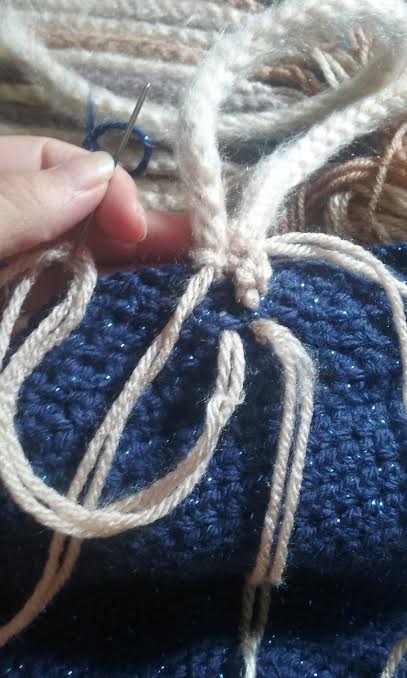
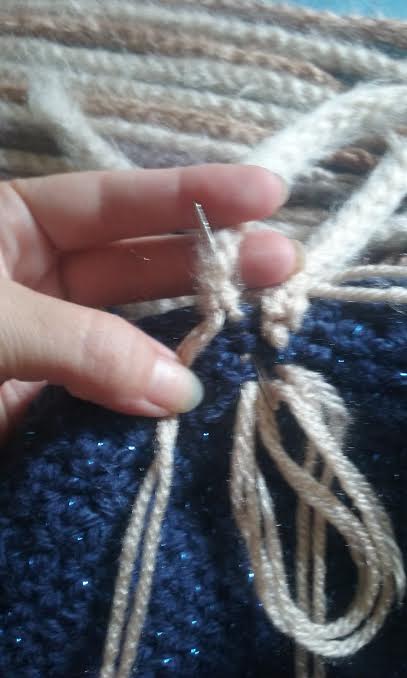
Using yarn needle, attach both ends of your infinity together.

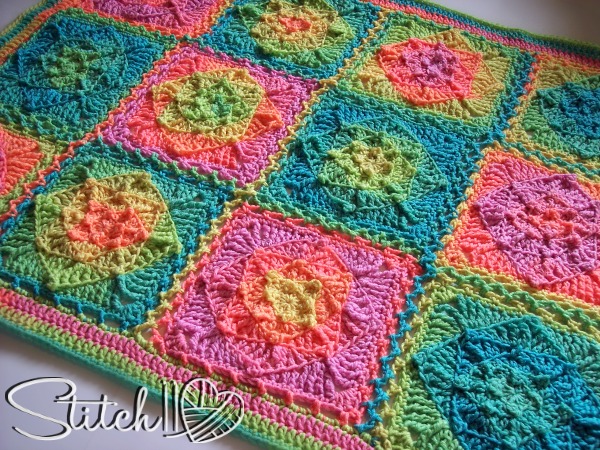
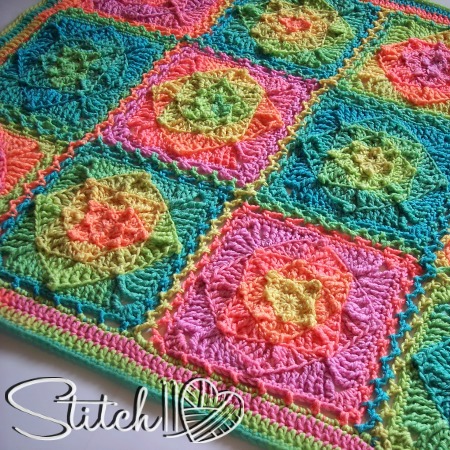
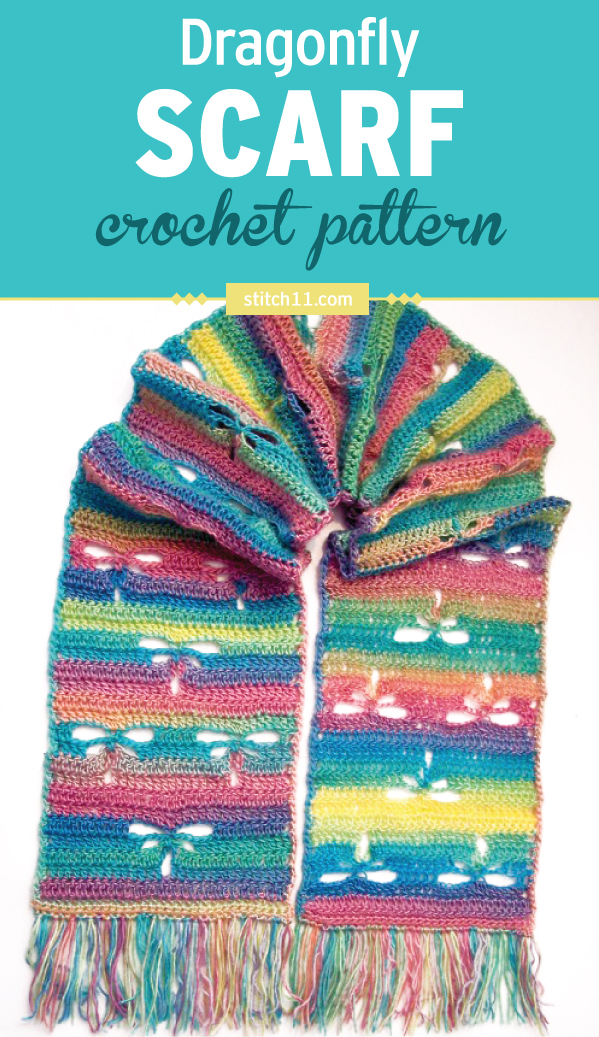
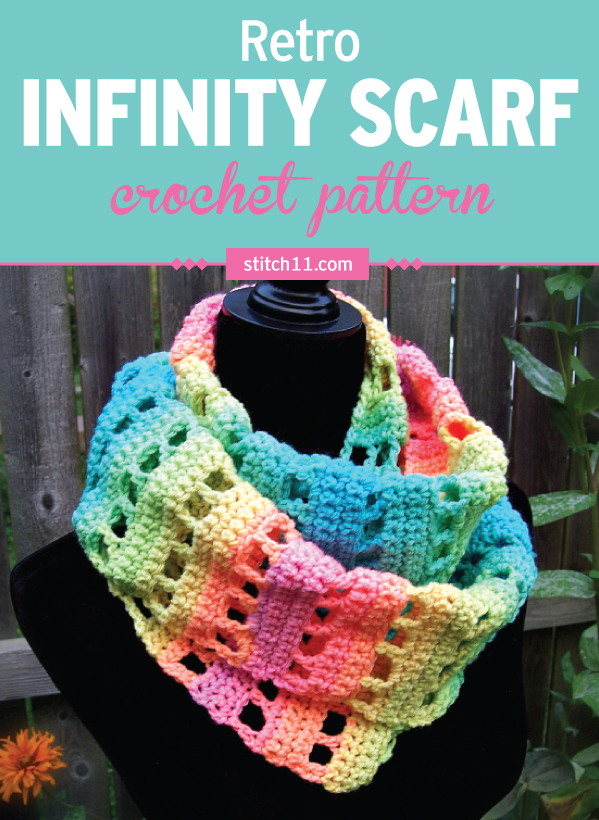 I designed this fun and colorful infinity scarf with the basic crochet stitches: chain, single crochet and double crochet; so even the beginner crocheter can hook this one up! You could easily change this infinity scarf into a cowl, by using only one skein. You could also change this into a normal scarf by using a total of two skeins. The stitch pattern is so simple that after the first set of repeats, you can get lost on your Netflix binge and mindlessly crochet this entire free pattern!
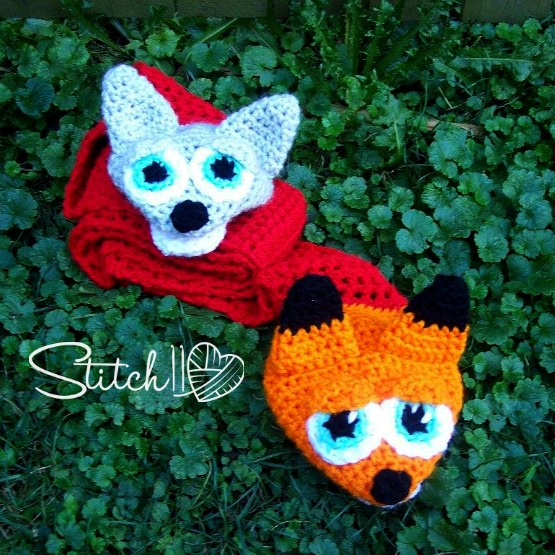

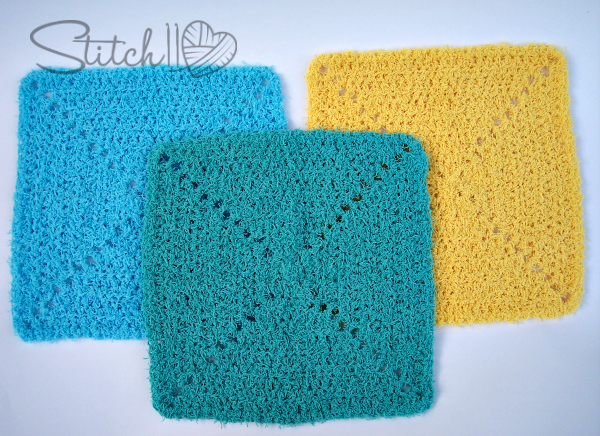
 Throw away every last kitchen sponge and never waste a single penny on ineffective kitchen cleaning clothes.