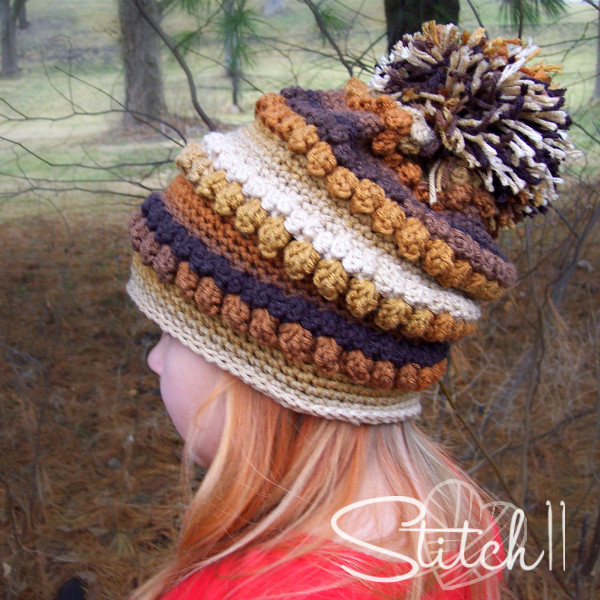
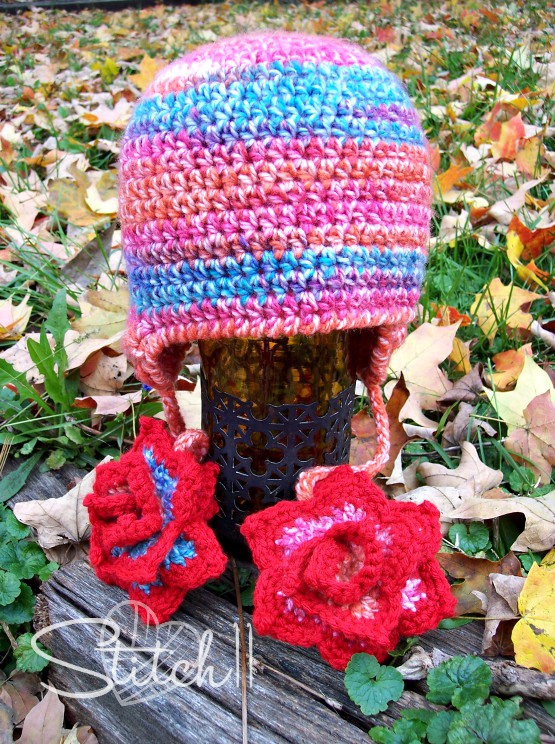
This one is a great stash buster! Maybe you can use your left over self-striping yarns, and make this unique hat with all those textures we love. It's also a great little number for both adults and kids! Make one for yourself, or a couple for your loved ones with the free pattern below or better yet, get the ad-free printable PDF pattern here.
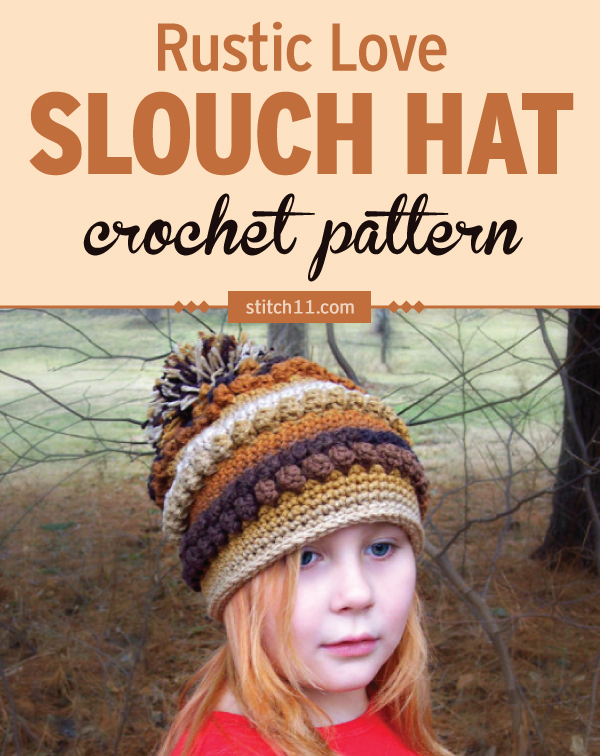
Rustic Love Slouch Crochet Pattern
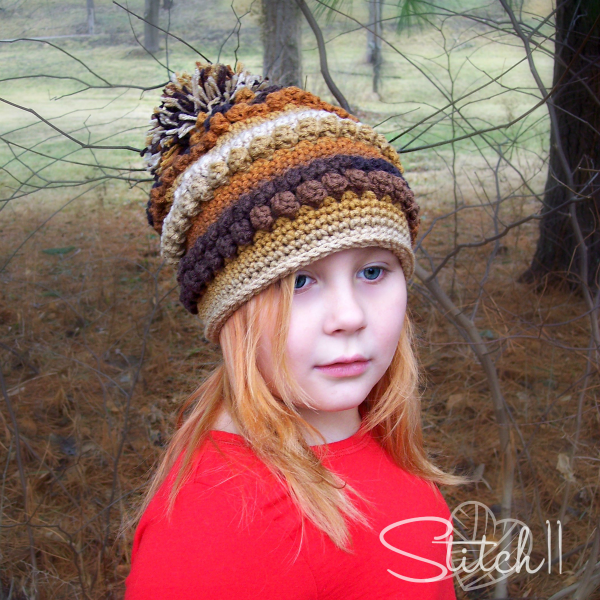
I had planned to make myself a new hat, but about halfway through, I couldn't decide if this should be MY hat or for my daughter. She is 7 now, and we can share hats! It seems that most children's hat sizes fit me and most small adult hat sizes fit her. She is growing up so fast, it's not even fair!!! After taking the photo, she told me she wants to keep that hat for wearing to school… maybe next winter I will be able to take over and start wearing it myself. 😉
Need help with any of your crochet skills to make this pattern? Perhaps it’s changing colors, the magic ring, making pom poms or something else? I’ve put together a class designed to help you. My Crochet & Knit Essential Skills class has 72 videos classes to help with any and every crochet (or knit) technique. What’s even better, I am giving you FREE access to watch these videos for 2 days! Register here now to gain instant access.
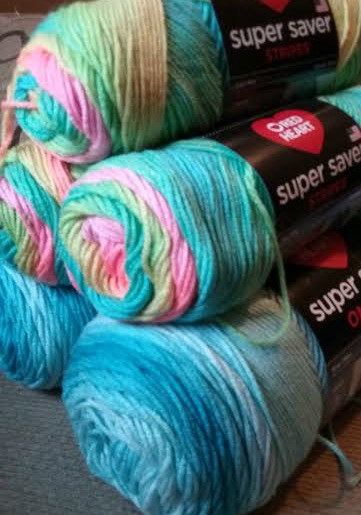
My goal was to use only one skein of Super Saver Stripes – Latte Stripes, but to make this hat have the perfect slight slouch to it and a large full pom pom, I had to bust out a second skein. I didn't even use half of the second, leaving you enough yarn to make fingerless gloves or an ear warmer set if you're looking to stay extra cozy!
Rustic Love Slouch Crochet Pattern
Skill Level: Easy
Materials:
• Hook:
– US Size H/8 (5 mm) crochet hook or size needed to obtain gauge
• Yarn: 320 yds worsted weight yarn
• Notions:
– Scissors
– Yarn needle
Size:
• Hat circumference: 20 inches
• To fit head circumference: 20-22 inches
Size/Gauge:
13 dc x 7 rows = 4 inches
Special Stitches:
• 3 half double crochet popcorn
(3-hdc-pc): 3 hdc in indicated st or sp, remove working loop from hook, insert hook into first hdc made and pull working loop through.
• 5 double crochet popcorn
(5-dc-pc): 5 dc in indicated st or sp, remove working loop from hook, insert hook into first dc made and pull working loop through.
Get the ad-free printable PDF pattern here
| ABBREVIATIONS | DESCRIPTION |
|---|---|
| ch | Chain |
| dc | Double crochet |
| fpsc | Front post single crochet |
| sc | Single crochet |
| sk | Skip |
| sl st | Slip stitch |
| sp | Space |
| st(s) | Stitch(es) |
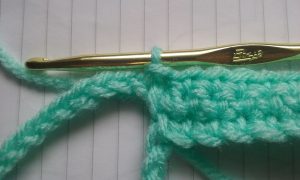
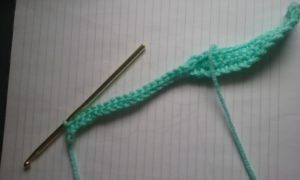
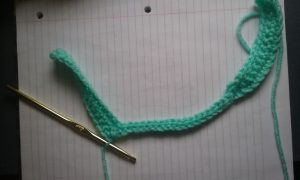
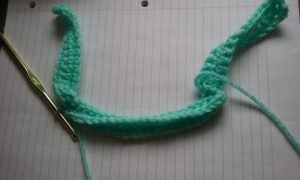
Pattern
Join rnds where indicated with a sl st in the first st of the rnd.
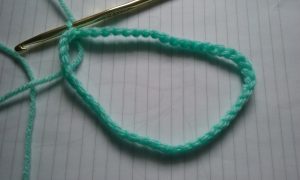
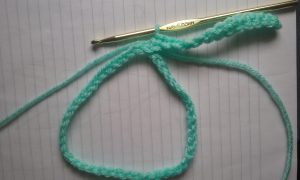
Ch 66, being careful not to twist, sl st in first ch to form a circle.
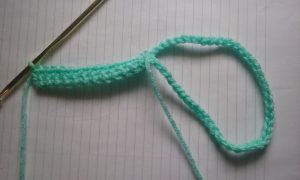
Rnd 1: Ch 1, sc in each ch around, join. (66 sc)
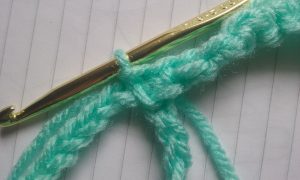
Rnds 2-4: Ch 1, sc in each st around, join.
Rnd 5: Ch 1, (3-hdc-pc, ch 2, 3 hdc-pc) in first st, sk next st, [(3-hdc-pc, ch 2, 3 hdc-pc) in next st, sk next st] around, join, sl st in first ch-2 sp. (66 3-hdc-pc, 33 ch-2 sps)
Rnd 6: Ch 2, 5-dc-pc in same sp, ch 1, sk next 2 sts, [5-dc-pc in next st, ch 1, sk next 2 sts] around, join, sl st in first ch-1 sp. (33 5-dc-pc, 33 ch-1 sps)
Rnd 7: Ch 1, 2 sc in same ch-1 sp, sk next st, [2 sc in next ch-1 sp, sk next st] around, join. (66 sc)
Rnds 8-25: Repeat rnds 2-7 three more times.
Rnds 26-29: Ch 1, sc in each st around, join. (66 sc)
Rnd 30: Ch 1, fpsc around each st around, join. (66 fpsc)
With your starting end, weave back and forth between each stitch from round 1. Close the hole as much as possible. You will still have an opening about the size of a dime.
Make your Secure Pom Pom. Attach it over the opening. Secure it well with your yarn needle and it will cover the hole.
Fasten off.
Weave in all ends.
Get the ad-free printable PDF pattern here
Did you like this pattern? Check out more of my fun patterns below:
- Sweetheart Boot Cuffs Crochet Pattern
- Lemon Peel Fingerless Gloves Crochet Pattern
- Beanie Hat Crochet Pattern
- Hanging Storage Baskets Crochet Pattern


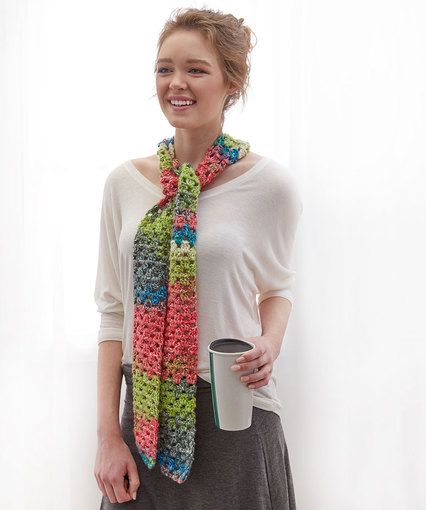
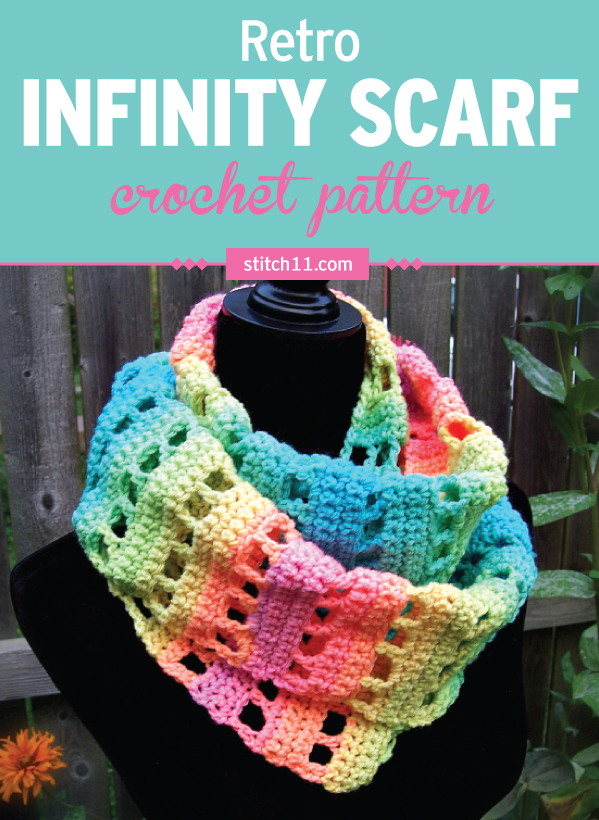 I designed this fun and colorful infinity scarf with the basic crochet stitches: chain, single crochet and double crochet; so even the beginner crocheter can hook this one up! You could easily change this infinity scarf into a cowl, by using only one skein. You could also change this into a normal scarf by using a total of two skeins. The stitch pattern is so simple that after the first set of repeats, you can get lost on your Netflix binge and mindlessly crochet this entire free pattern!

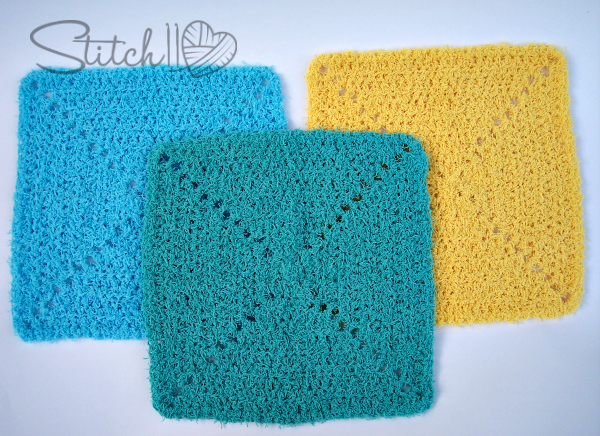
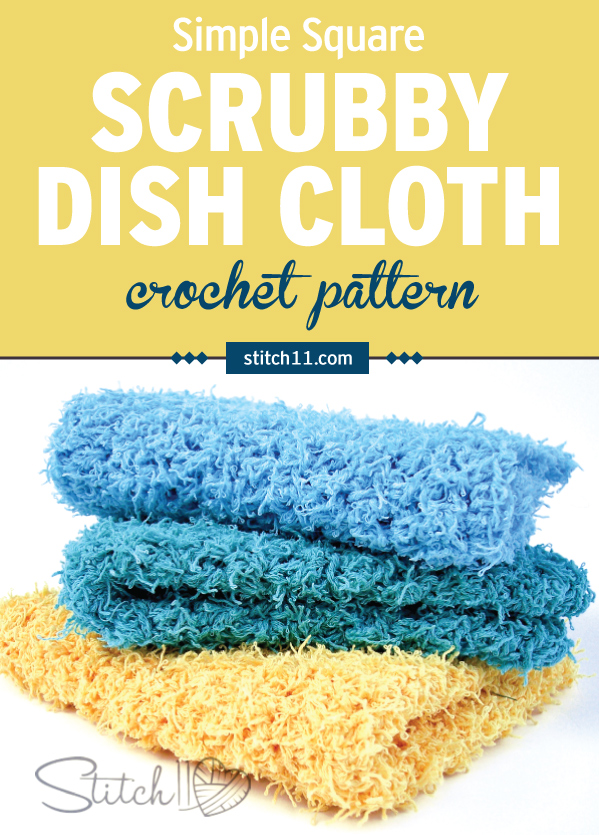 Throw away every last kitchen sponge and never waste a single penny on ineffective kitchen cleaning clothes.